What You’ll Need
Here’s a tutorial based on the transcript you shared, written to sound like a real person wrote it for their DIY blog.
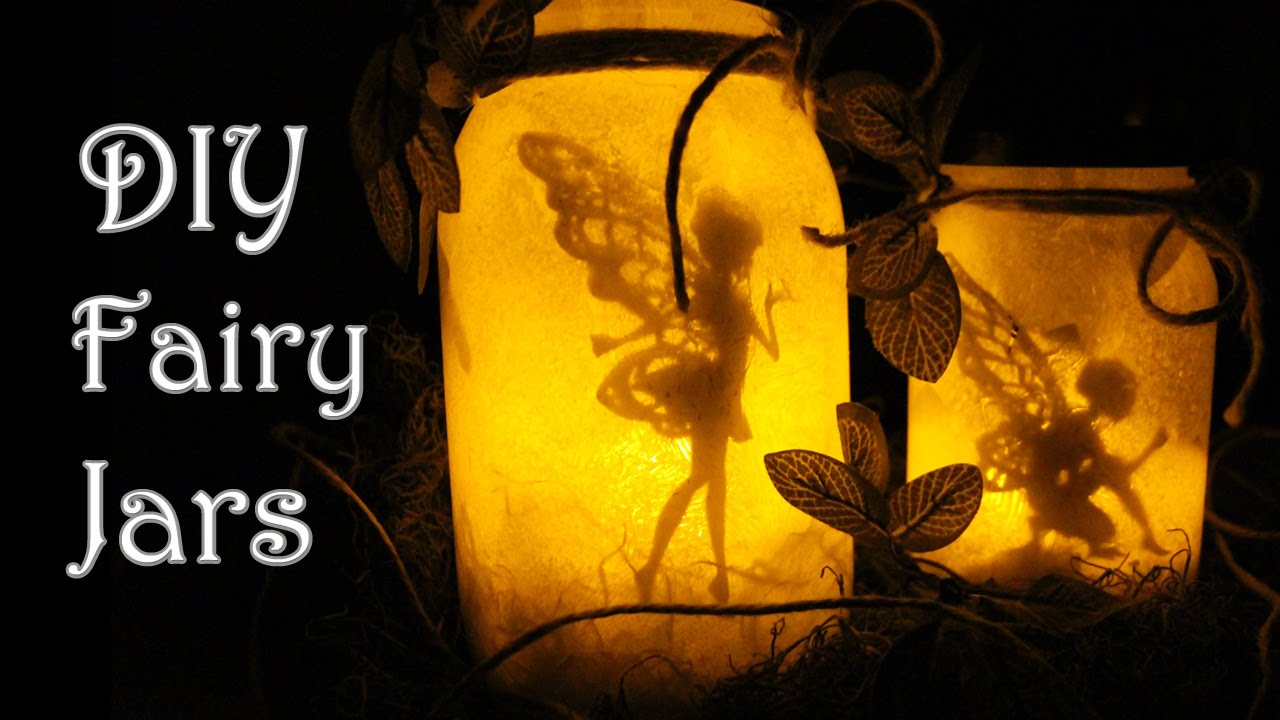
# How to Make DIY Fairy Mason Jar Lights (That Actually Look Magical)
I made these fairy jars recently and honestly, I can’t get over how cute they turned out. They look like something you’d buy at a craft fair, but they’re pretty simple to put together. They do take a little patience (mostly waiting for paint to dry and cutting out tiny fairy wings), but the result is worth it.
Here’s exactly how I did it.
- 1 mason jar (any size works)
- Moss (the kind from a craft store)
- Twine
- White acrylic paint
- 1 tea light (LED is safest)
- An X-Acto knife
- A fairy printout (I printed mine on cardstock so it’s thicker and holds up better)
- Hot glue gun + glue sticks
- A sponge
- Fake ivy leaves
- A pencil
Step 1: Paint the Inside of the Jar
You’re going to paint the inside of the jar, not the outside. This gives it that frosted, glowy look.
Put a little white paint on a paper plate, dab your sponge in it, then shove the sponge into the jar. Just shake it around to coat the inside. You won’t get every spot on the first try — use a pencil to push the sponge into the corners and missed spots.
Once the inside is fully covered, set it aside to dry. Give it about 30 minutes.
Step 2: Cut Out the Fairy
While the paint dries, use your X-Acto knife to cut out the fairy. This part takes a while because of all the tiny wing details. I cut mine out before filming because I didn’t want to sit there for 20 minutes. If you want to save time, cut it out ahead of time too.
Step 3: Add the Moss
Once the paint is dry, glue moss to the bottom of the jar. How much you use depends on your jar size. I used about a handful.
Put a line of hot glue on the bottom, press the moss in, and use the pencil to push it down if needed. You want it to look like a little forest floor.
Step 4: Glue the Fairy Inside
If your jar has a logo on one side, put the fairy on the plain side. That way the logo doesn’t show through.
Put a dab of hot glue on the back of the fairy and stick her to the inside of the jar. Hold her in place for a few seconds until the glue sets.
Step 5: Add Shadows with Ivy
This step is optional but it makes the jar look way cooler. Take a piece of fake ivy and push it down into the jar. The leaves will press against the glass, and when the light is on, they’ll cast little leaf shadows. It looks like she’s standing in a tiny forest.
Step 6: Wrap the Outside with Twine and Ivy
Put the lid back on. Grab your twine — I used about a yard — and start wrapping it around the jar. You can go around a few times to make it thicker. As you wrap, tuck in pieces of fake ivy so they’re woven into the twine. When you’re done, tie a little bow and tuck the end under the twine so it stays.
Step 7: Add the Light
Open the jar, pop in a tea light, and close it back up. That’s it.
Extra Ideas
If you don’t like the silver lid, spray paint it. I used a gold one on another jar and liked it even better. If you’re using a repurposed jam jar, the lid will have words on it — definitely spray paint that.


