What You'll Need
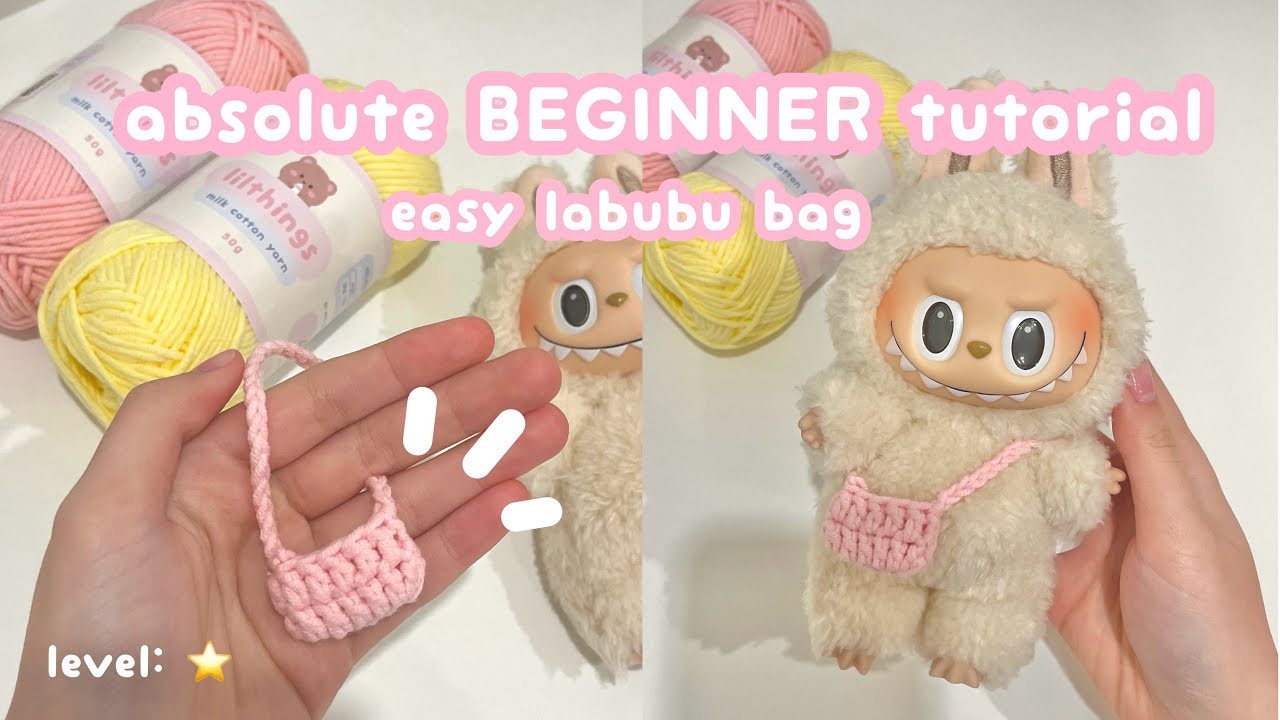
Looking for a cute crochet accessory for your favorite plushie? This step-by-step guide will walk you through making a little pouch that fits perfectly around your Booo (or any small plush friend). It's a simple project that uses basic crochet stitches and works up quickly.
Yarn and Colors:
- Milk cotton yarn in your choice of colors (50g skein works great)
Tools:
- 3mm crochet hook
- Scissors
- Stitch marker (or a scrap piece of contrasting yarn)
- Darning needle (for weaving in ends)
Optional but helpful:
- Electric yarn winder (to turn your yarn into a cake for easier crocheting)
Step-by-Step Guide
Step 1: Make a Slip Knot

Start by grabbing the yarn tail with your right hand. With your left hand, point up two fingers and slide them onto the yarn. Wrap the yarn around your two fingers to create a loop. Slide your thumb inside the loop, then grab the yarn tail from the right. Drop the loop and grab the working yarn with your right hand, then pull tight. You should now have a slip knot. Adjust the loop size by pulling the tail until it's snug but not too tight.
Step 2: Attach Your Hook and Hold Your Yarn

Slide your hook into the slip knot loop. Tighten it so it wraps comfortably around your hook—not too tight, not too loose.
How to hold your yarn: Place the working yarn on your left palm. Hold it in place using your ring finger and pinky. Wrap the yarn around your index finger (go behind and over). Keep your index finger pointed up and straight. Use your middle finger and thumb to hold your work.
How to hold your hook: Hold it like you would a pen. When you have multiple loops on the hook, use your middle finger to support them.
Step 3: Create Your Foundation Chain

This chain determines the width of your pouch back. Chain the number you want for your desired width, then add 2 extra chains for height.
- Yarn over (bring hook behind and over the working yarn)
- Pull through the loop on your hook
- Repeat until you have your desired number of chains
- End by chaining 2 extra
For a small Booo pouch, 5 chains plus 2 extra (7 total) is a good starting point.
Step 4: Work Round 1 – Double Crochet Across

Important: Skip the 2 chains you just made. Insert your hook into the 3rd chain from your hook.
To make a double crochet (dc):
- Yarn over
- Insert hook into the chain (under the V)
- Yarn over and pull up a loop (3 loops on hook)
- Yarn over and pull through 2 loops (2 loops left)
- Yarn over and pull through remaining 2 loops
Make 1 double crochet in each chain across. When you reach the very last chain, make 3 double crochets into that same chain space. This creates the turn for your pouch.
Step 5: Work the Opposite Side

Turn your work. Now you'll crochet along the bottom of the chain.
- Yarn over and insert your hook into the bottom of the next stitch (the 4th stitch from your hook)
- Make 1 double crochet in each stitch across
- In the very last stitch (the turning chain), make 2 more double crochets (you already made 1, so this gives you 3 total)
Step 6: Close the Round

Find your very first stitch (marked with a stitch marker). Insert your hook into it, yarn over, and pull through both the stitch and the loop on your hook. This is called a slip stitch. Tighten it well to prevent gaps.
Step 7: Add Depth (Round 2 and Beyond)
To make your pouch deeper:
- Chain 2 (for height)
- Make 1 double crochet in every stitch all the way around (no increases this time)
- Insert hook under the V at the top of each stitch
- Close the round with a slip stitch into the first stitch
Repeat this round as many times as you like for a deeper pouch. Check the fit on your Booo as you go.
Step 8: Make the Strap

Once you're happy with the pouch depth, you'll create a strap that wraps around your Booo's body.
- Chain a long chain (start with about 30-40 chains)
- Wrap the chain around your Booo's body to test the length
- Make sure the chain isn't twisted
- Insert your hook from the inside of the pouch to the outside, into the closest stitch
- Yarn over and pull through both the stitch and the loop on your hook (slip stitch)
- Tighten securely
Step 9: Fasten Off

- Chain 1
- Pull up a big loop
- Cut the yarn, leaving a 4-6 inch tail
- Pull the tail through the loop to secure
- Tuck the yarn tail inside the pouch or weave it in with a darning needle
Tips for Success
- Check your tension: If your stitches are too tight, it'll be hard to insert your hook. If too loose, your pouch will have gaps. Practice makes perfect.
- Use stitch markers: Always mark your first stitch of each round. This prevents you from losing your place and keeps your pouch shape even.
- Test the strap length as you go: It's easier to add more chains now than to redo the whole strap later.
- Tighten your slip stitches: A loose slip stitch will make your pouch wider with each round. Pull firmly after each slip stitch.
- Choose the right yarn: Milk cotton yarn is perfect for amigurumi and small accessories. It's soft, durable, and holds its shape well.


