What You'll Need
Here is a clear, actionable DIY tutorial based on the transcript provided.
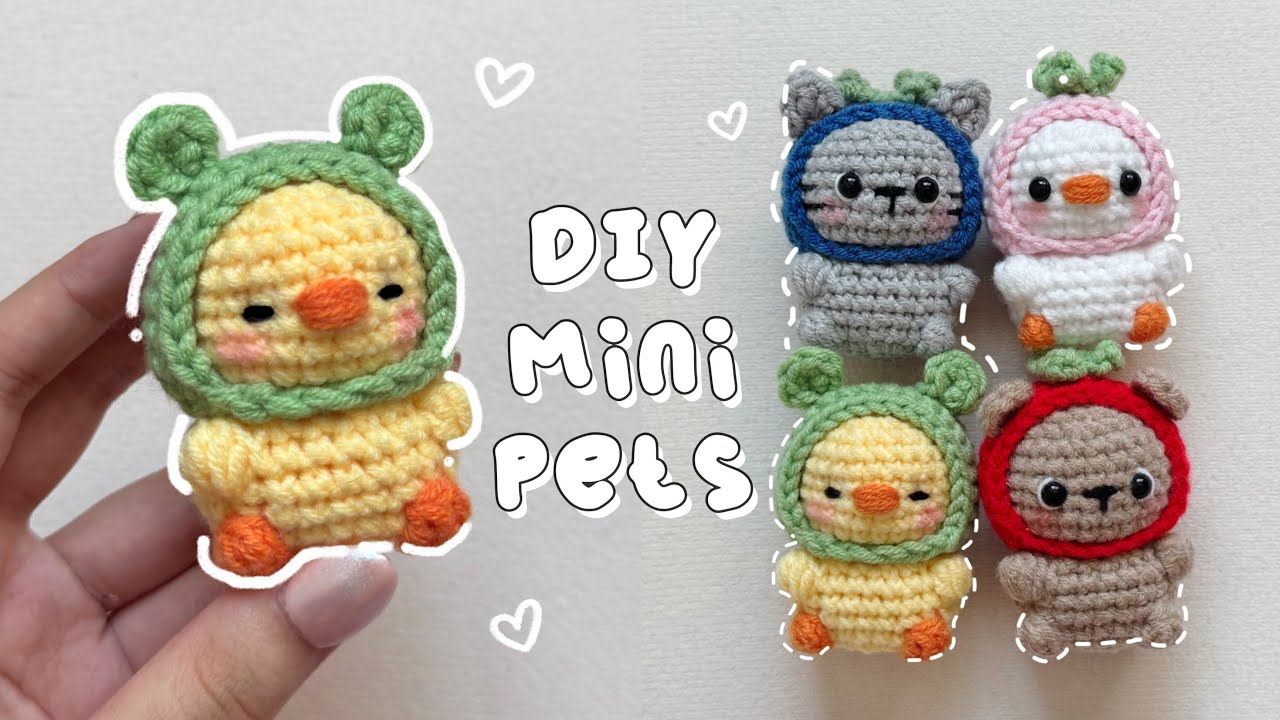
# How to Crochet a Cute Mini Amigurumi Plushie
This tutorial will guide you through creating an adorable mini plushie, perfect for beginners. You will learn the basic techniques to crochet a small body and head, and then add details to make a duck, bear, or cat. The result is a chubby, cuddly friend that you can customize with different colors and features.
- Yarn: 5 blank yarn (or any medium-weight yarn in your desired colors, such as yellow for a duck, brown for a bear, or gray for a cat).
- Crochet Hook: A 3.5 mm crochet hook (or the appropriate size for your chosen yarn).
- Stitch Marker: To mark the beginning of your rounds.
- Yarn Needle: For sewing parts together and weaving in ends.
- Scissors: For cutting yarn.
- Stuffing: Polyester fiberfill or any soft stuffing material.
- Eyes: 5 mm safety eyes or small beads (you can also embroider them with black yarn).
- Glue: Craft glue (if using non-safety eyes).
- Optional: Small amounts of orange and black yarn for the beak and face details.
Step-by-Step Guide
Step 1: Make the Magic Ring and Round 1
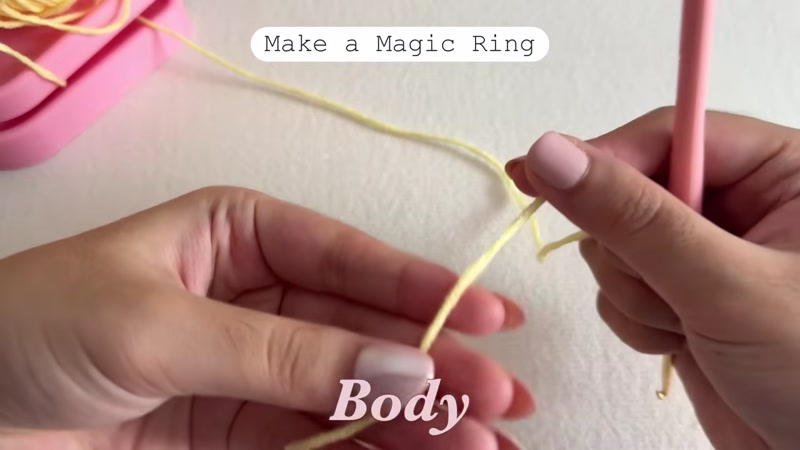
- Wrap the yarn around your two fingers. Insert your hook under the loops, pull the working yarn to the front, and twist.
- Yarn over and pull through to make one chain. This secures the magic ring. Remove the ring from your fingers.
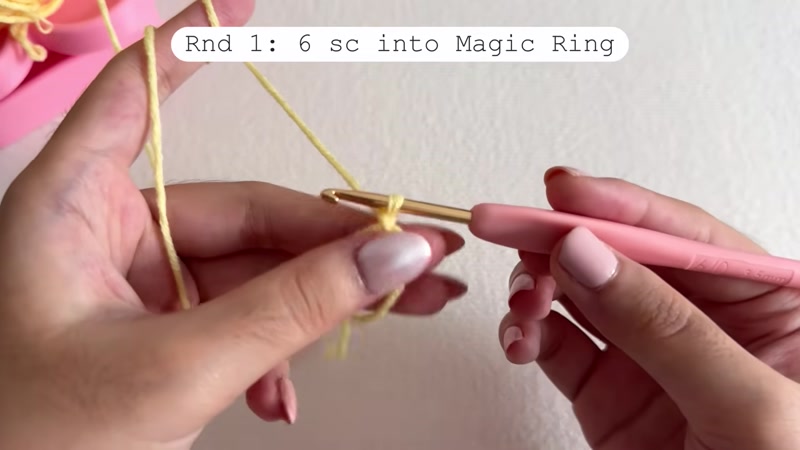
- Round 1: Make 6 single crochets (sc) into the magic ring.
- To make a single crochet: Insert your hook into the ring, yarn over, pull up a loop (2 loops on hook), yarn over, and pull through both loops.
- Pull the yarn tail tightly to close the ring.
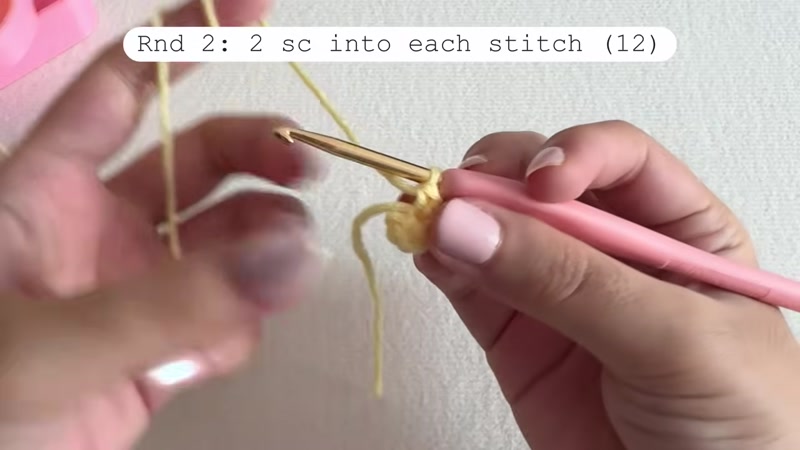
Step 2: Increase to Shape the Body (Rounds 2-4)
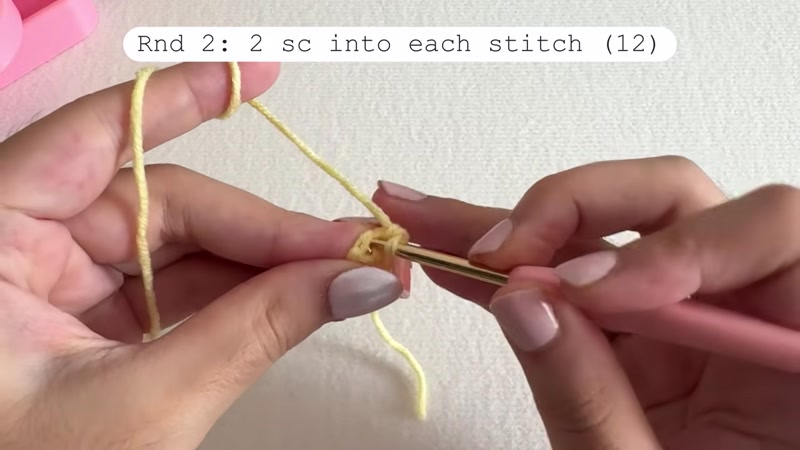
- Round 2: Make 2 single crochets in every stitch (an increase in each stitch). You will have 12 stitches. Place a stitch marker in the first stitch of this round.
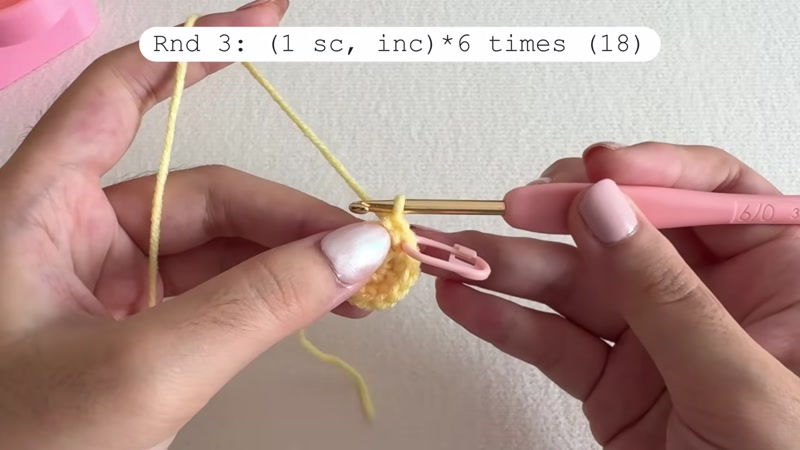
- Round 3: 1 single crochet, then an increase (2 sc in the next stitch). Repeat this pattern around. You will have 18 stitches.
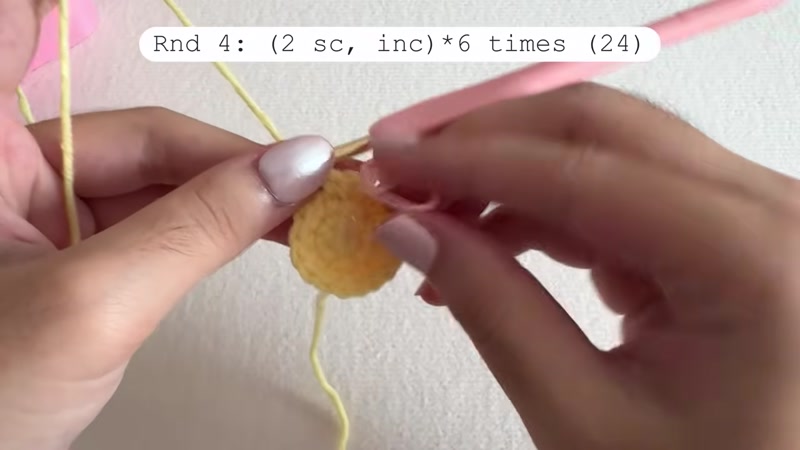
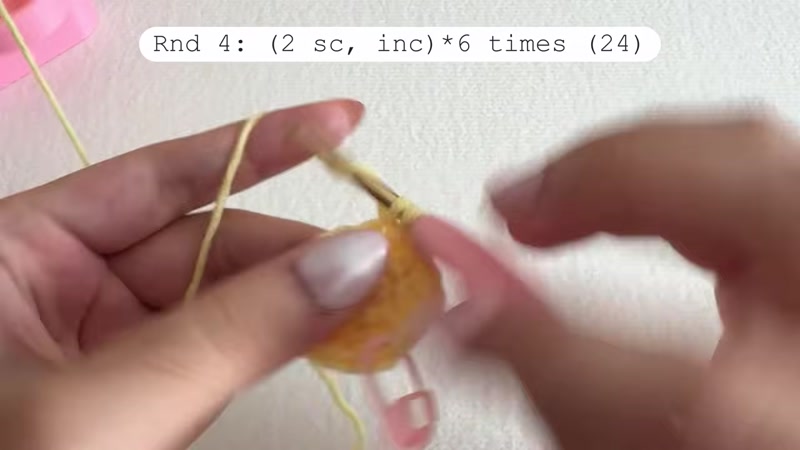
- Round 4: 1 single crochet in each of the next 2 stitches, then an increase. Repeat around. You will have 24 stitches.
Step 3: Add Feet (Optional - For Duck)
If you are making a bear or cat, skip this step and continue with 24 single crochets for Round 5.
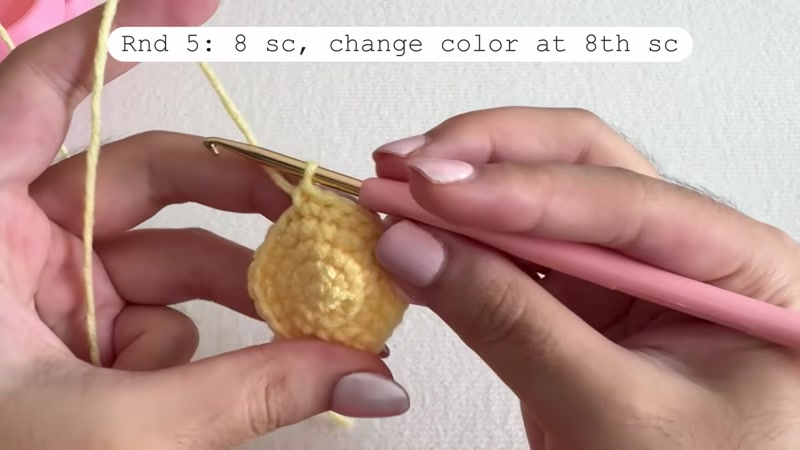
- Round 5: Make 8 single crochets. For the 8th stitch, start a single crochet but stop when you have 2 loops on the hook.
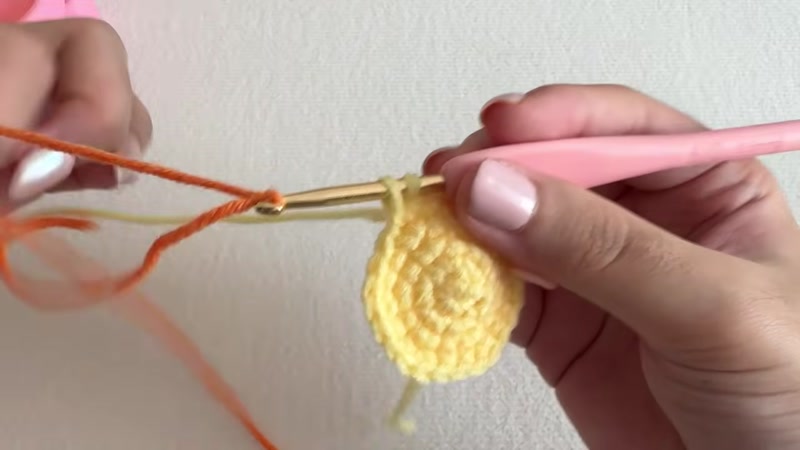
- Attach a new color (orange) by pulling it through those 2 loops.
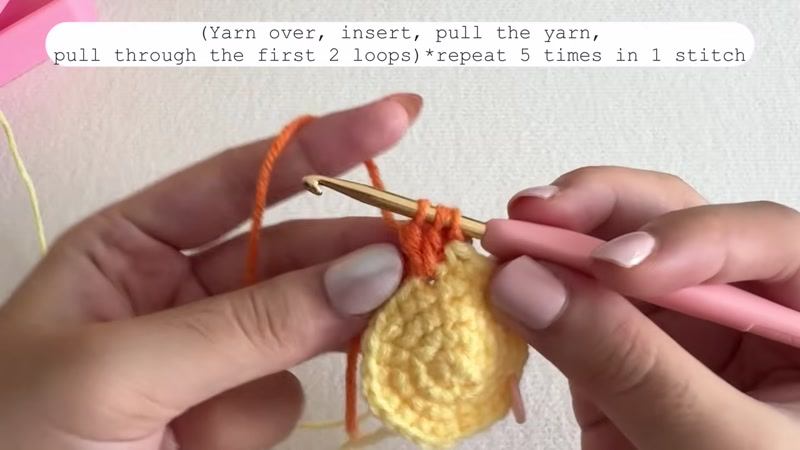
- Make a Bubble Stitch (the foot):
- Yarn over, insert hook into the next stitch, pull up a loop, yarn over and pull through the first 2 loops (do not complete the stitch). Repeat this 4 more times in the same stitch. You will have 6 loops on your hook.
- Switch back to the main color (yellow), yarn over, and pull through all 6 loops. Push the bubble stitch out to shape the foot.
- Make 5 single crochets. Repeat the bubble stitch process to make the second foot.
- Make 1 single crochet in each of the remaining 9 stitches. Cut the orange yarn.
Step 4: Crochet the Body Height (Rounds 6-8)
- Round 6 & 7: Make 1 single crochet in each stitch around (24 stitches). When you reach a bubble stitch, crochet into it as normal.
- Round 8: Make 7 single crochets. Then, make a bubble stitch (using the same method as the feet, but with the main color) for the first arm.
- Make 7 single crochets. Make a second bubble stitch for the other arm.
- Make 1 single crochet in each of the remaining 8 stitches.
Step 5: Decrease to Close the Body (Rounds 9-10)
- Round 9: 1 single crochet in each of the next 2 stitches, then a decrease.
- To make a decrease: Insert your hook into the front loop of the next stitch, then into the front loop of the following stitch. Yarn over and pull through both front loops, then yarn over and pull through the remaining 2 loops.
- Repeat this pattern around. You will have 18 stitches.
- Round 10: 1 single crochet, then a decrease. Repeat around. You will have 12 stitches.
- Stuff the body firmly with fiberfill.
Step 6: Start the Head (Rounds 11-17)
- Round 11: Make 2 single crochets in every stitch, but only into the front loop of each stitch. This creates a nice neckline. You will have 24 stitches.
- Round 12: Make 1 single crochet in every stitch (normal sc, through both loops). Place a stitch marker in the first stitch of this round.
- Rounds 13-17: Make 1 single crochet in every stitch (24 stitches) for 5 total rounds. This forms the head.
Step 7: Decrease to Close the Head (Rounds 18-20)
- Round 18: 1 single crochet in each of the next 2 stitches, then a decrease. Repeat around. You will have 18 stitches.
- Round 19: 1 single crochet, then a decrease. Repeat around. You will have 12 stitches.
- Stuff the head firmly with fiberfill.
- Round 20: Make a decrease in every stitch (6 times). You will have 6 stitches.
- Squeeze the plushie to shape it. Cut the yarn, leaving a long tail. Thread the tail through the yarn needle and weave it through the front loops of the last 6 stitches. Pull tight to close the hole. Knot and hide the tail inside.
Step 8: Crochet the Hat
- Repeat Rounds 1-4 of the body pattern. You will have a circle with 24 stitches.
- Row 1: Make 3 single crochets. Chain 1 and turn your work.
- Row 2-6: Make 1 single crochet in each of the next 21 stitches. Chain 1 and turn your work. Repeat this row 4 more times (for a total of 5 rows).
- Finishing: Make 6 chains. Insert your hook into the stitch at the base of the chains and make a slip stitch to form a loop. Chain 1 and cut the yarn. This loop will be a little top knot.
Step 9: Make the Ears or Leaf
For a Bear or Cat Ear:
- Make a slip knot. Chain 2.
- Skip the first chain from the hook. In the second chain, make 5 single crochets.
- Make a slip stitch in the same stitch. Chain 1 and leave a long tail for sewing.
For a Cat Ear (pointy):
- Make a slip knot. Chain 3.
- Skip the first chain. In the second chain, make 1 single crochet. Chain 1.
- In the next chain, make 1 double crochet. Chain 1.
- In the same stitch, make 1 single crochet, then a slip stitch. Chain 1 and leave a tail. Pinch the ear to shape it pointy.
For a Fruit Leaf:
- Make a magic ring.
- Chain 3. Skip the first chain, make a single crochet in the second chain, and a single crochet in the next chain. Make a slip stitch into the magic ring.
- Repeat from to 2-4 times (3 times for a small leaf, 5 times for a star shape).
- Chain 1, pull the tail tight to close the ring. Leave a long tail for sewing.
Step 10: Assemble and Embroider
- Attach the Hat: Sew the hat onto the head using the yarn needle and the tail from the hat.
- Attach Ears/Leaf: Sew the ears or leaf to the top or sides of the head.
- Attach Eyes: Glue on 5 mm eyes or embroider them with black yarn between Rounds 14-15 of the head.
- Embroider Face:
- Duck: Embroider a small orange beak with orange yarn.
- Cat/Bear: Embroider a small nose and mouth with black or pink yarn. Add whiskers for the cat.
- Secure all yarn tails: Weave all loose ends inside the plushie.
Tips for Success
- Count Your Stitches: Use a stitch marker at the beginning of each round. It is very easy to lose count, especially with increases and decreases.
- Maintain Tension: Try to keep your yarn tension consistent. Loose stitches can cause the stuffing to show, while tight stitches make it hard to insert your hook.
- Stuff Firmly, but Not Too Much: The plushie should be firm enough to hold its shape but still soft and squishy. Over-stuffing can stretch the stitches.
- Weave in Ends Securely: When you finish a part, weave the yarn tail back and forth through several stitches to prevent it from coming undone.
- Practice the Bubble Stitch: This stitch creates the feet and arms. If it feels tricky, practice on a scrap piece of yarn first. The key is to not complete the stitch until you have all 6 loops on the hook.


