What You'll Need
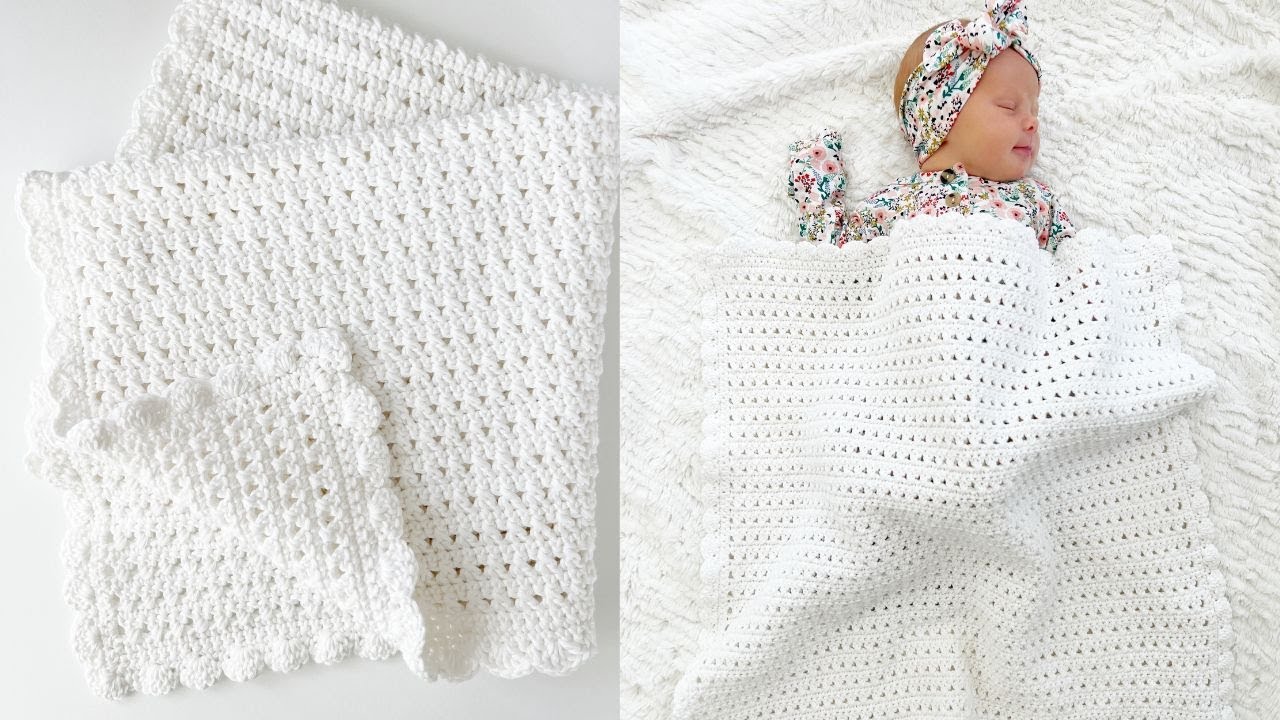
This beautiful, dainty blessing blanket features a lovely crisscross stitch pattern and a delicate scalloped border. Perfect for a new baby, car seat cover, or christening gift, this pattern is beginner-friendly and creates a timeless heirloom piece.
- Yarn: Bernat Softee Cotton (60% cotton, 40% acrylic) in White – approximately 2-3 skeins for a car seat size blanket
- Crochet Hook: Size G (4.0 mm)
- Scissors
- Yarn needle for weaving in ends
Step-by-Step Guide
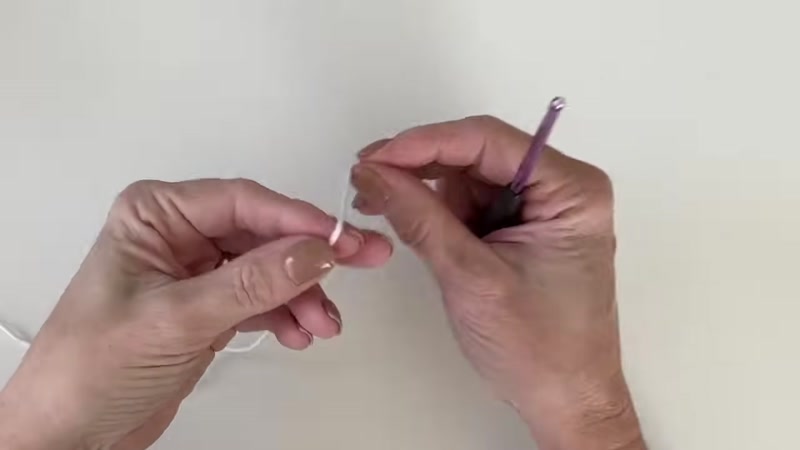
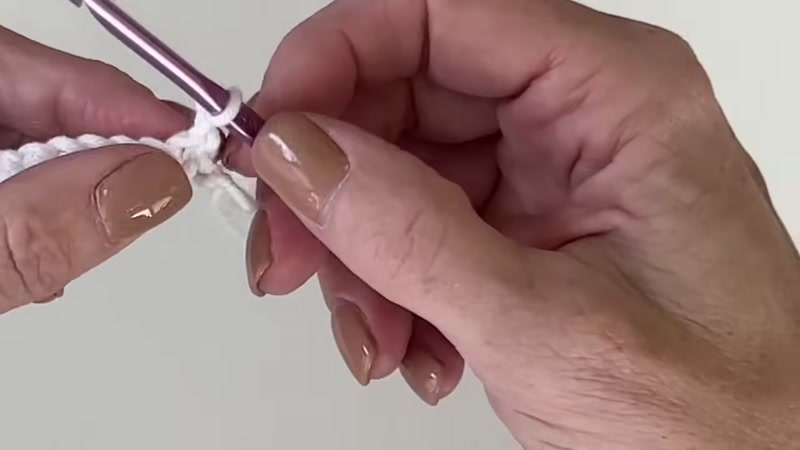
Step 1: Create Your Foundation Chain
Chain an odd number of stitches to your desired blanket width. For a car seat size blanket, chain approximately 81-101 stitches. The odd number accounts for the turning chain on your first row.
Example: For a practice swatch, chain 15 stitches.
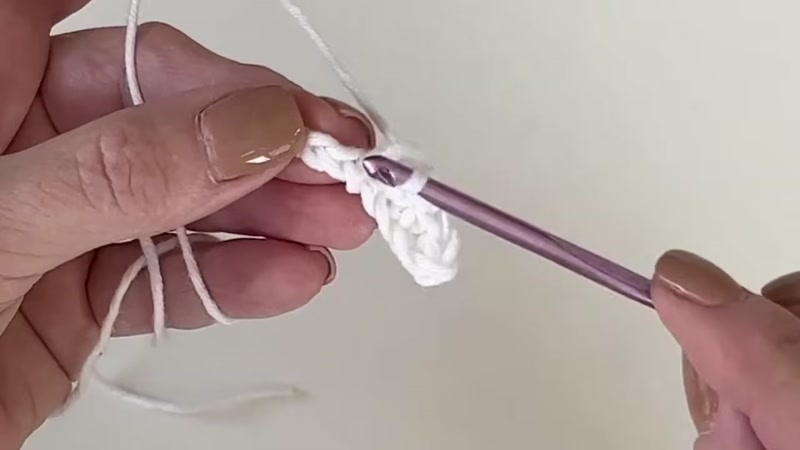
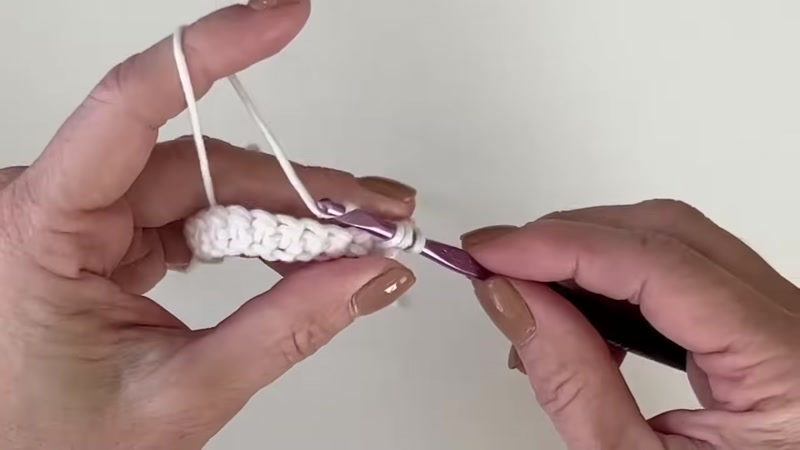
Step 2: Work the First Single Crochet Row
Begin in the second chain from your hook. Work a single crochet into each chain across the row.
Important: You should end up with an even number of single crochet stitches. For example, if you chained 15, you should have 14 single crochet stitches. Chain 1 and turn your work.
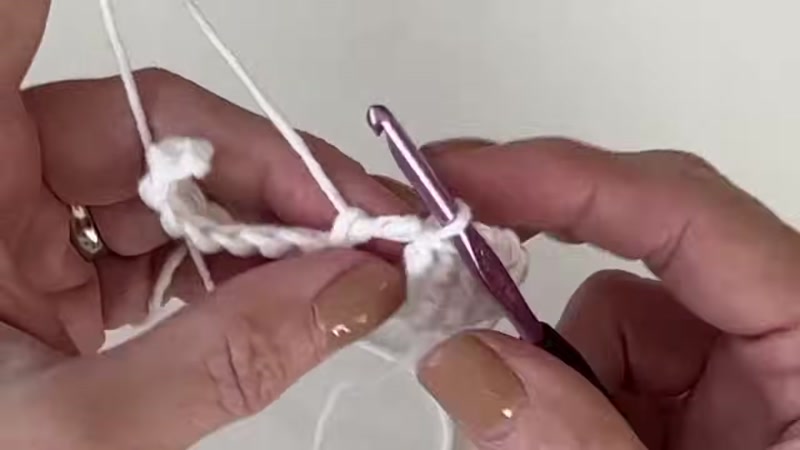
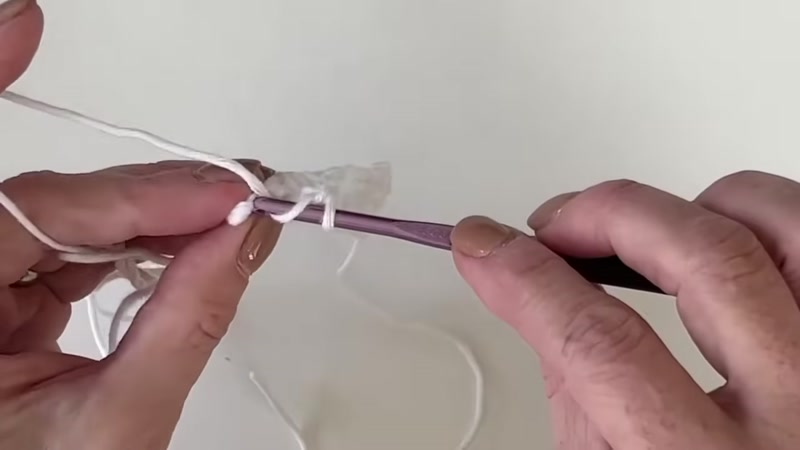
Step 3: Create the Crisscross Double Crochet Pattern
Chain 2 (this counts as your first double crochet). Skip the next stitch, then work a double crochet into the following stitch. Now, go back and work a double crochet into the stitch you just skipped. This creates a crisscross or "X" pattern.
Tip: Keep the stitches pinched together tightly to prevent them from becoming too loose and separated.
Repeat across the row: skip one stitch, double crochet in the next, then double crochet back into the skipped stitch. You should end with one remaining stitch. Work a single double crochet into that last stitch to keep the sides straight.
Chain 1 and turn.
Step 4: Alternate Rows
Work one row of single crochet across all stitches. Remember to work into the turning chain at the end of this row.
Then repeat the crisscross double crochet row (Step 3). Continue alternating between these two rows until your blanket reaches the desired length.
Always end with a row of single crochet before starting the border.
Step 5: Work the Border – Round 1 of Single Crochet
Chain 1 and turn. Work single crochet stitches around the entire blanket:
- Across the top and bottom: Work one single crochet into each stitch.
- Along the sides: Work 2 single crochet stitches around the post of each double crochet row, and 1 single crochet around the post of each single crochet row.
- At each corner: Work single crochet, chain 2, single crochet into the same corner space.
When you return to the starting corner, join with a slip stitch to the first single crochet of the round.
Step 6: Work the Border – Round 2 of Single Crochet
Chain 1 and turn. Repeat the same process as Round 1:
- Work single crochet into each stitch around.
- At each corner (the chain-2 space from the previous round), work single crochet, chain 2, single crochet.
Join with a slip stitch to the first single crochet. Chain 1 and turn.
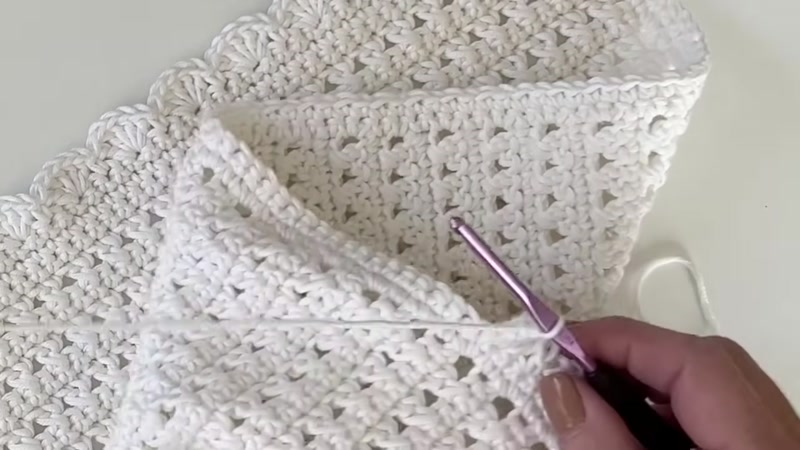
Step 7: Create the Scalloped Shell Border
Start with a single crochet in the first stitch. Skip one stitch, then work 5 double crochet all into the next stitch (this creates a shell). Skip one stitch, then work a single crochet into the following stitch.
Continue this pattern around the entire blanket: single crochet, skip one, 5 double crochet in one stitch, skip one.
At the corners: Be flexible with your spacing. If possible, place a shell directly in the corner chain-2 space. You may need to skip 2 stitches instead of 1 to make this work. The goal is to have the shells look balanced and attractive.
When you return to the beginning, join with a slip stitch. Fasten off and weave in all ends.
Tips for Success
- Count your stitches carefully – If your crisscross pattern stops lining up, you may have missed working into the turning chain on your single crochet row.
- Keep consistent tension – The crisscross stitches look best when you pinch them together tightly. Loose stitches will create gaps in the pattern.
- Adjust your turning chain – If chain 2 feels too tight for your yarn, feel free to use chain 3 instead for the double crochet rows.
- Be flexible with the border – The shell pattern doesn't have to be mathematically perfect. Adjust by skipping 1 or 2 stitches as needed to make the shells land attractively, especially at corners.
- Weave in ends as you go – This saves time and prevents loose ends from getting tangled in your work.


