What You'll Need
I've got French cleats on the wall and a pile of crap on the floor. Time to build some shelves.
- 1x2 boards (leftover from other projects works great)
- 1/2" plywood (I used a 2x4 foot sheet)
- Countersink drill bit
- Screws (deck screws work fine)
- Miter saw or chop saw
- Table saw (for cutting down the plywood tops)
- Combination square (for checking 90 degrees)
- Pencil
Step-by-Step Guide
Step 1: Cut Your 1x2s to Size
I cut my 1x2s to these dimensions:
- Top piece: 8 inches
- Vertical piece: 13 1/4 inches
- Horizontal piece: 13 1/2 inches
- Small cleat: 2 inches tall
Don't stress about perfect cuts. My saw isn't set up perfectly, and an eighth of an inch one way or the other won't matter — especially on the diagonal piece. I'll show you why.
Step 2: Assemble the L-Shape
Screw the horizontal and vertical pieces together, trying to get them close to 90 degrees. I used a countersink bit to prevent tear-out. To hold it square, I used the insert from a combination square. Not ideal — there are jigs and 3D printed clamps for this — but mine are buried in boxes somewhere.
You can get close enough with a little care. And since I'm making a dozen of these, I batch-cut everything and assembled them all at once.
Step 3: Cut the Diagonal Brace
Here's where geometry comes back to haunt you. The diagonal piece needs angles that add up to 90 degrees. My miter saw only goes to 50, so I used 50 and 40. That works as long as they add up to 90 — you're making the hypotenuse of a right triangle.
Cut one end at whichever angle (50 or 40), then measure and cut the other side. I got one right, then used it as a template for the rest. Cut one side first, measure, then cut the other.
Step 4: Attach the Diagonal Brace
The diagonal sits between the horizontal and vertical pieces. I eyeballed center, drilled one hole with the countersink bit, put in a screw, then flipped it around and did the other side. Don't drill both holes before putting in screws — the piece will shift and nothing will line up.
Step 5: Trim the Bottom
Hold the assembled support against the wall to see how far down you want it. Mark it with a pencil and chop it off with the miter saw. You want it to stick below the 6-inch wall cleat so you can add the locking piece underneath.
Be careful where you cut — don't saw through a screw. Also, check your saw blade. Mine might have been a laminate floor blade, not a wood blade. It worked anyway.
Step 6: Cut the Shelf Tops
The 2x4 foot plywood sheets — I cut them down to 16 inches deep on the table saw. Do the same for whatever depth you want.
Step 7: Attach the Cleat
Pre-drill everything. Seriously. This is cheap plywood and it will split. I still got some splitting even with pre-drilling, but not enough to ruin anything.
First, attach the cleat to the back of the shelf. Then flip it over and attach the supports to both the cleat and the shelf. Don't do the supports first — starting with the cleat makes it way easier to line everything up. The flat top of the board stands up nicely, and you can hold it against the cleat while drilling.
I used the countersink bit for everything. It lets you sink the screw in gently with a manual screwdriver — no power drills needed for this part.
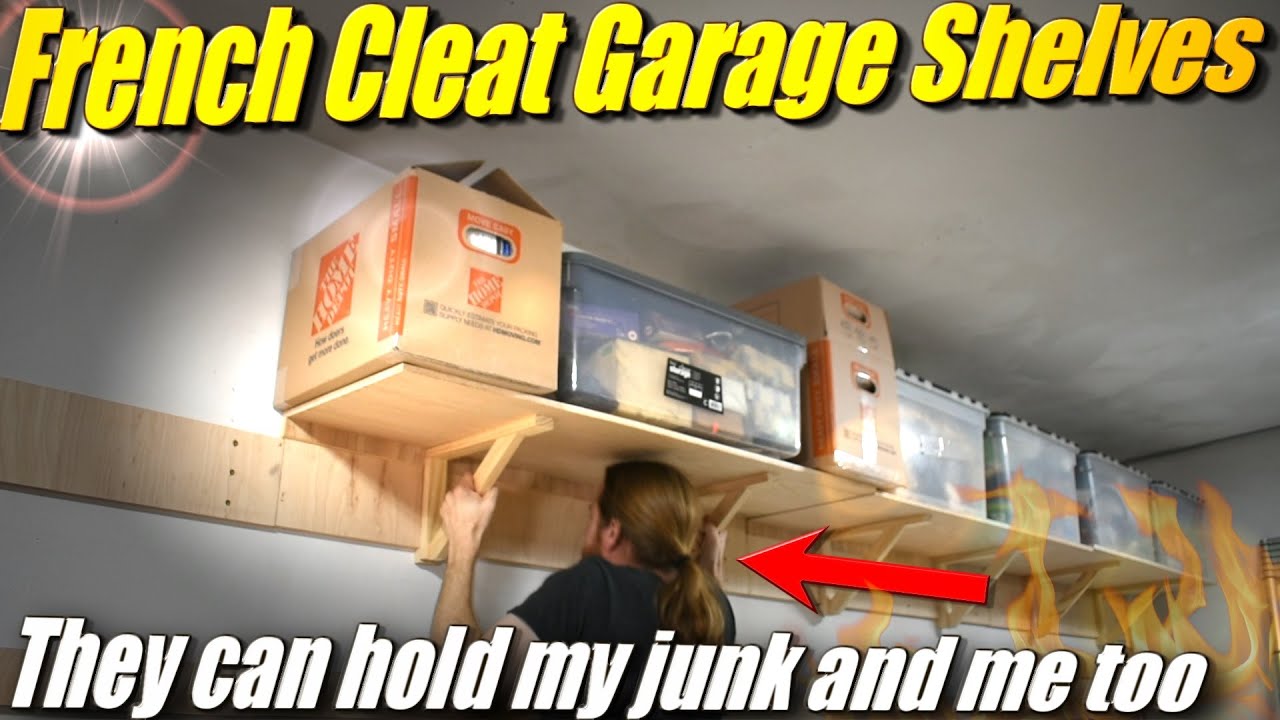
Step 8: Lock It in Place
Hang the shelf on the wall cleat. Pre-drill a hole through the little locking piece underneath, then put in a screw. This locks the shelf in place. You can pull the screw out later if you want to remove the shelf, but it won't budge otherwise.
I can shove up on the bottom of this thing and it won't push off the cleat. French cleats are surprisingly strong — everyone told me that, but I didn't believe it until I tested it.
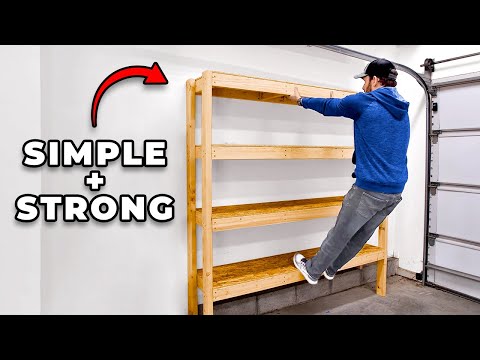
Step 9: The Test
I threw a bunch of heavy stuff on the shelf, then stupidly shook it directly above my head. Then I tried doing pull-ups on it until I bumped my head on the bottom. It held fine.
A Note on Dimensions
You can change these dimensions to fit whatever cleats you put on the wall. The off-cuts from the 16-inch shelves became the bottom for the next shelf — just put two pieces together and it still works.
Now I have enough floor space to cover the floor with more junk.