What You'll Need
Here is a step-by-step DIY tutorial based on the provided transcript.
# How to Build a Sturdy Floating Shelf (Using a Hollow Core Door)
Floating shelves are a fantastic way to display collectibles, books, or photos without visible brackets. In this tutorial, we’ll show you how to build a strong, professional-looking floating shelf using a hollow core door. It’s an easy, budget-friendly project that looks amazing.
- Materials:
- 1 hollow core door (30 inches wide is a good size)
- 1 piece of pine lumber (for the cleat, cut to fit the door cavity)
- Wood glue
- Structural screws (or lag screws) for attaching the cleat to the wall
- Cabinet screws, wire brads, or finishing screws (for securing the shelf to the cleat)
- Stain or paint (optional, for finishing)
- Tools:
- Table saw (with an outfeed table for safety)
- Utility knife / safety razor blade
- Stud finder
- Cordless drill with drill bits (including a bit smaller than your screws)
- Clamps
- Hammer
- Scrap wood (for tapping the shelf into place)
- Cordless screwdriver
- Measuring tape
- Level
Step-by-Step Guide
1. Cut the Door to Shelf Size
Place the hollow core door on your table saw. Set the fence to cut a shelf that is the appropriate width for your display. For a standard shelf, cutting the door down the middle works well, but you can adjust the size to your needs.
Safety Tip: Always use an outfeed table behind your table saw to support the long piece of door as you cut.
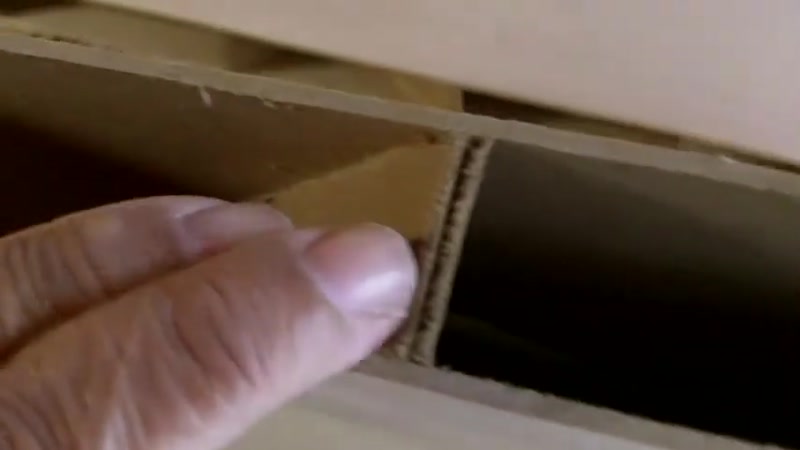
2. Prepare the Door Cavity

Turn the cut piece of door on its side. You’ll see the hollow core is filled with cardboard. You need to remove some of this cardboard to make room for the mounting cleat.
Using a utility knife, carefully cut away the cardboard from the top edge of the shelf. Remove enough cardboard to create a cavity that is about 1 to 2 inches deep. This will be the slot where the cleat sits.
After cutting, use a safety razor blade to smooth out any remaining cardboard remnants inside the cavity.
3. Cut the Cleat
Measure the distance between the top of the shelf and the cardboard inside the cavity. You want the cleat to be slightly thicker than this gap for a snug fit. For example, if the gap is 1-1/16 inches, cut your cleat to 1-1/8 inches thick. The door skin is flexible, so a tight fit is ideal.
Cut your pine lumber to this thickness on the table saw. The length of the cleat should match the length of your shelf.
4. Dry Fit the Cleat

Before attaching anything to the wall, test-fit the cleat inside the shelf cavity. Push it in to ensure it slides in snugly. If it’s too tight, you can sand it down slightly. If it’s too loose, you’ll need to adjust your cut. Once you’re happy with the fit, remove the cleat.
5. Locate Wall Studs

Decide where you want the shelf on the wall. Use a stud finder to locate the studs behind the drywall. Mark the center of each stud with a pencil.
6. Pre-Drill the Cleat

Hold the cleat up against your reference line on the wall. Mark the spots where the cleat will line up with your stud marks.
Clamp the cleat to a workbench. Pre-drill pilot holes at these marks. Important: Use a drill bit that is slightly smaller in diameter than the screw you will use to attach the cleat to the wall. This prevents the wood from splitting.
7. Attach the Cleat to the Wall

Line up your pilot holes with the center of the studs. Using a structural screw (or lag screw), drive the screw through the cleat and into the stud. Repeat for each stud. Ensure the cleat is level and securely fastened to the wall.
8. Apply Glue and Position the Shelf

Apply a generous amount of wood glue to the inside of the shelf cavity. Make sure to coat the top lip and the bottom of the cavity.
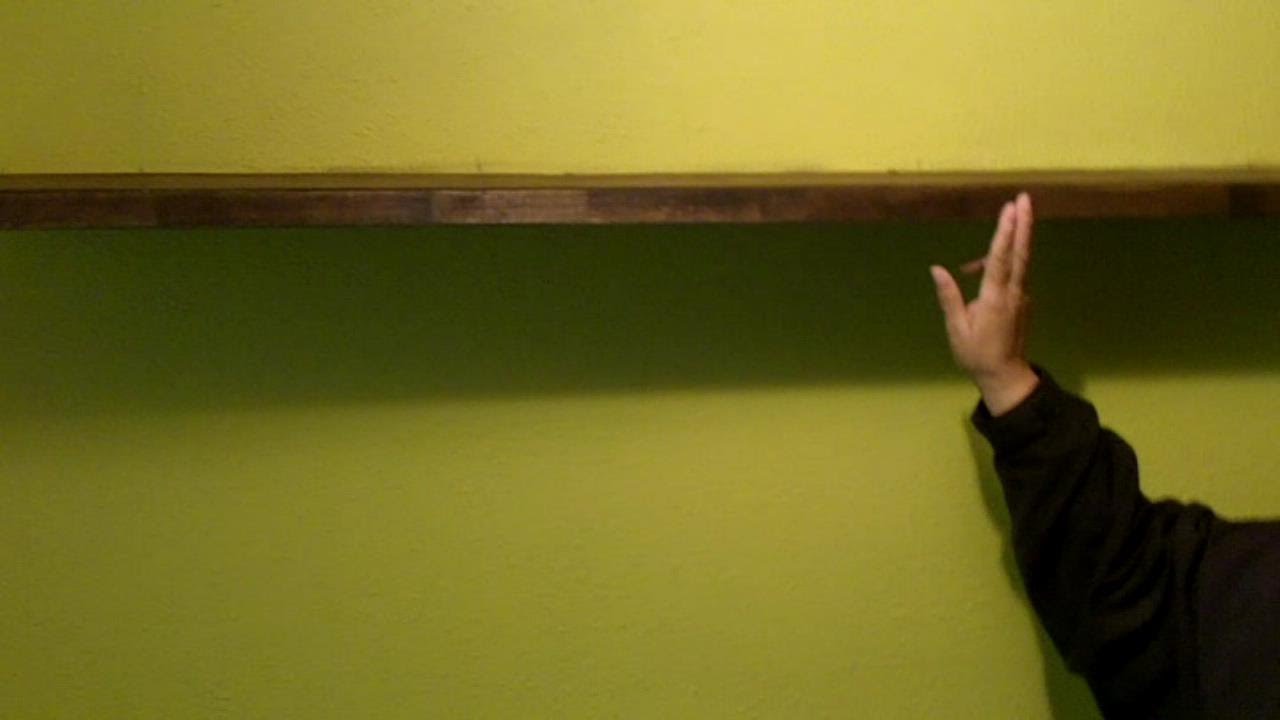
9. Slide the Shelf onto the Cleat

Carefully slide the shelf onto the cleat. It should be a snug fit. If it’s tight, use a hammer and a piece of scrap wood to gently tap the shelf into place. This prevents damage to the shelf’s surface.
10. Secure the Shelf

Once the shelf is fully seated, use a cordless screwdriver to drive screws into the cleat. You can use cabinet screws, wire brads, or finishing screws. Drive a screw approximately every 12 inches along the length of the shelf. Don’t forget to secure the underside as well.
Tips for Success
- Snug Fit is Key: The tightness of the cleat inside the shelf is what makes it a true “floating” shelf. Don’t be afraid to make the cleat a little thicker than the gap.
- Pre-Drill to Prevent Splits: Always pre-drill pilot holes for your screws, especially when attaching the cleat to the wall. This prevents the wood from cracking.
- Use a Level: Before securing the cleat to the wall, use a level to make sure it’s perfectly horizontal. A crooked cleat means a crooked shelf.
- Protect the Finish: When tapping the shelf into place, always use a piece of scrap wood between the hammer and the shelf. This prevents dents and damage.
- Choose Your Fasteners Wisely: If you don’t have a nail gun, a cabinet screw or finishing screw works perfectly. They are easy to use with a standard drill.


