What You'll Need
Here is a DIY tutorial based on the video transcript provided.
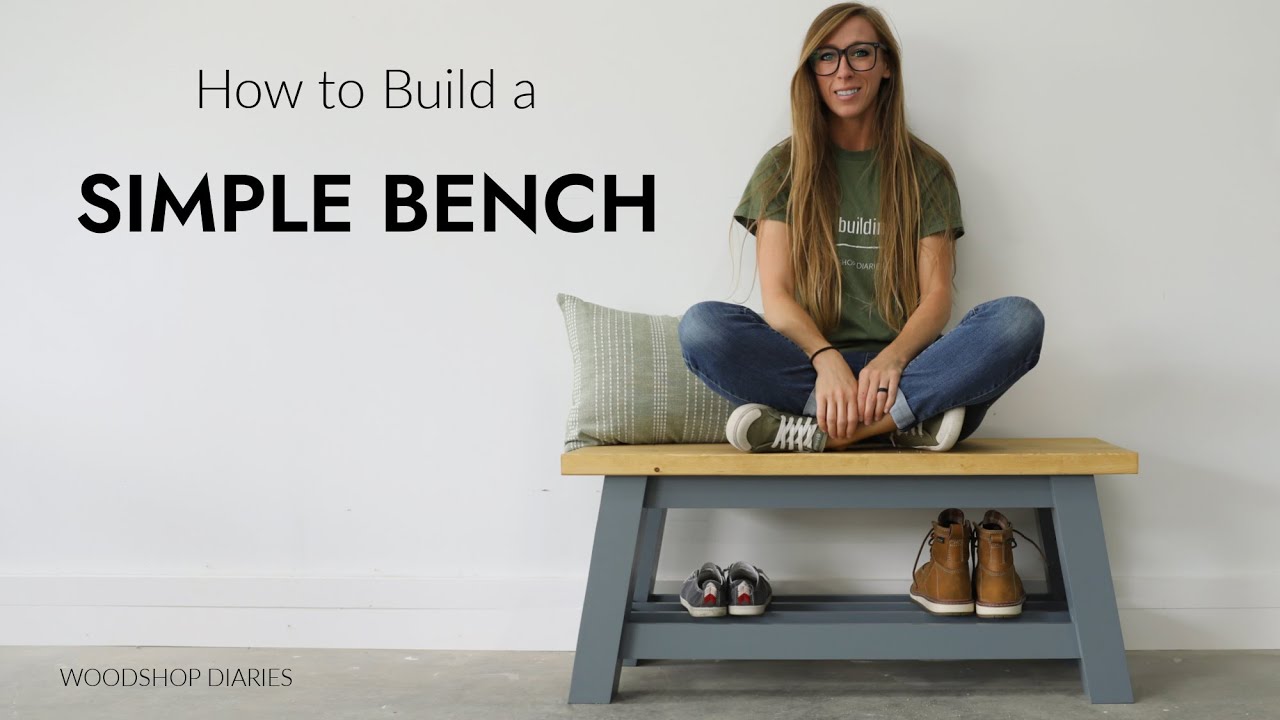
# How to Build a Simple Wooden Shoe Bench
This classic shoe bench is a practical and stylish addition to any entryway, mudroom, or bedroom. With clean lines and a straightforward build, it’s a perfect weekend project for any DIYer. The design features angled legs for a subtle, modern look and a solid wood top that can be stained or painted to match your decor.
Materials:
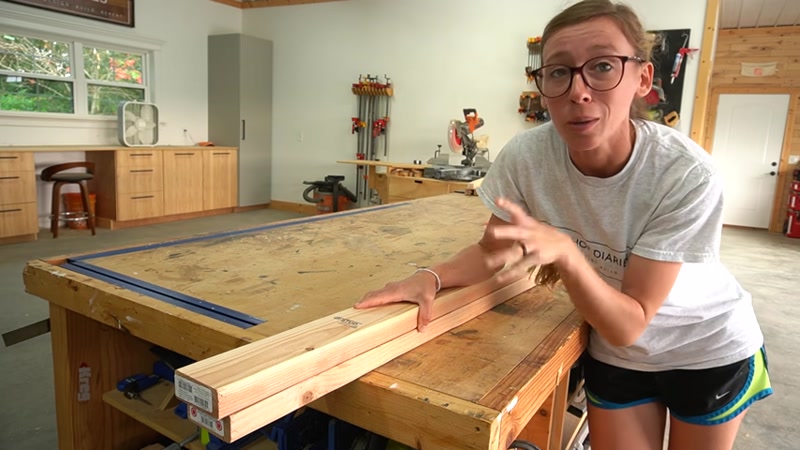
- 2x4 boards (for legs)
- 1x3 boards (for frame and shelf supports)
- 2x6 boards (for the seat top)
- Wood glue
- 1 ¼-inch pocket hole screws
- Wood filler or ⅜-inch dowels
- Primer and paint (for the base)
- Wood stain and polyurethane (for the seat top)
- Figure-eight fasteners (for attaching the top)
- 120 and 220-grit sandpaper
Tools:
- Miter saw
- Table saw
- Drill / Driver
- Pocket hole jig (e.g., Kreg Jig)
- Clamps
- Sander
- Tape measure
- Chisel
- Paintbrush and roller
Step-by-Step Guide
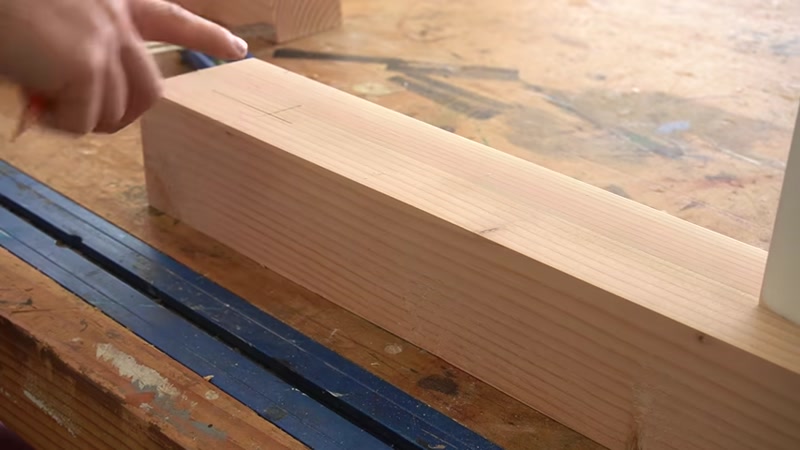
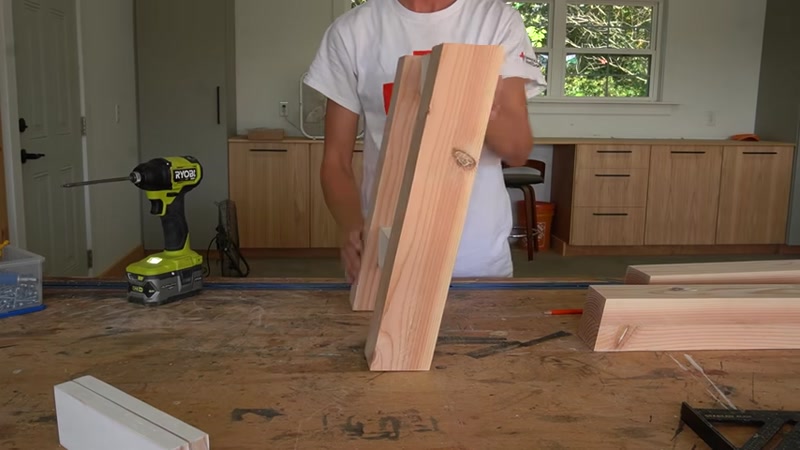
1. Build the Bench Legs
Start by creating the four legs. Instead of using a single 4x4 post, glue two 2x4s together to create a stronger, more stable leg. Apply a generous amount of wood glue to the flat sides of two 2x4s and clamp them together. Let the glue dry completely.
Once dry, run the glued-up post through a table saw. Cut about ¼-inch off each side to make it perfectly square, removing the rounded edges and any dried glue squeeze-out.
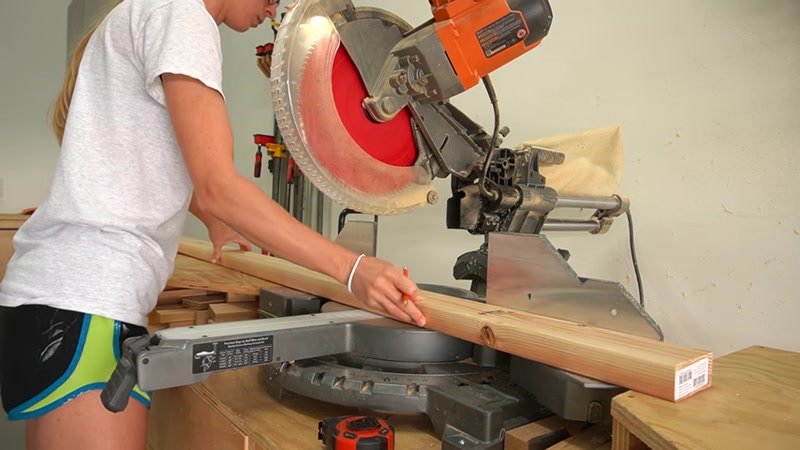
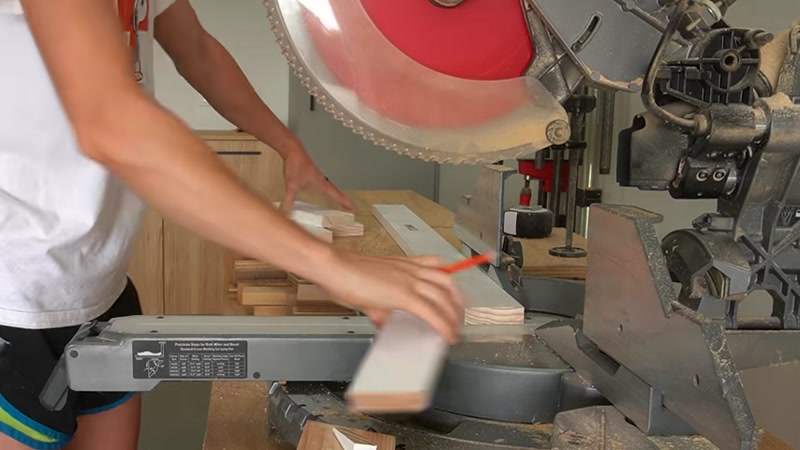
2. Cut the Legs to Size
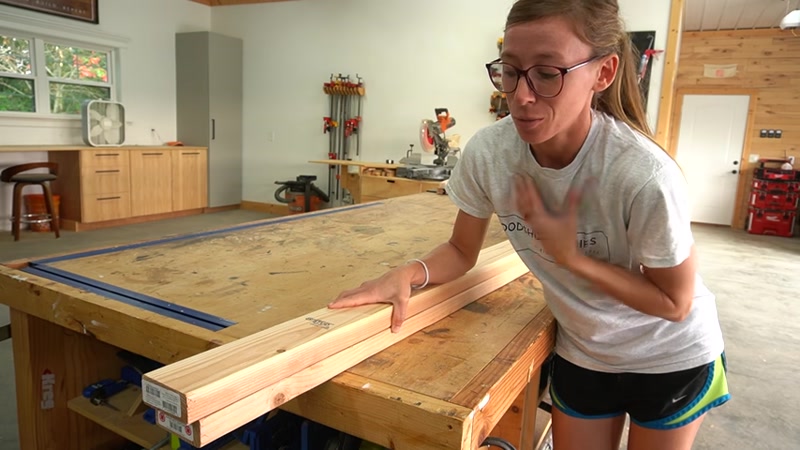
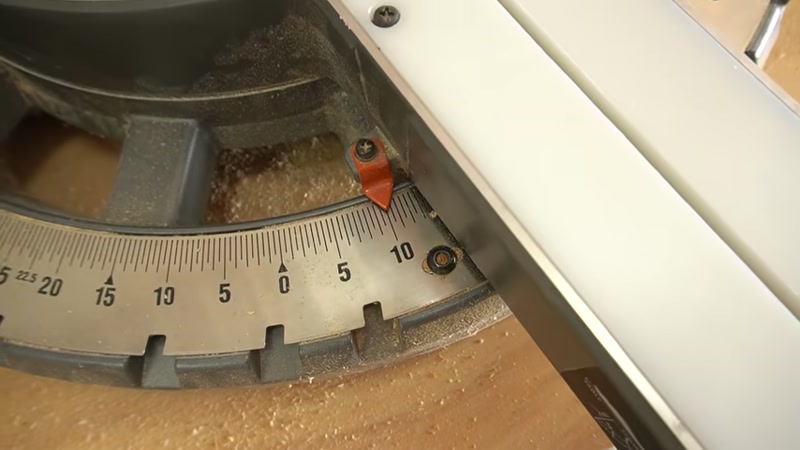
Take your square post to the miter saw. Cut it down into four individual legs. For a subtle, elegant angle, miter the top end of each leg at 10 degrees. You can leave the bottoms square. If you prefer a simpler build, you can skip the angle and cut both ends square.
3. Cut the Frame Pieces
Using your 1x3 boards, cut the following pieces for the bench frame:
- Two Long Top Pieces: For the front and back of the top frame. Miter the ends at 10 degrees to match the legs.
- Two Long Bottom Pieces: For the front and back of the bottom frame. Miter the ends at 10 degrees.
- Four Short Side Pieces: For the sides of the top and bottom frame. Cut these with square ends.
Sand all pieces smooth with 120-grit sandpaper.
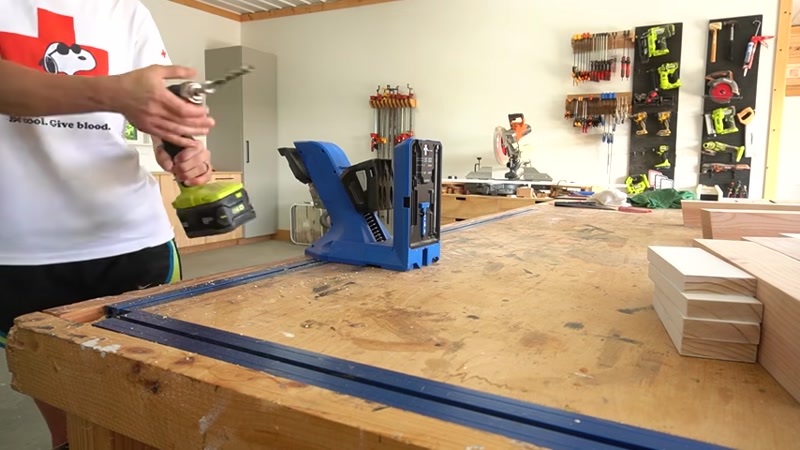
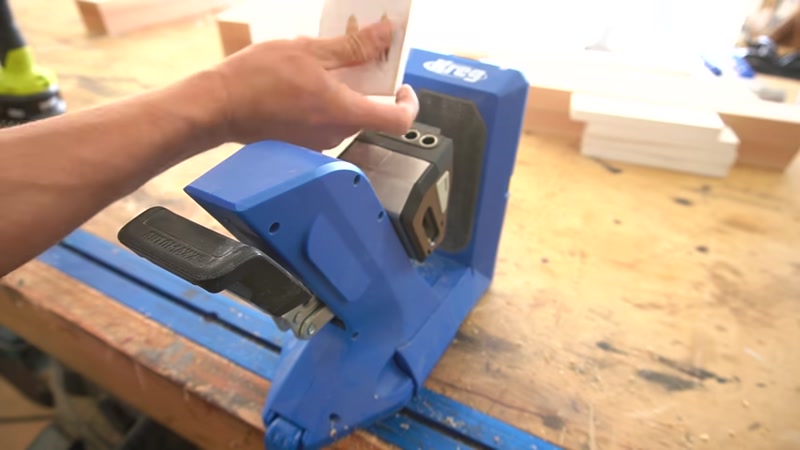
4. Drill Pocket Holes

Use your pocket hole jig to drill pocket holes into the ends of all the 1x3 frame pieces. If your pieces have mitered ends, make sure the flat edge of the board is flush against the jig to ensure the holes are drilled square to the edge.
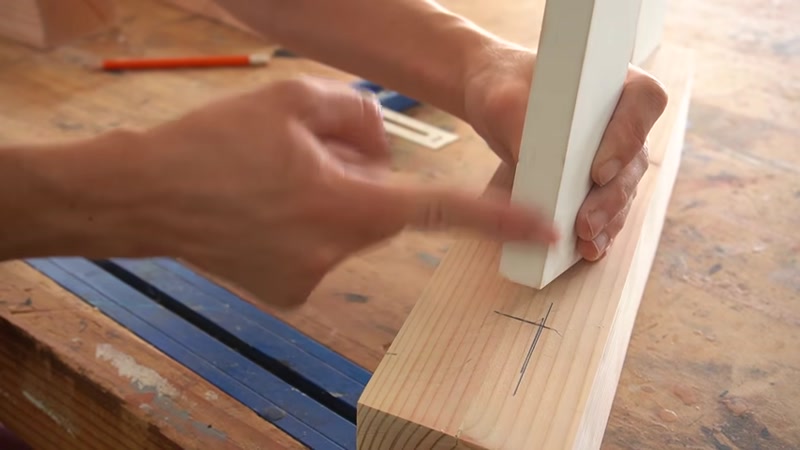
5. Assemble the Side Frames
Attach the short side pieces to the legs. Mark the placement for the top side piece: it should be 1 inch inset from the outside edge of the leg and flush with the top. Mark the placement for the bottom side piece: it should be 1 inch inset from the outside edge and 3 inches up from the bottom of the leg. Attach the pieces with pocket hole screws.
6. Assemble the Front and Back Frames
Attach the long top and bottom pieces to the front and back of the legs. The top piece should be flush with the top of the leg and 1 inch inset from the outside edge. The bottom piece should be 3 inches up from the bottom of the leg and 1 inch inset. Secure all pieces with pocket hole screws.
7. Fill Pocket Holes and Sand
Fill all visible pocket holes with wood filler or pre-cut wooden plugs. If using plugs, tap them in with a hammer and let the glue dry. Sand everything flush and smooth with 220-grit sandpaper.
8. Paint the Bench Base
Before attaching the inner shelf supports, paint the entire bench frame. Use a brush for corners and tight spots, and a roller for the flat surfaces. Apply a coat of primer first, then two coats of your chosen paint color. Let it dry completely.
9. Install the Shoe Shelf
While the paint is drying, cut two more 1x3 boards to fit between the front and back bottom frame pieces. These will be your shoe shelf supports. Once the paint is dry, carefully tap them into place, spacing them evenly. Drill countersunk pilot holes and secure them with screws. Fill the screw holes with wood filler or dowels, sand smooth, and touch up with paint.
10. Build the Bench Seat
Take your three 2x6 boards and cut them to about 42 inches long. Run them through the table saw to remove the rounded edges. Apply wood glue to the edges and clamp them together to form the seat top. Let the glue dry, then trim the ends to a final length of 40 inches. Sand the top smooth.
11. Attach the Seat
Flip the painted base upside down. Use a Forstner bit to drill shallow holes in the top frame pieces for the figure-eight fasteners. Use a chisel to square up the holes so the fasteners can swivel freely. Screw the figure-eight fasteners into the frame. Center the base on the underside of the seat top and screw the other side of the fasteners into the seat.
12. Finish the Seat
Apply your chosen stain to the seat top. Let it dry, then apply two to three coats of polyurethane for a durable finish. Allow to cure completely before use.
Tips for Success
- Choose Your Wood Carefully: If you can find good-quality, untreated 4x4 posts, you can skip the glue-up step. The 2x4 glue-up is a great alternative if 4x4s are unavailable or poor quality.
- Pre-Drill for Screws: When attaching the shelf supports, pre-drill pilot holes to prevent the wood from splitting, especially near the ends.
- Plan Your Plug Placement: If you plan to use contrasting wood plugs, carefully space out your screw holes so they look intentional and neat.
- Let Paint Cure: Allow the paint to fully cure (at least 24 hours) before handling or attaching the seat top to avoid smudges or dents.
- Attach Top After Painting: Always attach the seat top after painting the base to get a clean, professional finish without paint drips.