What You'll Need
Here's a step-by-step tutorial written from the transcript.
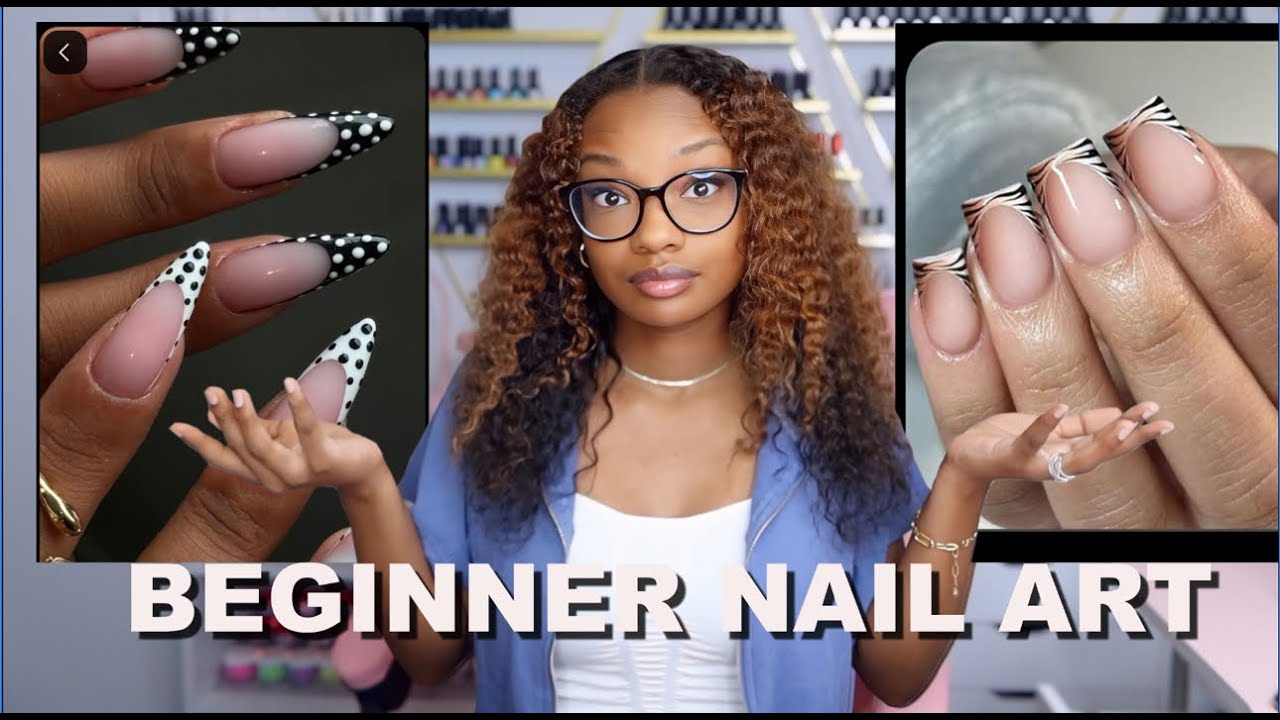
# Easy Polka Dot Nail Art (No French Skills Required)
I scrolled Pinterest, saw a bunch of nail designs I liked, and decided to spin a wheel to pick one to recreate. It landed on polka dots. Good choice.
Here's the thing about French manicures — they look simple but are actually a pain to get right. So I'm not even going to bother trying to paint a French tip freehand. Instead, I started with French press-on nails. These are from BT Artbox, and they work as either press-ons or soft gel tips. They already have a little shimmer, which is a bonus.
I'm applying mine as soft gel tips, but if you want to use regular nail glue, you can skip the gel steps. I'll list everything I used in the description.
- French press-on nails (or any plain tip you want to use)
- Nail drill or hand file
- Cuticle pusher
- Alcohol (for dehydrating)
- Primer (optional but helps)
- Solid gel (if applying as soft gel tips)
- Black gel polish
- White gel paint (for dots)
- Dotting tool
- Fine liner brush
- Top coat
- Builder gel (if using BT Artbox tips — they recommend it for longevity)
Step 1: Prep Your Nails
Push back your cuticles with a cuticle pusher. Then take a low-grit sanding band on your drill and lightly go over your natural nail to remove the shine. If you don't have a drill, a hand file works fine.
Wipe each nail with alcohol to dehydrate the nail plate. This gets rid of oils that cause lifting. If you have primer, put one layer on — it creates a sticky base that helps everything stay put.
Step 2: Size and Apply the Tips
Make sure each tip fits from sidewall to sidewall — not overlapping your skin and not too small. Buff the inside of each tip with the sanding band. Don't skip this. It helps the nails stay on.
If you're using regular nail glue, you can skip to gluing them on now. For soft gel, scoop up some solid gel with your cuticle pusher and spread it on the inside of the tip like you're buttering bread. Not too much, not too little. If you get excess, scrape it off.
Press the tip onto your nail. Since solid gel doesn't cure immediately under a lamp, you can adjust the position to make sure it's straight. Flash cure it, then put it under a regular lamp.
Step 3: Shape the Tips
Once all nails are on, round out the edges. There was a little tab at the edge of mine, and I didn't want sharp points because I have a baby. File them down to your preferred shape.
Step 4: Paint the Black Tips
The Pinterest design had one hand with a white background and the other with black. Since we already have French tips, we only need to paint the tips black — we don't have to draw a French line.
Take black gel polish and paint the entire tip of the nail, stopping right before the French line. You'll probably need two coats. Use a fine liner brush to get right up to the line without overlapping it.
Step 5: Add the Polka Dots
For the white dots, use gel paint and a dotting tool. Start with the middle dot. If it's off-center, wipe it off with acetone and try again. The key to getting a perfect dot on the first try is having enough gel on your tool.
If the dots look too small, use a detailed liner brush to fluff them out by swirling them wider. Do the next line of dots in between the ones you just did. Cure each line of dots as you go so you don't smudge them.
Step 6: Top Coat and Cure
BT Artbox recommends putting one coat of builder gel over the design, curing it, then adding a top coat. This helps the tips last longer. Cure everything under your lamp.
The Result
I was dreading doing my dominant hand with my non-dominant hand, but it worked out. The dots aren't perfect, but they look just as good as the Pinterest picture. If you're a beginner, this is a solid design to try — no French skills needed.
I'm thinking about making this a series, especially for the holidays. Let me know if you want more of these.