What You'll Need
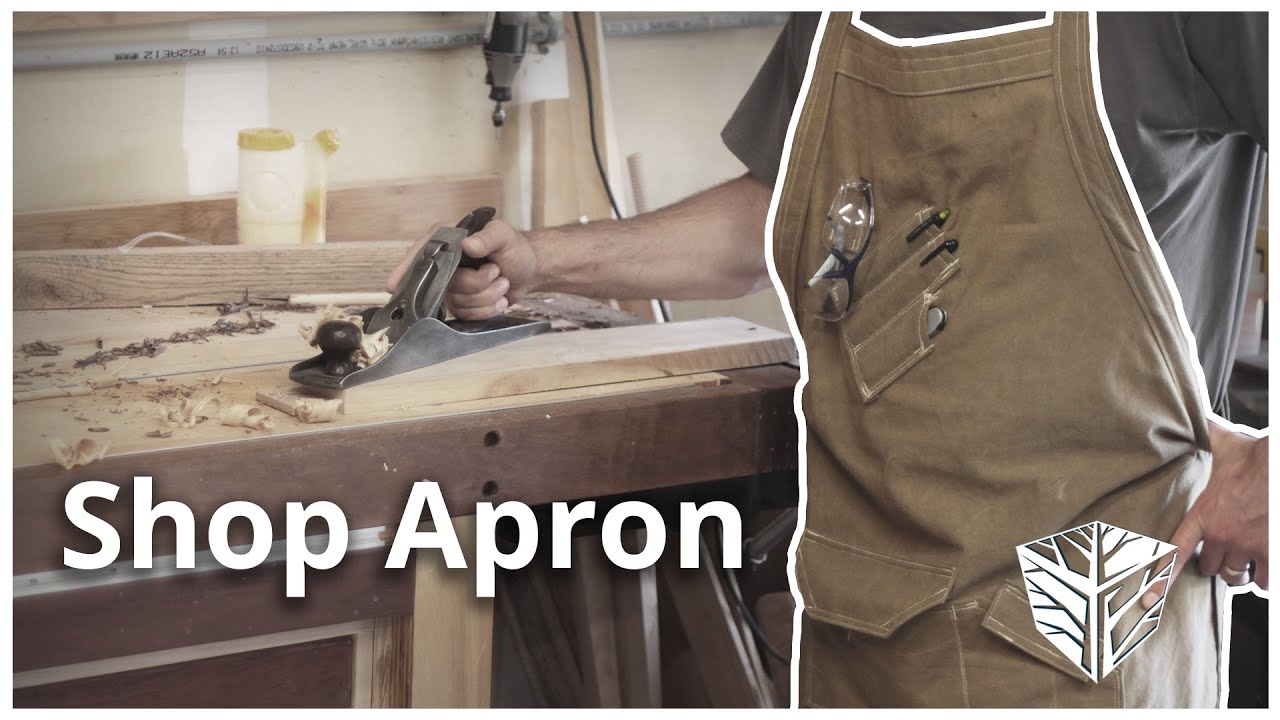
A shop apron is a practical and stylish accessory for any workshop, but not everyone likes the off-the-shelf options. Making your own allows you to customize the fit, pockets, and materials exactly how you want them. This tutorial will guide you through creating a durable, comfortable apron with cross-back straps, pencil pockets, and tool storage.
Materials:
- Fabric (lightweight canvas, cotton, or repurposed curtain material) – about 1 yard
- Matching thread
- Two buckles (optional, for adjustable waist straps)
- Fabric for pockets (scraps are fine)
Tools:
- Sewing machine
- Iron and ironing board
- Fabric scissors
- Measuring tape
- Pins (optional, but helpful for beginners)
- Fabric marker or chalk
- Seam ripper (for fixing mistakes)
Step-by-Step Guide
Step 1: Prepare Your Fabric
Wash and iron your fabric thoroughly before cutting. This pre-shrinks the material and removes wrinkles, making it easier to work with. If you're using waxed canvas, place a protective cloth over it when ironing to avoid damaging your iron.
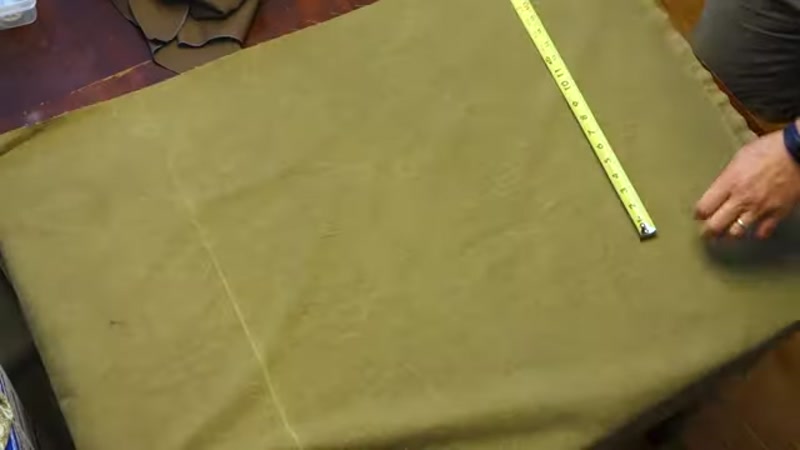
Step 2: Create Your Pattern
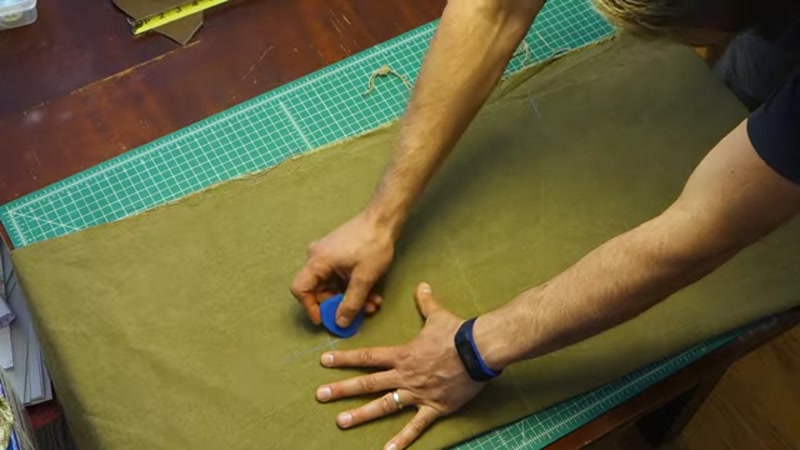
Fold your fabric in half and lay out your basic apron shape. Leave extra material at the top edge, bottom edge, and side edges – you'll fold these over to create seams. The curved armhole area doesn't need seam allowance. Cut out your basic pattern shape.
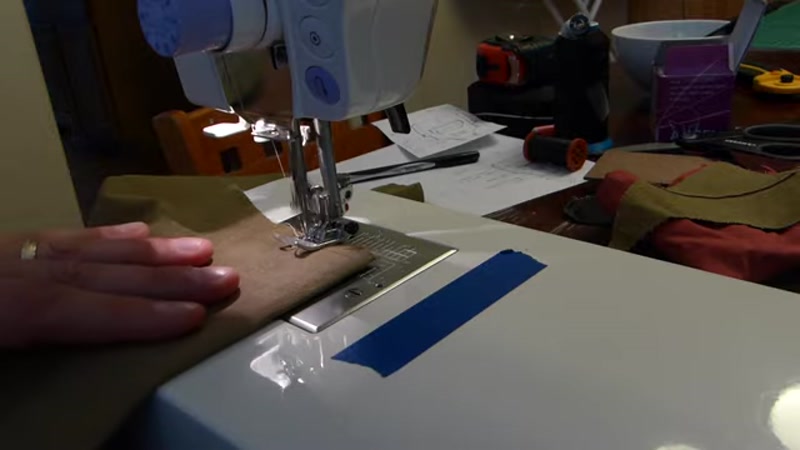
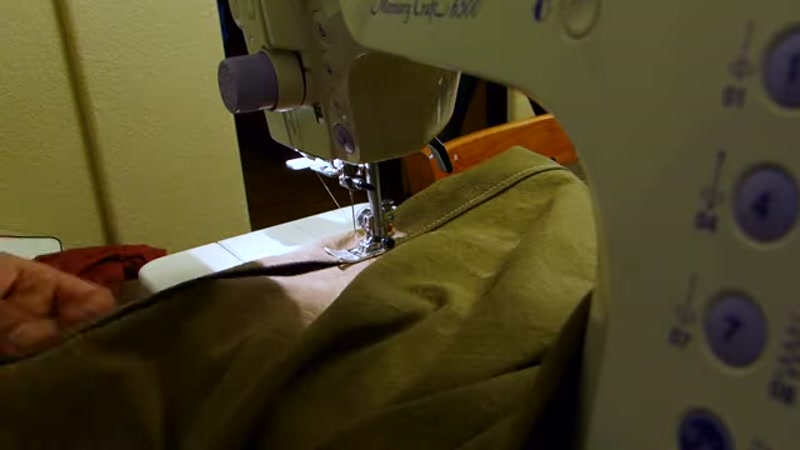
Step 3: Sew the Top and Bottom Edges
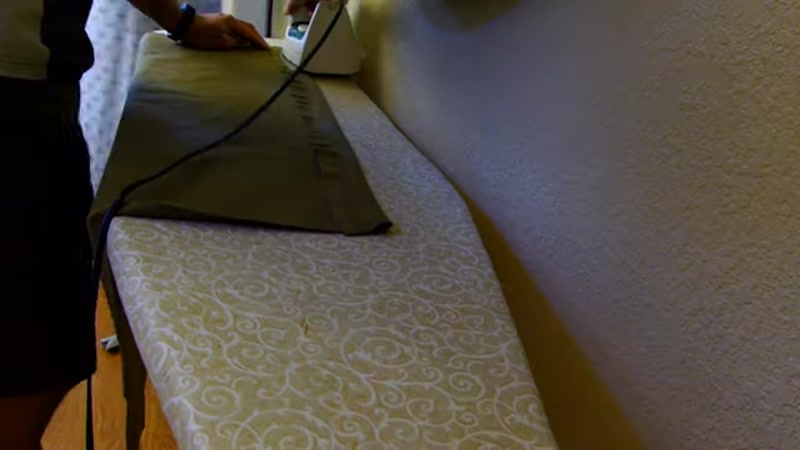
Fold the top edge over twice (about 1/2 inch each fold) and iron it flat. Repeat for the bottom edge. Sew along these folded edges using a straight stitch. When starting and ending each seam, backstitch for 3-4 stitches to secure the thread. You can make these edges as thick as you like – it's a personal preference.
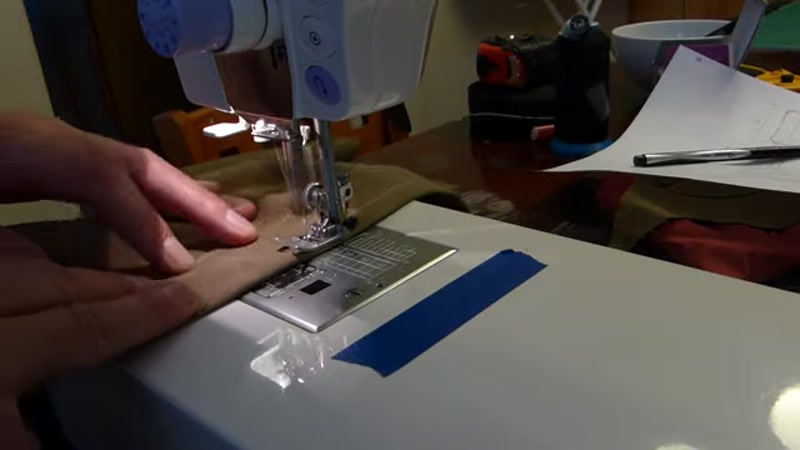
Step 4: Sew the Side Edges
Fold each side edge over twice (about 1/2 inch each fold) and iron well. If you iron thoroughly, you may not need pins. Sew along both side edges. At this point, you have a basic apron body with all edges finished.
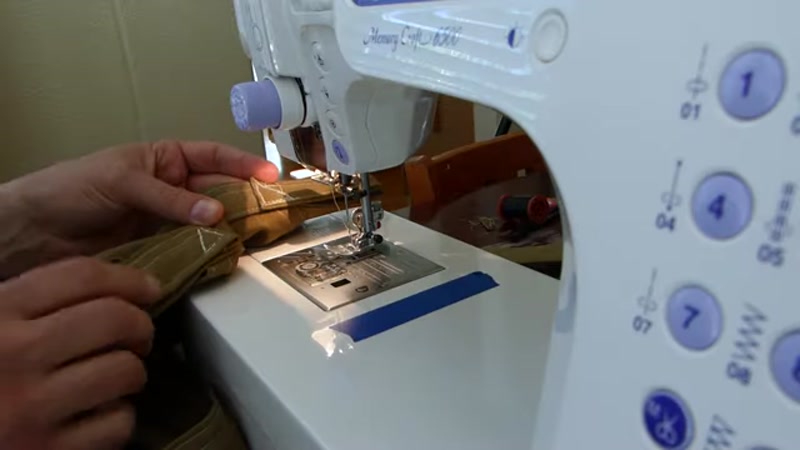
Step 5: Create the Straps
Cut four strips of fabric for your straps. If your fabric isn't long enough for two continuous straps, you can sew two pieces together. Fold each strip in half lengthwise, then fold the raw edges inward and iron. Sew along the open edge to create a finished strap.
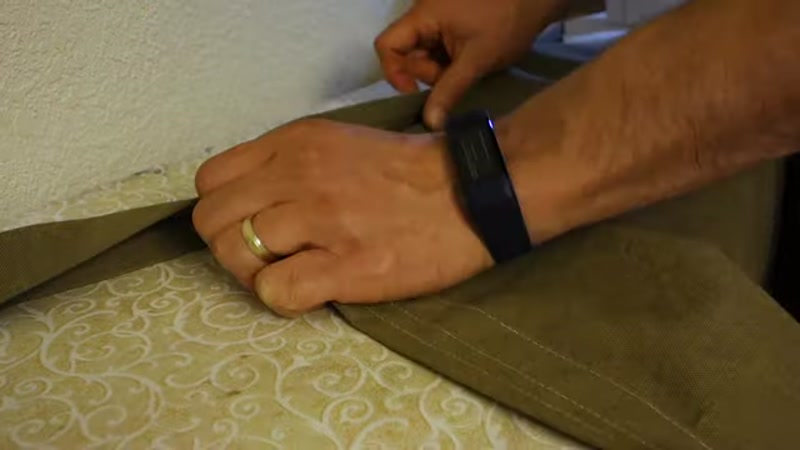
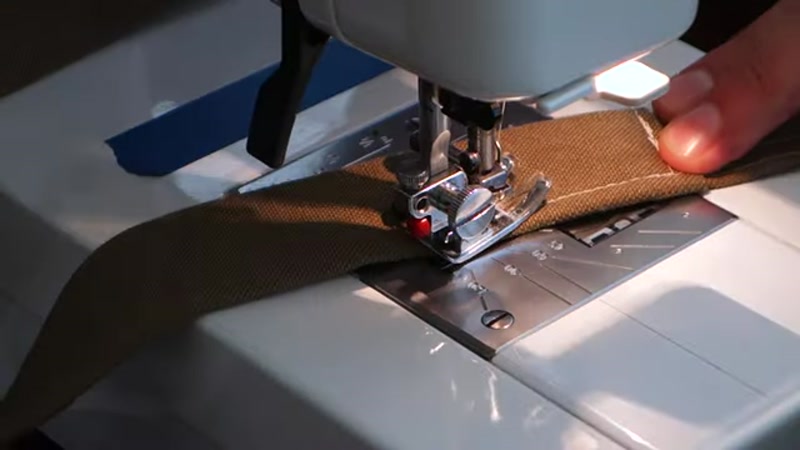
Step 6: Attach the Straps to the Apron
Position the straps to encapsulate the curved armhole area of your apron. Leave enough material at the end to create a loop on the side. Sew the straps in place, going slowly through the thickest parts. For the loops, fold the strap material over on itself several times and sew securely, going forward and backward a few times.
Step 7: Create Cross-Back Straps
If you need to extend your straps because your fabric wasn't long enough, sew additional pieces together. To change direction while sewing continuously, leave the needle down in the material, lift the presser foot, and pivot the fabric. Pin the straps where they'll cross in the back, try the apron on to check the fit, then sew them together at that point.
Step 8: Add Buckles (Optional)
Thread the straps through the loops on the apron. If using buckles, determine your ideal fit and sew the straps at that measurement permanently. This creates a custom fit without adjustable hardware.
Step 9: Plan Your Pockets
Wear the apron and mark where you want pockets. Use a fabric marker to draw pocket shapes directly on the apron while wearing it. Consider adding:
- A diagonal pencil pocket (prevents pencils from poking your neck when bending over)
- A large utility pocket
- A small screw pocket with a folding flap
Step 10: Create and Attach Pockets
For each pocket, cut fabric with extra material for seam allowances. Fold over the top edge and sew it first. For the pencil pocket, fold it diagonally and make sure you get the direction correct before sewing. For added thickness, place a smaller piece of fabric inside the pocket before attaching it to the apron.
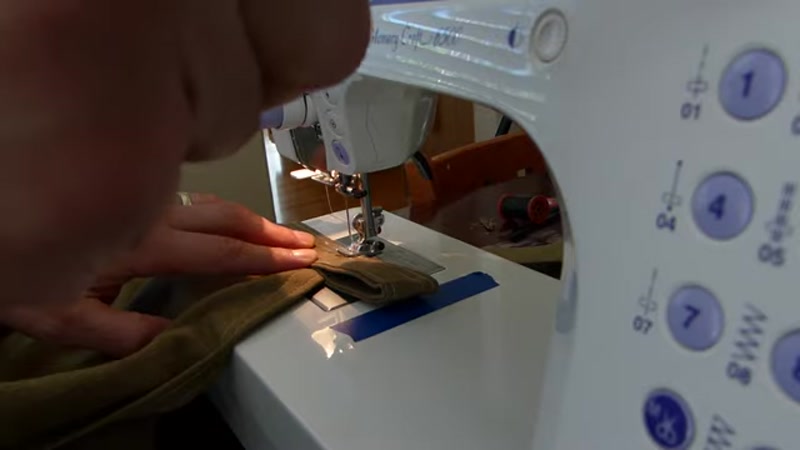
Step 11: Sew Pockets to the Apron
Pin pockets in place and sew around the edges, leaving the top open. Be careful not to sew the openings shut – if you do, use a seam ripper to fix it. Double-seam the openings with several backstitches for strength.
Step 12: Add Final Details
Add a loop on one side for holding a tape measure. You can add another loop on the other side later if needed. For glasses, create a long, narrow pocket that will hold them securely.
Tips for Success
- Iron as you go – Well-ironed fabric holds creases better and reduces the need for pins, making sewing faster and more accurate.
- Test the fit early – Pin the straps and try the apron on before sewing anything permanently. Cross-back straps are more comfortable than neck straps for many people.
- Use the needle-down technique – When you need to change direction, leave the needle in the fabric, lift the presser foot, pivot, and continue sewing. This keeps your thread continuous.
- Don't worry about mistakes – This project is forgiving. Seams can be ripped out and re-sewn easily. Even imperfect aprons work well.
- Consider repurposed materials – Curtain fabric from a thrift store is cheaper and often easier to sew than heavy canvas.


