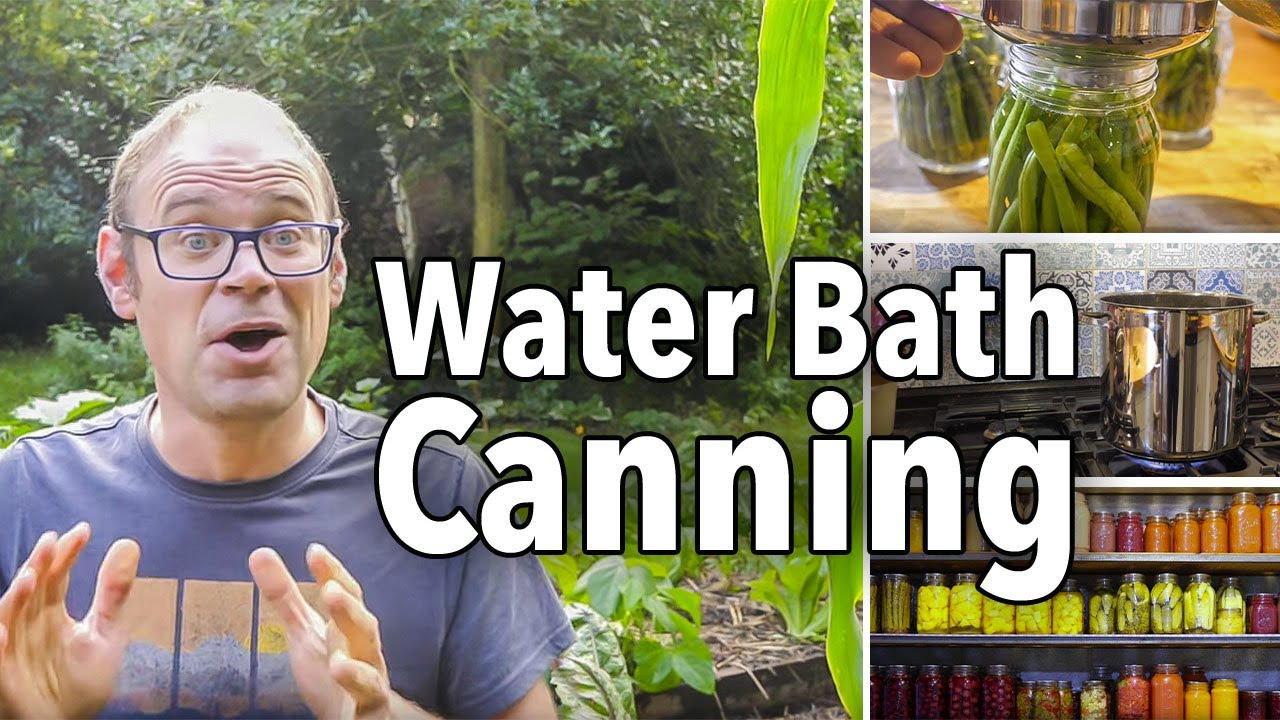
What Water Bath Canning Actually Does
Back in spring, we talked about making sure you've got enough produce put aside for the quieter months. A bunch of you asked: okay, but how do you actually can or bottle the stuff?
Here's the straightforward answer.
Canning uses heat to kill microbes that'd spoil your food. As the jar cools, it creates a vacuum seal that keeps everything fresh. Simple.
The secret is getting a strong seal between the jar and lid. If that seal breaks, bacteria and mold get in. You'll know something's wrong if you hear a loud hiss when opening a jar, see mold or froth, or get a weird smell.
Water bath canning works for high-acid foods — most fruits, jams, pickled vegetables, salsas, and tomatoes. Vegetables are naturally low in acid, so you need to pickle them in vinegar first. This prevents botulism, which is rare but serious. Follow recipes carefully.
What You'll Need
- Large water bath canner or stock pot
- Canning rack or a towel (keeps jars off the pot bottom)
- Jar lifter or canning tongs
- Wide-mouthed funnel
- Spatula and ladle
- Dish towels
- Mason jars with lids and bands
Step-by-Step
1. Sterilize your jars
Wash jars in hot soapy water, rinse, then submerge them in water. Bring to a boil and simmer for 10 minutes. Keep the jars hot until you fill them — cold jars crack when you pour in hot stuff.
Soak the lids in very hot water (not boiling). Bands don't need any prep.
2. Get your water bath ready
Fill your pot halfway with water and bring it to a simmer.
3. Fill the jars
Grab your hot jars. I'm canning the last of this season's beans. To each jar I add:
- 1 clove crushed garlic
- ½ teaspoon chili flakes
- ½ teaspoon dill seeds
- 1 tablespoon pickling salt (or pure sea salt)
Pack in the clean, trimmed beans. Pour a boiling solution of equal parts water and white vinegar over everything, leaving about ¼ inch (1 cm) of headspace at the top.
4. Remove air bubbles
Slide a spatula between the food and the jar to release trapped air. Top up with more vinegar solution if needed.
5. Seal the jars
Wipe the jar threads clean. Place the hot lids on, then screw on the bands firmly but not too tight.
6. Process the jars
Put jars on the canning rack so they don't touch each other. Lower into the simmering water. The jars should sit about an inch (3 cm) below the surface — add more water if needed.
Turn up the heat to a rolling boil. Boil for the time in your recipe (mine was 10 minutes).
7. Cool and check
Turn off the heat. After 5 minutes, remove jars and place them on a dish towel. Leave them alone for 24 hours. You'll hear the lids pop or ping as the vacuum forms.
To check the seal, remove each band and press down on the center of the lid. If it gives at all, refrigerate that jar and eat it within two weeks.
Store sealed jars somewhere cool, dry, and dark. They'll keep for at least a year.
Once you get the hang of this, it's the best way to lock in that summer taste. Plus, home-canned stuff makes a killer gift.
Got a favorite crop or recipe for canning? Drop it in the comments.