What You'll Need
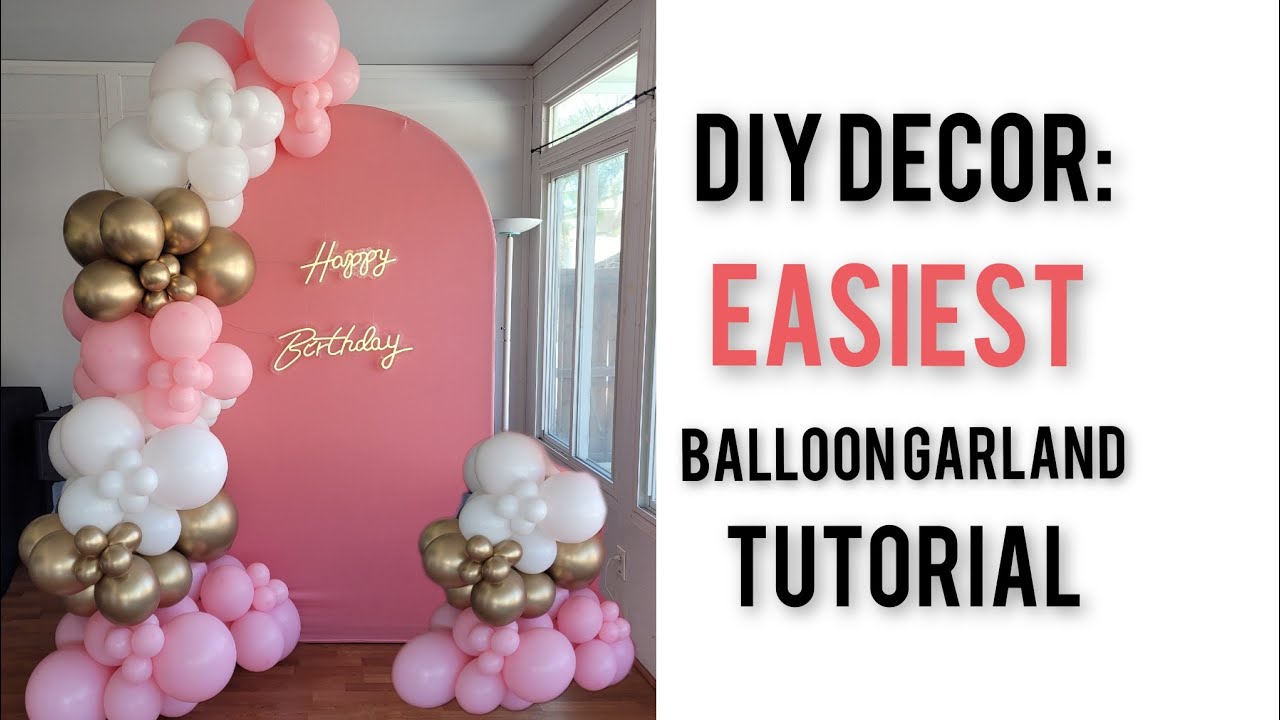
Learn how to create a stunning, full balloon garland with a smooth, professional look. This tutorial uses a precise cluster method to save time and materials while giving you beautiful results.
Materials:
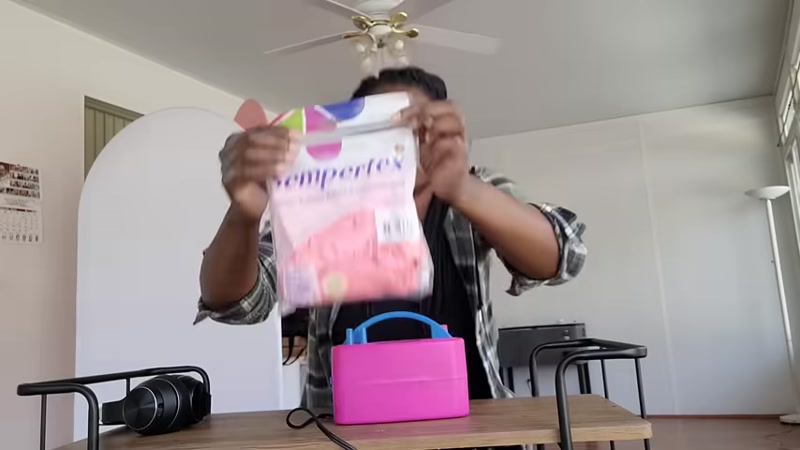
- 11-inch balloons (matte pastel pink, white, and mirror chrome gold)
- 18-inch balloons (same colors)
- 5-inch decorator balloons (for filling gaps)
- 260Q modeling balloons (for connecting clusters)
- Safety pins (for attaching to fabric backdrops)
Tools:
- Balloon pump (hand or electric)
- Scissors
Step-by-Step Guide
Step 1: Prepare Your Balloons
Start by blowing up two 11-inch balloons at a time. After inflating, release some air and round them out—you don't want cone-shaped balloons. Tie each balloon, but here's an important trick: double twist the neck before tying. This means twisting the neck around twice instead of once before making your knot. This extra seal prevents air loss overnight, which is especially helpful if you're building your garland the night before your event.
Step 2: Create Dupe Clusters

Take two tied 11-inch balloons and twist them together to form a "dupe" (a pair). This is your basic building block. For a fuller look, add an 18-inch balloon dupe to make a cluster of three dupes (six balloons total). Double twist each dupe into the cluster so they won't pop out.
Step 3: Build Your Garland Base

For a 7.2-foot backdrop, aim for about 9 feet of garland (this allows it to drape slightly over the top). Each cluster is roughly 1.5 feet, so you'll need about 6 clusters. Take a 260Q balloon and tie it into a rubber band shape. Use this to connect your clusters by wrapping it around 2-3 balloons in each cluster. The more connection points, the tighter and more gap-free your garland will be.
Pro tip: Wrap the 260Q around the 11-inch balloons rather than the 18-inch ones—they're easier to work with.
Step 4: Check Length and Adjust
Size your garland against the wall. If it's not long enough, add another cluster. For this project, 7 clusters were used, totaling 42 balloons and measuring about 10.5 to 11 feet.
Step 5: Attach to the Backdrop

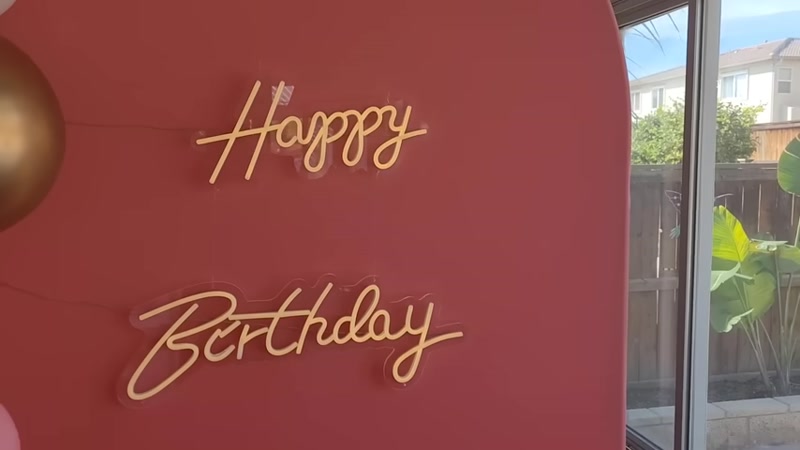
Use a safety pin attached to a 260Q balloon. Pin it carefully to your fabric-covered backdrop (avoid snagging the fabric). Find the balloon closest to the safety pin and wrap the 260Q around it. This prevents pulling too hard on the backdrop. Connect at 3-4 more points along the backdrop. At the top, connect from behind rather than the front to keep the balloons from overwhelming the wall.
Step 6: Shape the Garland

Before adding extra clusters, shape your garland by adjusting balloon positions. Push balloons up from the back to create a smooth, gradual curve rather than a lumpy look.
Step 7: Add Filler Clusters

Using 260Q balloons, add clusters of four balloons (two dupes) to fill gaps. Connect two clusters together with a 260Q—one cluster on each side, wrapping around one balloon from each cluster. Add clusters in alternating colors to create visual interest.
Step 8: Fill Gaps Strategically

Look for empty spaces between clusters and add balloons to fill them. For tight spots, you can twist balloons directly into the garland without using a 260Q. Add 18-inch balloons for larger gaps and 11-inch balloons for smaller ones. Continue until the garland looks full and balanced.
Step 9: Add 5-Inch Decorator Balloons

Use 5-inch balloons in clusters of four to fill tiny gaps and add texture. Attach them the same way with 260Q balloons. You can cut your 260Q balloons in half to save materials when connecting smaller clusters.
Step 10: Final Adjustments

Step back and examine your garland. Rearrange balloons to create a smooth, flowing transition from one end to the other. Push balloons forward or backward to achieve the desired depth and fullness.
Tips for Success
- Double twist your necks every time - This single step prevents deflation and keeps your garland looking fresh for days.
- Use consistent cluster sizes - Having a specific number of balloons per cluster (like three dupes) saves time and creates a more uniform look.
- Connect at multiple points - Wrapping 260Q balloons around 2-3 balloons in each cluster creates a tighter, more secure garland with fewer gaps.
- Work in good lighting - You'll spot gaps and uneven spots much easier, allowing you to fill them before the garland is fully attached.
- Save your 260Q balloons - Cut them in half for smaller connections to avoid waste.


