What You'll Need
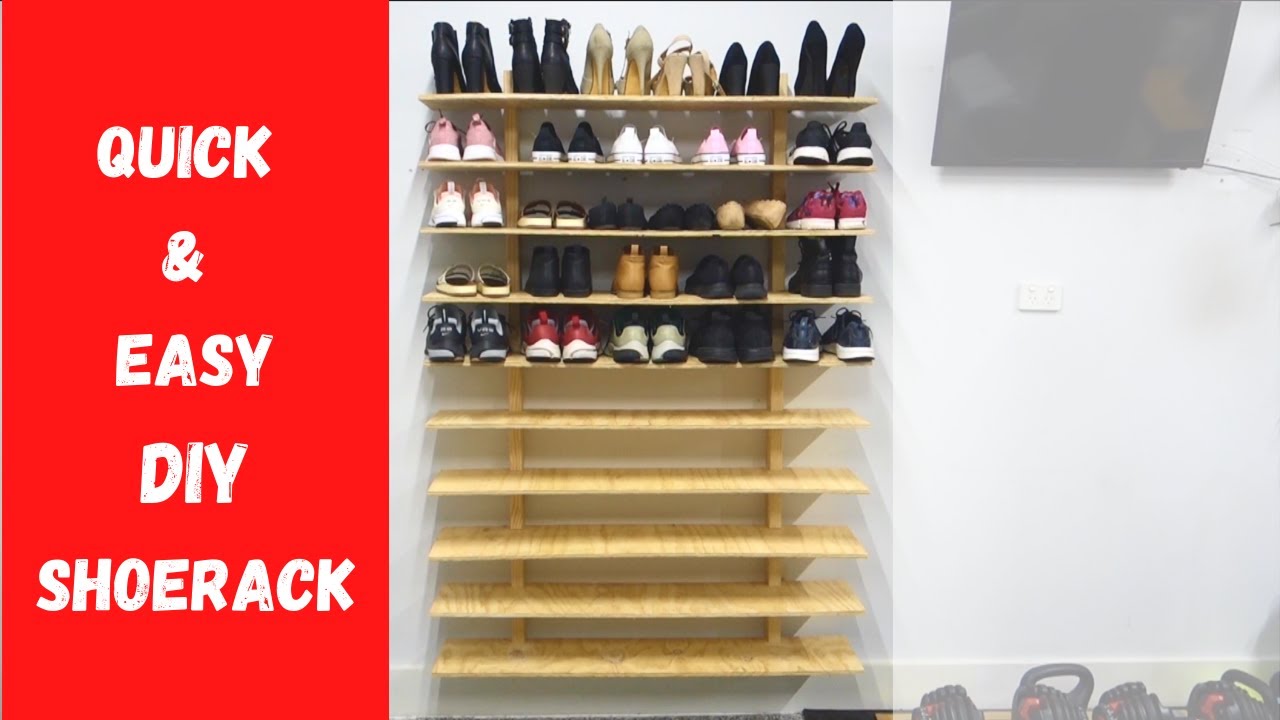
Is your garage floor covered in shoes? This wall-mounted shoe rack keeps your footwear organized and off the ground, making the most of vertical space. With basic tools and a few hours of work, you can build this simple yet effective storage solution.
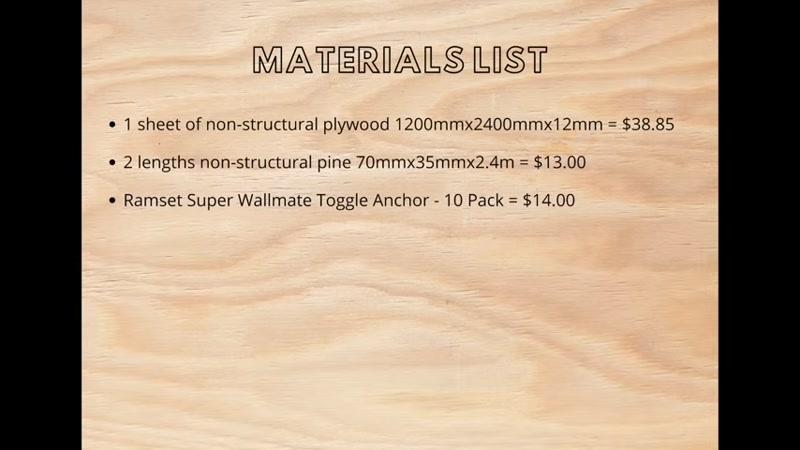
Materials:
- 1 sheet of plywood (for shelves)
- 1 piece of timber (for the vertical upright, 1.8m long)
- Wood screws
- Wall anchors (toggle bolts or similar)
- Sandpaper (medium grit)
Tools:
- Miter saw (or handsaw with miter box)
- Circular saw (for ripping plywood)
- Drill with drill bits
- Level
- Tape measure
- Pencil
- Chisel (if using handsaw method)
Step-by-Step Guide
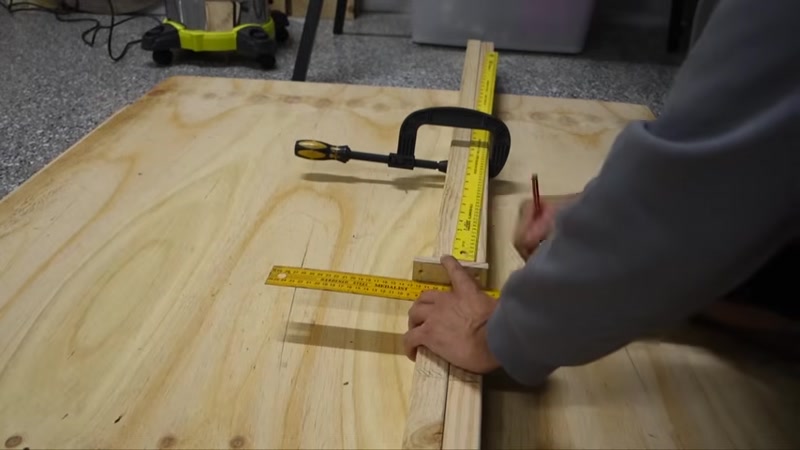
Step 1: Plan Your Shelf Spacing
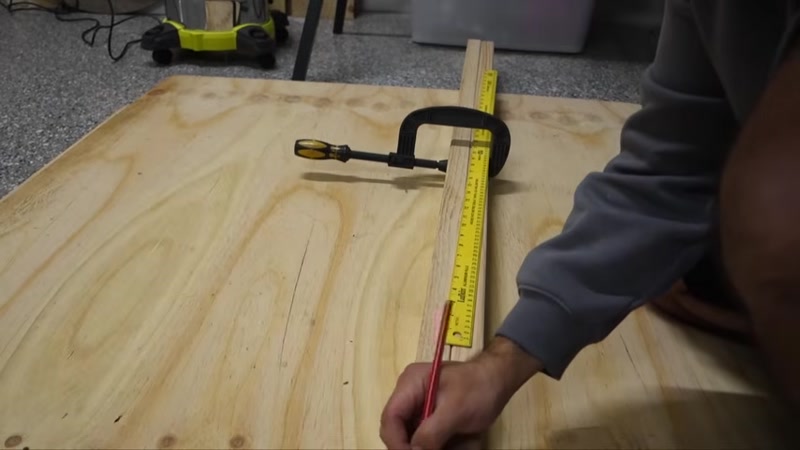
First, measure your tallest shoes—high tops, work boots, or anything bulky. Use these measurements to determine the spacing between each shelf. Mark the distances along your 1.8m vertical timber upright.
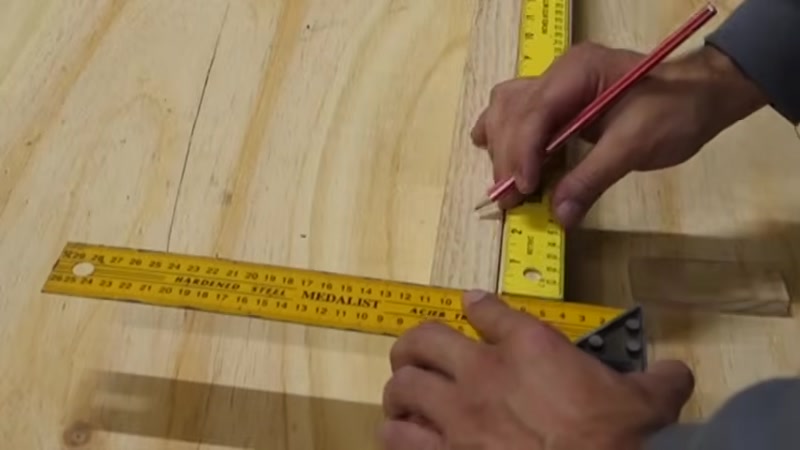
Step 2: Mark the Cut Areas
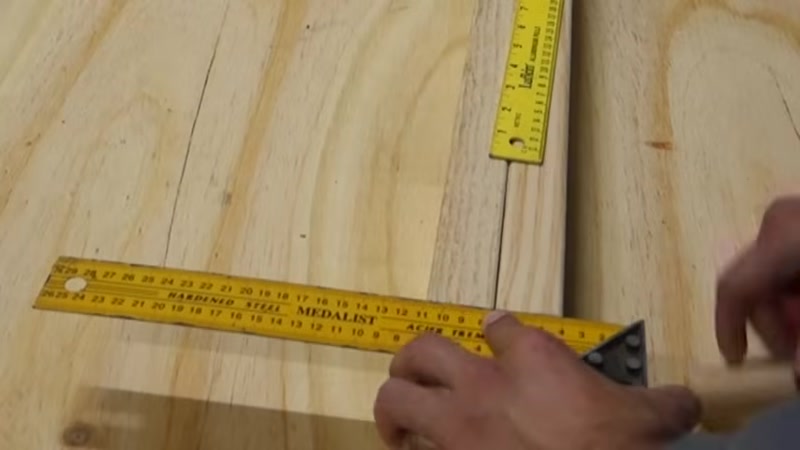
Take an offcut piece of wood the same thickness as your shelves. Use it as a guide to mark where you'll cut trenches into the upright. Move along the timber, marking the distance between each shelf and the area to be removed.
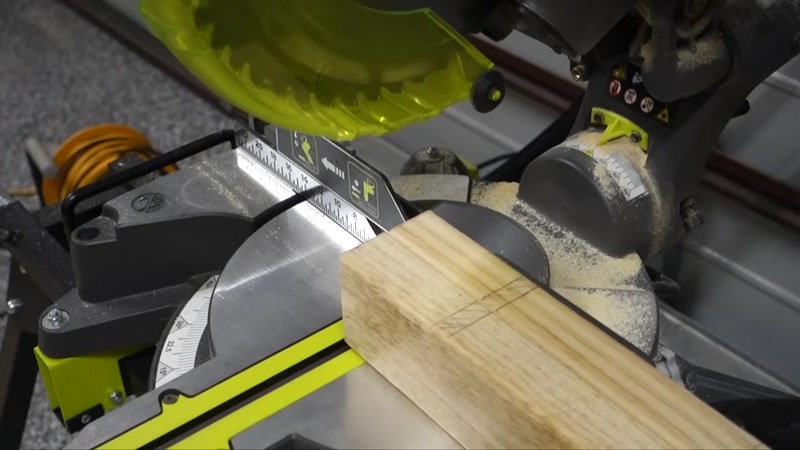
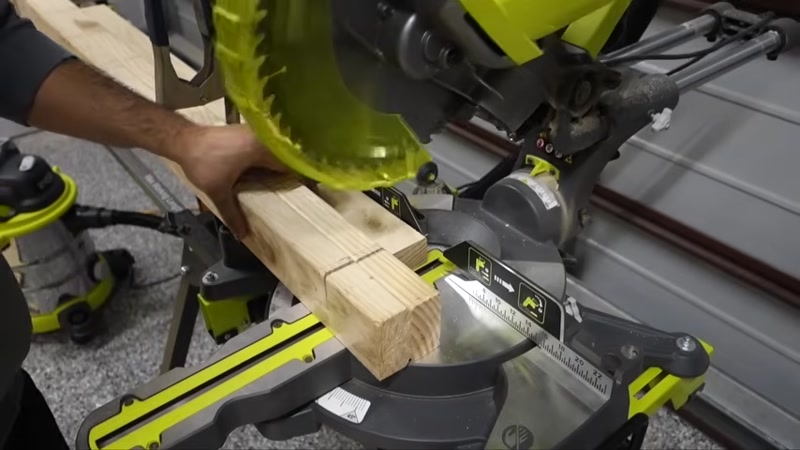
Step 3: Cut the Timber to Height
Cut off any excess material from the bottom of the upright. Your final height should be 1.8m from the top of the skirting board to the top of the upright.
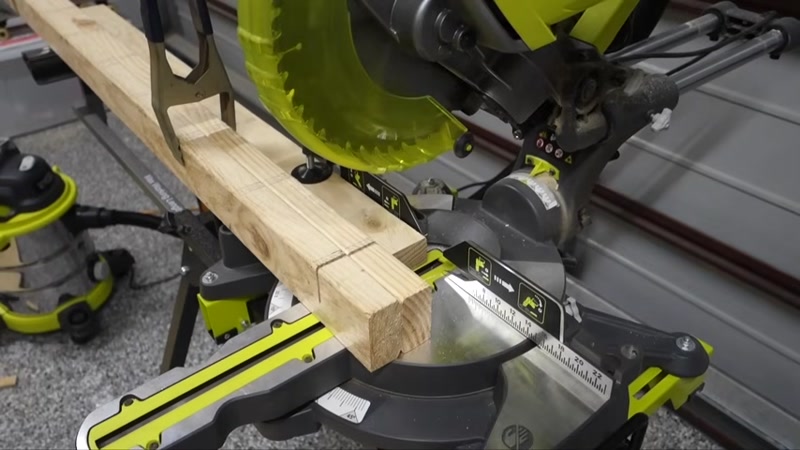
Step 4: Create the Shelf Trenches
Set the depth stop on your miter saw to cut 3/4 of the way through the timber's thickness. This leaves enough material at the back for support.
Cut out each trench across the width of the upright. Place a scrap piece of pine between the fence and the workpiece to ensure a flat cut. Without this spacer, the round blade will create a curved back to the trench.
Note: If you don't have a miter saw, you can use a handsaw and chisel, or a circular saw instead.
Step 5: Test Fit the Shelves

Check that each shelf fits snugly into its trench. Make any adjustments needed before moving on.
Step 6: Mark and Drill Screw Holes
Plan your shoe arrangement: three pairs in the center and one pair on each side of the uprights.
Mark the center of each trench and transfer that line across the back of the upright. Drill a hole through the center of each mark—this is where the screws will go to attach the rack to the wall.
Use at least three screws: one at the top, one in the middle, and one at the bottom. Add more if needed for extra strength.
Step 7: Sand the Wood
Sand all surfaces of the upright and shelves to remove rough edges and splinters.
Step 8: Install Wall Anchors

Use wall anchors designed for your wall type. For drywall, toggle bolts work well. When you drive the screw in, it pulls the anchor foot tight against the back of the wall.
Step 9: Attach the First Anchor

Install the first wall anchor and screw it partway into the wall. Leave it loose enough so the upright can pivot.
Step 10: Level and Mark Remaining Holes
With the first anchor acting as a pivot, level the upright. Drive a screw through the next hole until the tip pokes out the back. Use your level to square everything up, then push the screw tip into the drywall to mark the next hole position.
Step 11: Install Remaining Anchors

Partially drive the screw into the anchor, then pull it out. This action pulls the anchor foot up against the back of the wall. Remove the screw completely, pass it through the upright, and screw it back into the anchor to attach the upright to the wall.
Step 12: Cut the Shelves

To maximize plywood usage, cut shelves to approximately 238mm deep. Account for the thickness of your saw blade when measuring. Rip the plywood into shelf-width strips.
Step 13: Test Fit and Sand Shelves
Do a quick test fit of all shelves. Sand them smooth.
Step 14: Finish (Optional)

You can leave the plywood raw, stain it, apply varnish, or paint it to match your space. For a garage, raw plywood works fine.
Step 15: Load Your Shoes

Place your shoes on the shelves and enjoy your organized space!
Tips for Success
- Measure your tallest shoes first before marking shelf spacing. Work boots and high tops need more room than sneakers.
- Use a scrap spacer between the fence and workpiece when cutting trenches. This prevents the round saw blade from creating a curved cut.
- Pre-drill all screw holes to prevent the wood from splitting, especially near the edges.
- Check wall type before choosing anchors. Drywall requires different anchors than concrete or brick walls.
- Leave shelves raw if in a garage—paint or varnish is optional and may peel over time in humid conditions.
