DIY Dream Closet Makeover on a Budget
Here is a DIY tutorial based on the provided transcript, transformed into a clear, actionable guide.
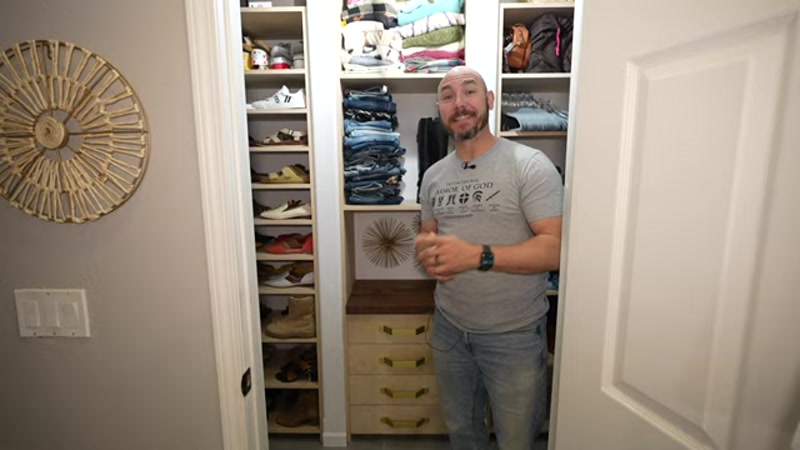
This guide will walk you through transforming a cramped, wire-shelf closet into a custom, organized walk-in dream closet using plywood and basic joinery techniques. This project is ambitious but achievable for a motivated DIYer.
What You'll Need
Materials:
- 8 sheets of 3/4" sanded birch plywood (or similar)
- 1 sheet of 1/4" plywood (for drawer bottoms)
- 2 1/2" screws (for securing to wall studs)
- 1 1/4" pocket hole screws
- Wood glue
- Edge banding (veneer tape)
- 1 1/4" diameter closet rod and hardware
- Drawer slides (for 4 drawers)
- Solid brass barn door pulls (or similar handles)
- Walnut lumber (or other hardwood) for the center countertop
- Rubio Monocoat (or similar hard wax oil) for the countertop
- Spackle or wood filler
- Paint (ceiling, walls)
- 120-grit sandpaper
Tools:
- Track saw or circular saw with a straight edge
- Table saw
- Miter saw
- Pocket hole jig (e.g., Masca M2)
- Brad nailer and 1 1/4" brad nails
- Sander
- Iron (for applying edge banding)
- Edge banding trimmer tool
- Clamps
- Drill and bits
- Stud finder
- Level
- Mallet and a block of wood
- Tape measure
- Safety glasses and hearing protection
Step-by-Step Guide
Step 1: Empty and Prepare the Closet
Remove everything from the closet. Unscrew and remove the existing wire shelving and baseboards. Use spackle or wood filler to patch all holes left by drywall anchors and screws. Once dry, sand the patched areas smooth. Paint the ceiling and walls.
Step 2: Cut the Plywood

Measure the height of your closet (this build was 7 feet). Use your track saw or table saw to cut sheets of 3/4" plywood into the following main pieces:
- Two 7-foot uprights for the hanging sections.
- Bottom shelf with a 3-inch toe kick cutout.
- Middle shelf support and middle shelf.
- 15-inch wide strips for the shoe shelves.
- All shelf pieces to your desired lengths.
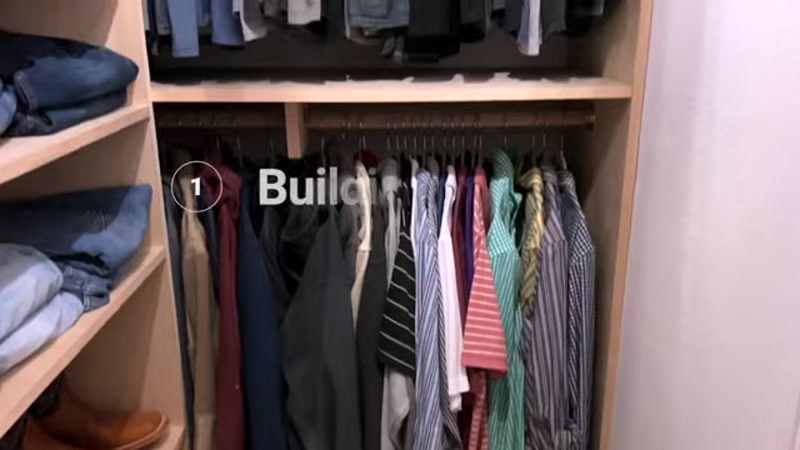
Step 3: Build the Hanging Sections

- Assemble the first unit: Drill pocket holes into the bottom shelf piece. Attach the 3-inch toe kick to the bottom shelf using wood glue and 1 1/4" pocket hole screws. Attach this assembly to one of the 7-foot uprights.
- Add the middle shelf: Attach a 3-inch wide support strip to the back of the upright. Lay the middle shelf on top of this support and secure it with brad nails.
- Install in the closet: Crucial check: Before assembling the second side, measure to make sure the assembled unit will fit through the door. If not, disassemble and install the pieces individually inside the closet. Screw the bottom shelf and uprights to the wall studs using 2 1/2" screws.
- Repeat for the second side: Assemble and install the other hanging section on the opposite wall.
Step 4: Build the Shoe Shelves

- Rip down plywood into 15-inch wide strips. Cut these to the length of your shoe wall.
- Install a support strip on the back wall using pocket hole screws.
- Cut shelves to size. For shelves above eye level, drill pocket holes on the top face so they are hidden from view. For lower shelves, drill them on the bottom.
- Attach the shelves to the support strips using wood glue and brad nails.
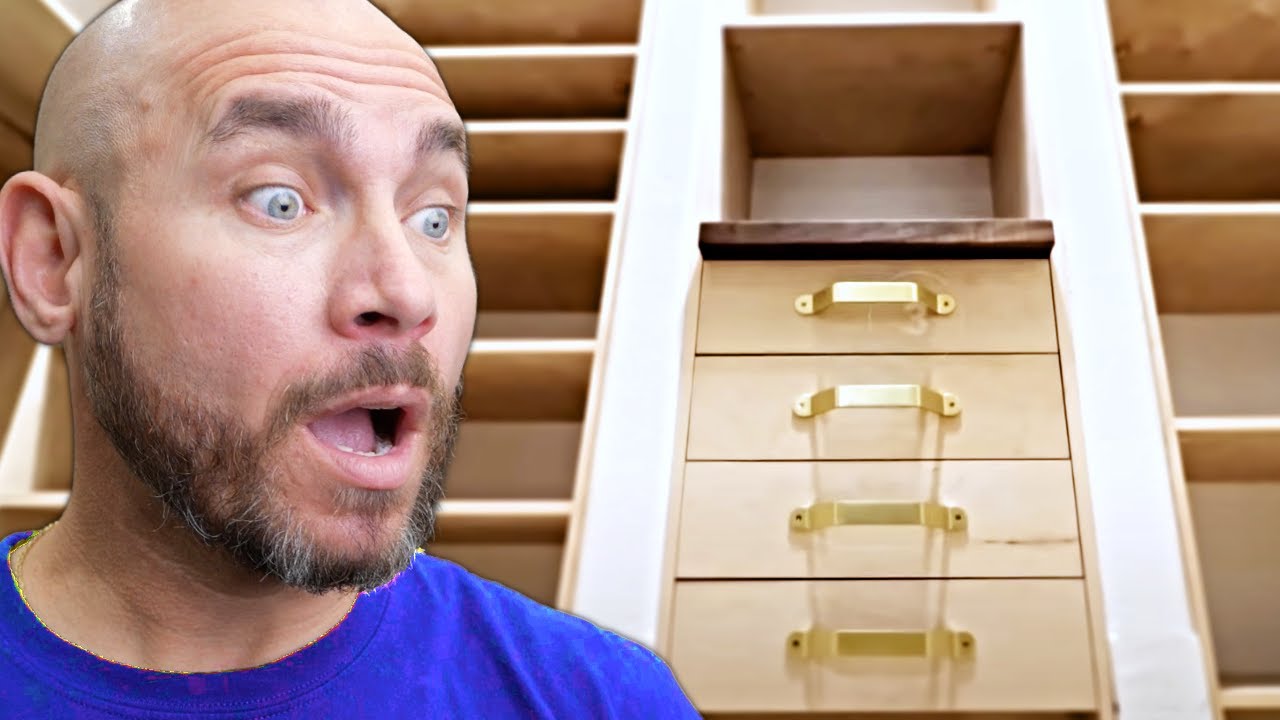
Step 5: Build the Center Drawer Unit

- Cut the uprights: Cut two 15-inch wide uprights one foot taller than the shoe shelves.
- Build the drawers: Cut pieces for four drawers. Use a table saw to cut a 1/4" deep dado (groove) near the bottom of each drawer side piece to hold the drawer bottom. Dry-fit everything, then assemble using wood glue and brad nails.
- Assemble the cabinet: Build a box for the drawers using pocket hole screws. Add a 3-inch toe kick at the bottom. Attach the two uprights to the sides.
- Build the countertop: Glue up walnut boards (or your chosen hardwood) to form the top. Once dry, cut to size, round over the edges with a router, and sand smooth. Apply a hard wax oil finish like Rubio Monocoat.
- Install the unit: This unit is long and narrow. If it won't fit through the door, consider bringing it in through a window. Slide it into place. Attach the countertop from underneath using pocket hole screws.
Step 6: Finishing Touches
- Edge banding: Use an iron to apply edge banding to all exposed plywood edges. Trim the excess with a dedicated edge banding trimmer tool.
- Install the drawers: Install drawer slides inside the cabinet. Attach the drawer fronts (cut from plywood) using clamps and pocket hole screws from the inside. Install the brass drawer pulls.
- Install the hanging rods: Cut the closet rods to length and install them using the supplied hardware. Add a support bracket in the middle of long rods to prevent bowing.
- Add a light: Replace the old light fixture with a new one. Always turn off the power at the breaker box before working with electricity.
Tips for Success
- Measure Twice, Cut Once, and Check Your Path: Before fully assembling any large unit, measure your doorways and hallways. It is much easier to install individual pieces in a tight space than to wrestle a fully built cabinet.
- Use a Track Saw for Straight Cuts: A track saw is ideal for breaking down full sheets of plywood. If you don't have one, a circular saw with a straight edge guide is a good alternative.
- Don't Fear Pocket Holes: Pocket hole joinery is strong, fast, and easy for beginners. For shelves above eye level, drill the pocket holes on the top face so they are hidden from view.
- Always Use Wood Glue: Pocket hole screws provide clamping force, but the wood glue provides the long-term strength. Apply glue to every joint.
- Plan for a "Budget": The total cost for this project was around $800-$900, including the plywood ($520), hardware, and the drawer pulls. The drawer pulls were a significant expense but were key to the final look. Plan your budget to match your priorities.
