
What You'll Need
If you've ever bought those steel hinges for a DIY shoe cabinet, you know they rarely come with any instructions. This guide will walk you through the entire process, from preparing your cabinet box to installing the hinge system and face. Whether you're building a shoe cabinet for a closet or a standalone unit, these steps will help you get professional results.
Tools
- Drill with assorted bits (spade bit or forstner bit)
- Awl (for marking center points)
- Clamps
- Screwdriver
- Hammer or clamp for pressing inserts
- Measuring tape
- Table saw or circular saw
- Playing cards (for shimming)
Materials
- Steel hinge set (3-layer hinge shown in this guide)
- Cabinet box (33 cm deep x 45 cm tall, length adjustable)
- Cabinet face (same thickness as your spacer)
- Dividers (3/4 inch material recommended)
- Included hardware (screws, stops)
- Scrap wood for spacers
- Trim piece (optional, for bottom gap)
Step-by-Step Guide
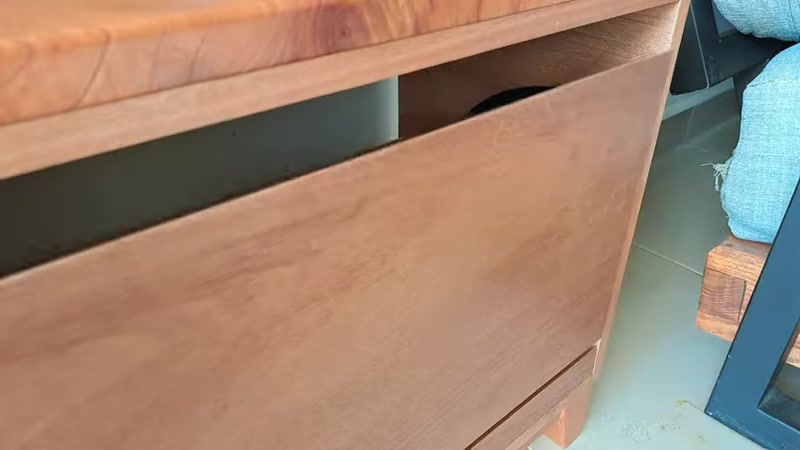
Step 1: Prepare Your Cabinet Box

Turn your cabinet box on its side. Identify the top and bottom of the box. If your cabinet will sit on the floor with an open bottom, place a scrap piece of wood to simulate the floor. If your box has a closed bottom, simply slide the hinge up against it.
Important: The cabinet face must be inset—it cannot overlay the front of the cabinet or the hinge won't be able to move.
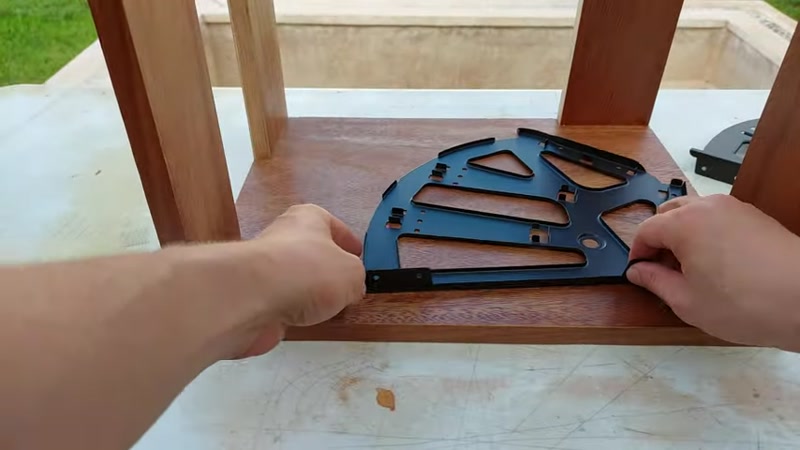
Step 2: Position the Hinge

Take a scrap piece of wood that is exactly the same thickness as your cabinet face. This will act as a spacer. Place it carefully exactly where you want your cabinet face to sit, then clamp it into place.
Push the hinge as far as it will go against:
- The bottom of the box
- The cabinet face spacer
Mark the center of the hole with an awl. This tiny perforation will guide your drill bit for a precisely located hole.
Step 3: Drill the Hinge Insert Hole

Look at the included hardware. The piece with ribbed sides will be embedded into the side of your box where you marked the hole.
Select a drill bit with the same or slightly smaller diameter as this piece. You want a tight fit. In this guide, a 5/8 inch spade bit was used, but a forstner bit would be better if you have the right size.
Warning: If using a spade bit, the long tip may come through the other side of the box when you reach the right depth. Test on scrap wood first before drilling into your cabinet.
Tap the ribbed piece in with a hammer, or use a clamp and a piece of wood for a gentler approach. Repeat this process on the other side of the box.
Step 4: Determine Divider Dimensions
To figure out the length of your dividers:
- Measure the length of the cabinet's opening
- Subtract 1 cm
For the height of the dividers, measure the slots on the hinge:
- The two middle slots are typically 15 cm tall
- The rear slot is about 12 cm
- The bottom slot is 14 cm
Always double-check the measurements on your specific hinges.
Step 5: Prepare the Dividers

If you're using 3/4 inch material, you may need to bend over any tabs that get in the way. The dividers will be screwed into place, so the tabs are just guides.
Use an awl to start holes for the screws. This prevents splitting and ensures accurate placement.
Step 6: Install the Dividers
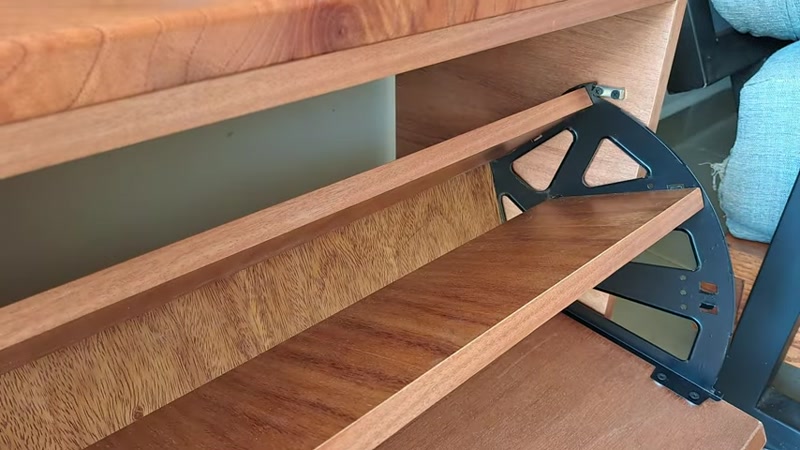
Screw the dividers into the hinge slots. Leave any slots open if you need extra space—for example, to fit bike helmets.
Do a test fit to make sure everything aligns properly before moving on.
Step 7: Figure Out the Bottom Gap
You must leave a gap at the bottom of the cabinet face to allow for movement. The required gap depends on the thickness of your cabinet face.
Test method: Use a scrap piece of wood to simulate the face movement. In this example, the gap was 3 cm.
Cut a spacer piece of scrap wood to this thickness. You can screw it down temporarily so it doesn't move during installation.
Step 8: Check the Top Gap

Test whether you need a gap at the top of the cabinet face. If the face moves freely with a minimal gap, you can keep it tight. Remove the center divider if it's in the way during testing.
Step 9: Position the Cabinet Face

Push the cabinet face all the way to one side. Use playing cards as shims on the other side—fit as many cards as possible into the gap. Divide this number by two and place that many cards on each side for perfectly spaced gaps.
The cards should fit snugly enough to hold the cabinet face in place while you mark screw holes.
Step 10: Mark and Drill Screw Holes

Remove the cards and the bottom spacer. Use an awl to perforate the marked spots. Remove the hinge and divider assembly, then line up the holes and screw the face into place.
Put everything back together to check the fit.
Step 11: Create a Trim Piece (Optional)

If you don't like the visible gap at the bottom, you can add a trim piece:
- Cut a roughly 30° angle on the bottom edge of the cabinet face
- Cut the same angle in the opposite direction on the trim piece
- Gradually cut the trim piece smaller on the table saw, testing each time for the perfect fit
This angled design allows the two pieces to pass closely without hitting each other.
Step 12: Install the Stops

Hold your cabinet face where you want its top position to be. Place a stop against it. Mark the screw holes with an awl, then screw the stop into place. Repeat on the other side.
Tips for Success
- Test on scrap wood first before drilling into your actual cabinet. This saves you from costly mistakes.
- Use a forstner bit instead of a spade bit for cleaner holes that won't poke through the other side.
- Buy your hinges carefully—many brands sell the exact same product under different names at very different prices. Compare pictures to find the best deal.
- Label your parts as you go. The two hinges are mirror versions of each other, and it's easy to mix them up.
- Don't skip the playing card shimming method—it's a simple trick that gives you perfectly even gaps on both sides.
