
What You'll Need
Want to add some patriotic charm to your home for Independence Day? This tutorial shows you how to make a rag flag, a rustic wooden quote sign, and a simple tablescape using affordable materials and basic sewing skills. Perfect for adding a handmade touch to your summer decor.
For the Rag Flag:
- Linen fabric in red, white, and blue (approximately 1 yard total)
- Coffee (for aging the fabric)
- Wooden dowel (to hang the flag)
- Sewing machine and thread
- Scissors or rotary cutter
- Measuring tape
For the Wooden Quote Sign:
- Wooden round (any size you prefer)
- Spray paint (color of your choice)
- Laser burner or wood burning tool
- Canva account (for designing the quote)
For the Wooden Stars:
- Solid maple wood stars (available in 6-inch and 9-inch sizes)
- Driftwood stain
- Paintbrush or rag
For the Tablescape:
- Blue and white star fabric (for table runner)
- Fresh flowers (multiflora roses and lamb's ear work well)
- Vase or jar
General Supplies:
- Basic sewing supplies (pins, iron)
- Hot glue gun (optional)
- Scissors
Step-by-Step Guide
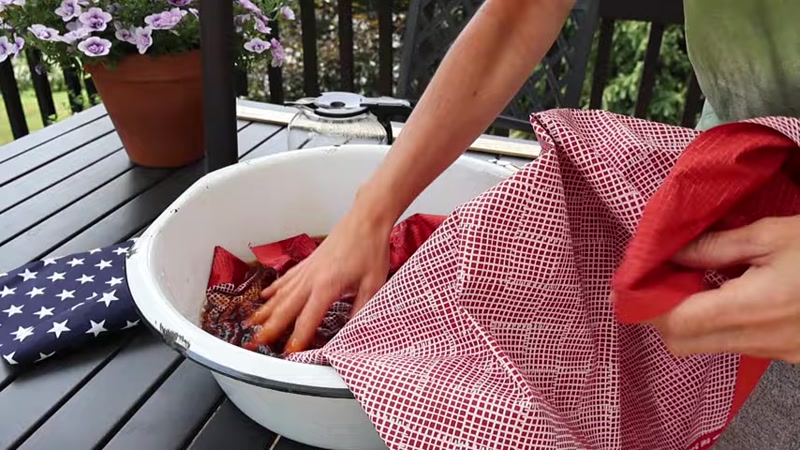
Step 1: Prepare the Fabric for Your Rag Flag
Start by cutting your linen fabric into strips for the flag. You'll need 13 strips total for the stripes. Cut them to your desired flag size—Mary used strips that were roughly the same width and length to create a balanced look.
Pro tip: Soak the fabric in coffee for 10-15 minutes to give it a vintage, aged appearance. Let the fabric dry completely before sewing.
Step 2: Sew Pockets for the Dowel
To hang your flag on a wooden dowel, you need small pockets at the top of each strip. Fold over the top edge of each fabric strip about 1 inch and sew a straight line across. This creates a channel for the dowel to slide through.
If you don't have a sewing machine, you can use fabric glue or hot glue instead—just make sure the pocket is wide enough for your dowel.
Step 3: Assemble the Flag Stripes
Lay out your fabric strips in the correct order (red and white alternating, with a blue section for the stars). Mary initially tried using two pieces of fabric per stripe but found it looked too puffy. She recommends using just one piece per stripe for a cleaner look.
Sew the strips together along the long edges. Press the seams flat with an iron for a professional finish.
Step 4: Create the Wooden Quote Sign
Design your quote using Canva or another design software. Mary chose a quote from one of America's founding fathers for a patriotic touch.
Spray paint your wooden round in a color that complements your decor. Let it dry completely.
Use a laser burner or wood burning tool to transfer your design onto the wood. If you don't have a laser burner, you can use stencils and paint instead.
Step 5: Stain the Wooden Stars
Apply Driftwood stain to your maple wood stars using a paintbrush or rag. Let the stain soak in for a few minutes, then wipe off any excess. Allow the stars to dry completely before handling.
These stars work beautifully as standalone decorations or grouped together on the mantel.
Step 6: Make the Table Runner
Cut your blue and white star fabric to the desired length and width for your table. Mary discovered she preferred the wrong side of the fabric because it had a faded, vintage look.
Hem the edges by folding them over twice and sewing straight lines. If you're not comfortable sewing, you can use iron-on hem tape instead.
Step 7: Arrange the Tablescape
Keep it simple. Place your table runner down the center of your table. Clip fresh flowers like multiflora roses and lamb's ear, and arrange them in a simple vase or jar. Mary emphasizes that you don't need much more than a pretty table runner and a few flowers to create an attractive tablescape.
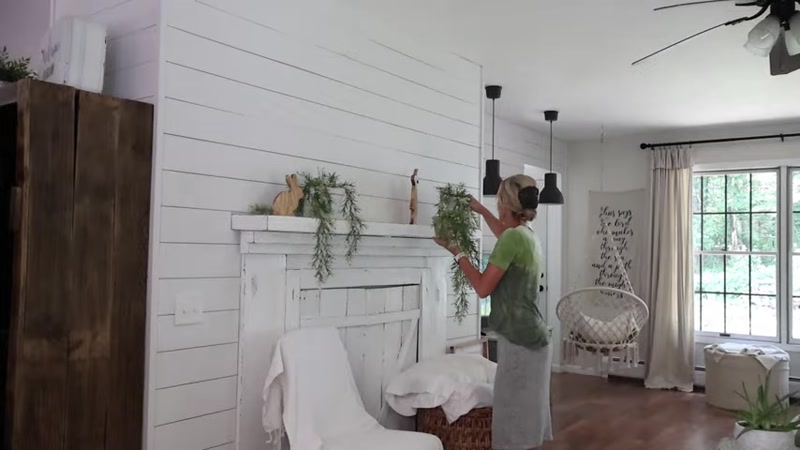
Step 8: Style Your Mantel
Before decorating, sketch a rough layout of what you want on your mantel. This helps you visualize the final look.
Mary's layout included:
- The rag flag hanging centered above the mantel
- A mirror for height and depth
- The wooden quote sign
- Wooden stars scattered around
- Fresh flowers or plants for softness
Arrange your items, step back, and adjust until you're happy with the balance.
Tips for Success
- Test fabric shrinkage first. Before committing to a large project, wash and dry a small piece of your fabric to see how much it shrinks. This is especially important when using linen or cotton.
- Use a rough sketch. Drawing a simple layout of your mantel or table before decorating saves time and helps you avoid moving items around endlessly.
- Don't overcomplicate the tablescape. A beautiful table runner and a few fresh flowers are often enough to make a statement. You don't need expensive centerpieces.
- Consider the wrong side of fabric. Sometimes the faded or muted side of a fabric looks more vintage and interesting than the bright, printed side. Always check both sides before cutting.
- Shop outlet stores for unique fabrics. Stores like Zinck's Fabric offer one-of-a-kind materials at great prices. Just remember that inventory is limited, so buy enough for your project when you find something you love.


