What You'll Need
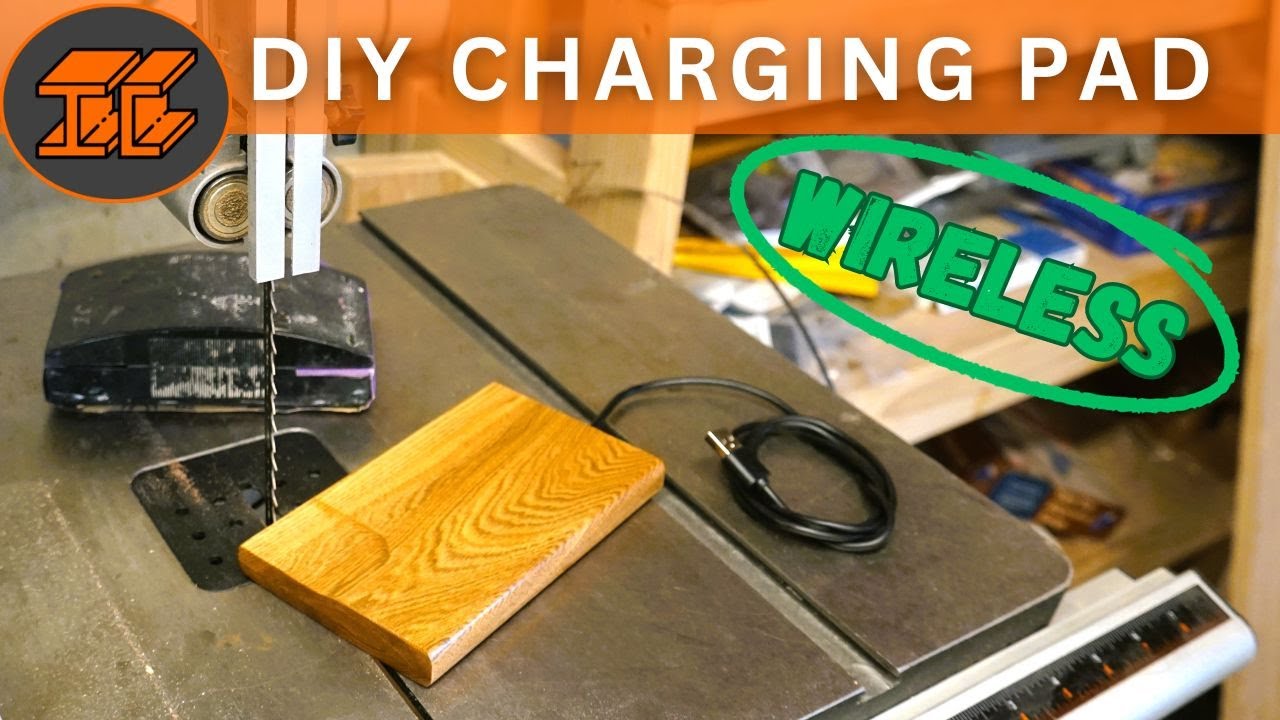
I picked up this Utch wireless charging pad from Amazon and thought it would look way better inside a nice piece of wood. So I built this walnut charging station that sits flush with your phone, even accounting for those protruding camera lenses. Here's how I did it.
- Wireless charging pad (I used Utch from Amazon)
- Piece of walnut or butternut (mine came from a barn in Vermont)
- 3-inch forstner bit
- 1/2-inch spiral upcut router bit
- 1/8-inch spiral upcut bit
- 1/4-inch radius round over bit
- Dish bit (1/8-inch)
- Router with plunge base
- Template wood (I used quin plywood)
- Double-sided wood tape
- Hot glue gun
- Sandpaper (120 and 240 grit)
- True Oil (or your favorite wood finish)
- Anti-slip stickers
Step-by-Step Guide
1. Take Apart the Charging Pad
First, peel off the anti-slip ring on the bottom of the charging pad. Underneath, you'll find five screws. Remove those and pop the guts out. You'll see the cable coming out of the back — that's what we need to work with.
2. Make a Template
Grab a piece of quin plywood and create a template for the pocket you'll route out. I already had one hole in mine, so I cut a second one. This template will guide your router so the charging pad fits snugly inside the walnut.
3. Route the Pocket
Place your charging pad on the walnut and trace its outline. Use the template with some wood tape to keep it steady. Set the depth gauge on your router so the cutting head leaves about 1/8-inch of material on the bottom of the pocket. I used a 1/2-inch spiral upcut bit.
Critical tip: Only go down 1/8-inch at a time. If you try to plunge the full depth at once, the router will buck and leave uneven cuts.
4. Cut the Wood in Half
Once the pocket is routed, cut the walnut piece in half so you create a sandwich — a top and a bottom. This lets you run the cable through cleanly.
5. Create a Channel for the Cable
Use an 1/8-inch spiral upcut bit to cut a small channel from the pocket to the edge of the wood. This is where the cable will sit.
6. Test the Charging
Place the charger into the pocket and set your phone on top. Make sure it actually charges. If the light comes on, you're good. If not, adjust the depth until it works.
7. Shape the Charging Pad
Measure where your phone will sit and trim the wood so it's the exact same size as the phone. I left about 1/4-inch on either side for a tight fit.
8. Glue It All Together
Hot glue the charging pad into the pocket. Take the piece you cut off earlier, trim it to the same dimensions as the charging pad, and glue it to the back to seal everything in.
9. Round Over the Edges
Once the glue dries, take the charging pad to the router table and use a 1/4-inch radius round over bit to smooth the edges. Gives it a nice finished look.
10. Cut a Recess for the Camera Lenses
Here's the trick — when you lay your phone on the charging pad, the protruding camera lenses keep it from sitting flat. This kills the charging efficiency. So mark where the lenses hit and use a dish bit at 1/8-inch depth to create a small recess. Now the phone lays flush.
11. Sand and Finish
Sand with 120 grit, then 240 grit by hand. Apply your favorite top coat — I used True Oil. Let it dry.
12. Add Anti-Slip Stickers
Stick anti-slip stickers on each corner of the bottom so the charging station doesn't slide around on your desk.
That's it. Plug it in and set your phone on top. Works perfectly and looks way better than a plastic Amazon charger.