What You'll Need
If you've got a circular saw and a drill, you can build a solid set of cornhole boards. No fancy tools needed. I'm going to walk you through how I made mine.
- 4 two-by-fours (8-foot lengths)
- 2 sheets of 3/4-inch plywood, cut to 2 feet by 4 feet (most hardware stores sell these pre-cut)
- 1/4-inch carriage bolts (4 total)
- Washers (8 total)
- Nuts (4 total)
- Wood glue
- 1 1/4-inch pocket screws
- Water-based semi-gloss polyurethane
- Sandpaper (240, 320, and 400 grit)
Tools:
- Miter saw (or circular saw with a speed square)
- Drill with pocket hole jig
- Jigsaw (or bandsaw)
- Router with round-over bit
- 6-inch hole saw
- Tape measure
Step 1: Build the Frame
Cut your two-by-fours to make the frame that supports the plywood top. You'll need two long pieces at 48 inches and three cross pieces at 21 inches each. Lay them out in a rectangle with the cross pieces evenly spaced — one at each end and one in the middle.
Drill pocket holes every 6 to 8 inches around the perimeter of the frame. Put two on each end of the longer sides. Don't crank the pocket screws too deep — you don't want them poking through the plywood on top.
Step 2: Cut the Legs
Set your miter saw to 30 degrees and cut the legs. This angle makes them sit flush with the floor when the board is standing up. You'll want the legs to be about 12 inches long from the angled cut to the bottom.
Grab something round — a cup, a roll of tape, whatever — and trace a curve on one end of each leg. Cut that curve with a jigsaw. A bandsaw works too. If you're using a circular saw, cut close to the line and sand the rest of the way. Sand the edges smooth so there aren't any sharp spots.
Step 3: Attach the Legs
Measure 1.75 inches from the side of each leg and about 1 inch from the top. That's where the carriage bolt goes. Use a drill bit the same size as your carriage bolts and drill through.
Grab a scrap piece of two-by-four to use as a spacer when mounting the legs. Put a washer on the bolt, slide it through the leg, add another washer on the other side, then thread the nut on. Having washers on both sides lets the leg move smoothly. Don't overtighten — the leg needs to swing freely.
Step 4: Cut the Hole
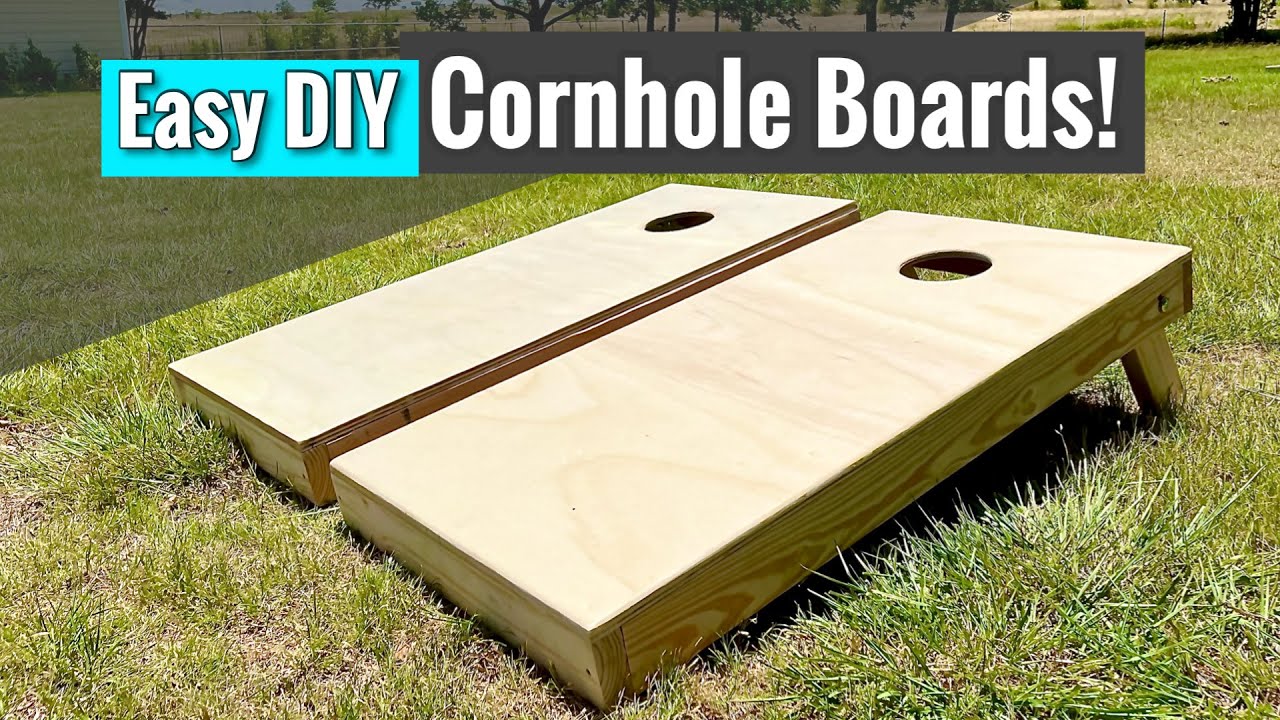
Regulation cornhole says the hole is 9 inches from the top and 12 inches from the side. Mark that center point and use a 6-inch hole saw to cut the hole. Go slow so you don't tear out the wood.
Step 5: Round the Edges
Use a router with a round-over bit to smooth the edges around the hole and the perimeter of the board. This makes the boards look finished and prevents splinters.
Step 6: Sand and Finish
Sand the whole top with 240 grit, then 320 grit. You want it smooth before you start applying poly.
I used water-based semi-gloss polyurethane because it dries fast. Use a foam brush — not a regular brush or roller — to avoid streaks and bubbles. Apply a thin, even coat.
After the first coat dries, lightly sand with 400 grit sandpaper. Then apply another coat. Repeat this 5 to 10 times, or until the surface is as slick as you want it. The more coats, the smoother the board will feel.
Watch for runoff or thick spots when applying the poly. Those areas dry uneven and are a pain to sand flat later.
Tips for a Better Set
- If you want the boards to look cleaner, paint or stain the plywood before you attach it to the frame.
- Use a level to make sure your frame isn't twisted before you screw the top down.
- The legs will wear over time where they hit the ground. A dab of poly on the bottom of each leg helps them last longer.
That's it. A full set of cornhole boards for way less than what they cost at the store. If you've got questions, drop them below.


