What You'll Need
Here is a clear, actionable DIY tutorial based on the provided transcript.
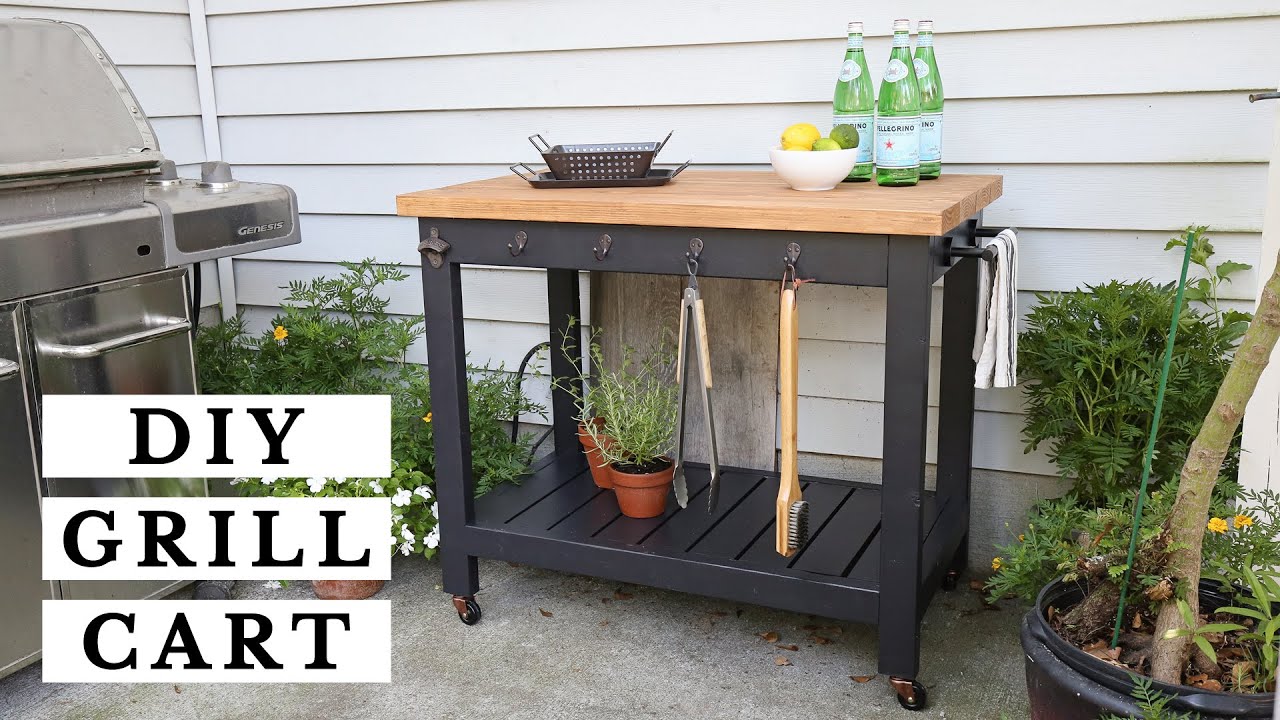
# How to Build a DIY Outdoor Grill Cart
Summer is the perfect time to upgrade your outdoor cooking setup. This sturdy DIY grill cart is a fantastic project for a weekend, providing extra workspace and storage for all your grilling essentials. It also works great as a general outdoor entertaining cart. This tutorial breaks down the process into simple, repeatable steps.
Materials:
- 2x4 lumber (for frame and top)
- 2x3 lumber (for frame and legs)
- 1x4 slat boards (for lower shelf)
- 1x2 boards (for shelf support)
- 2x6 boards (for the top shelf)
- Wood glue
- 2.5-inch self-tapping screws (Kreg screws)
- 1.25-inch self-tapping wood screws
- 1.25-inch brad nails
- Exterior-grade primer and paint (e.g., Sherwin Williams Tricorn Black)
- Exterior wood stain (e.g., Valspar Semi-Transparent in Pine Bark)
- Wood filler (sustainable)
- Sandpaper
- 4x heavy-duty caster wheels (with brakes recommended)
- Optional: Hooks, bottle opener, towel bar
Tools:
- Miter saw
- Kreg Jig (set for 1.5-inch thick wood)
- Drill / Driver
- Brad nailer
- Clamps (at least one 48-inch clamp)
- Measuring tape
- Pencil
- Paintbrushes or sprayer
- Safety glasses and ear protection
Step-by-Step Guide
Step 1: Make All Lumber Cuts
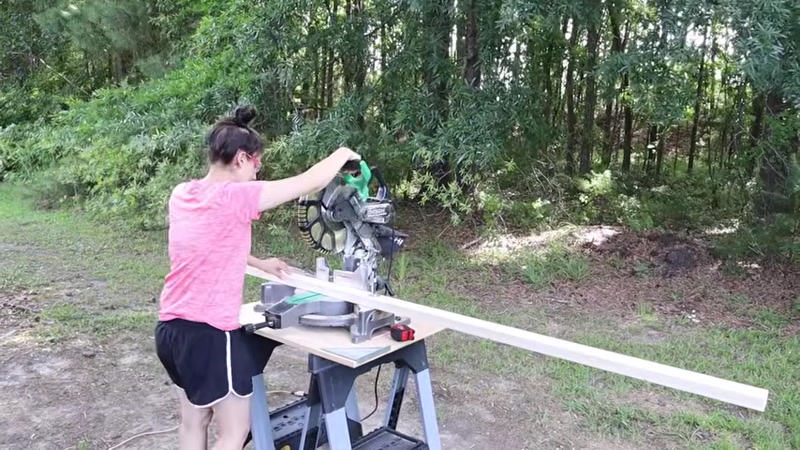
Using your miter saw, cut all the lumber to the required lengths. You will need pieces for the legs, the top and bottom frames, the shelf supports, and the top slats. For a full, detailed cut list, refer to the original blog post linked in the description. Accurate cuts are the foundation of a square, stable cart.
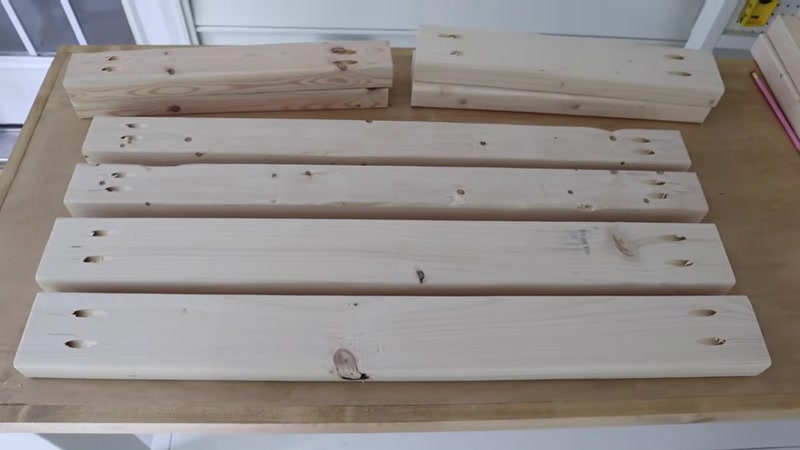
Step 2: Add Pocket Holes to Frame Boards
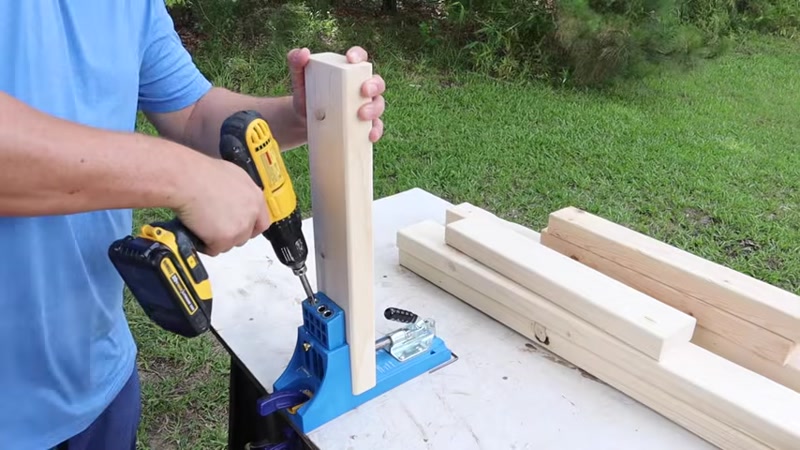
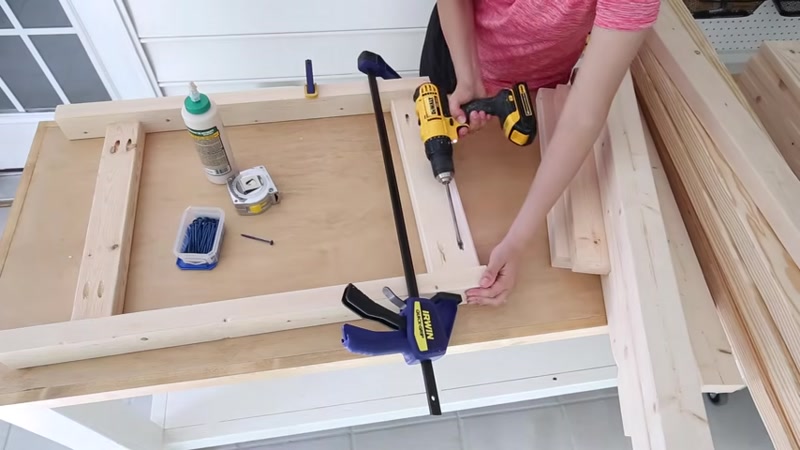
Set your Kreg Jig for 1.5-inch thick wood. Drill pocket holes into both ends of all 2x3 and 2x4 boards that will form the front, back, and side frames of the cart. These holes will allow you to make strong, hidden joints.
Step 3: Build the Two Side Frames
- On two of the 2x3 cart legs, measure and mark 3.5 inches up from the bottom.
- Take a shorter 2x3 piece and attach it between the two legs at these marks. Use wood glue and 2.5-inch pocket screws to secure it.
- Attach a 2x4 board across the top of the same two legs, again using wood glue and pocket screws. This completes one side frame.
- Repeat this entire process to build the second, identical side frame.
Step 4: Assemble the Front and Back
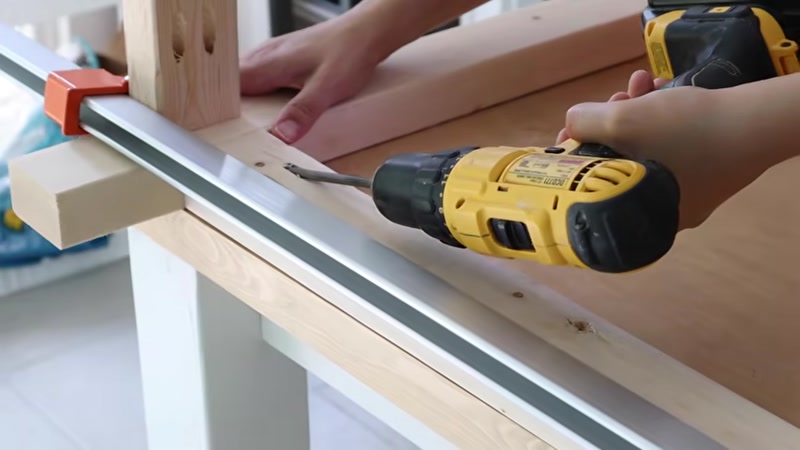
- Attach the two side frames together to form the back of the cart. Use a 48-inch clamp to hold them steady if needed.
- Secure a 2x4 across the top of the side frames with wood glue and 2.5-inch pocket screws.
- Attach a 2x3 across the bottom of the side frames, 3.5 inches up from the bottom of the legs, using the same method.
- To create the lower shelf support, hold a 1x4 slat board level with the top of the 2x3 you just installed. Mark the leg underneath the board. Do this on both sides.
- Attach a 1x2 board at these marks on each side using wood glue and 1.25-inch self-tapping screws.
- Flip the cart over and repeat all the steps in this section to build the front of the cart.
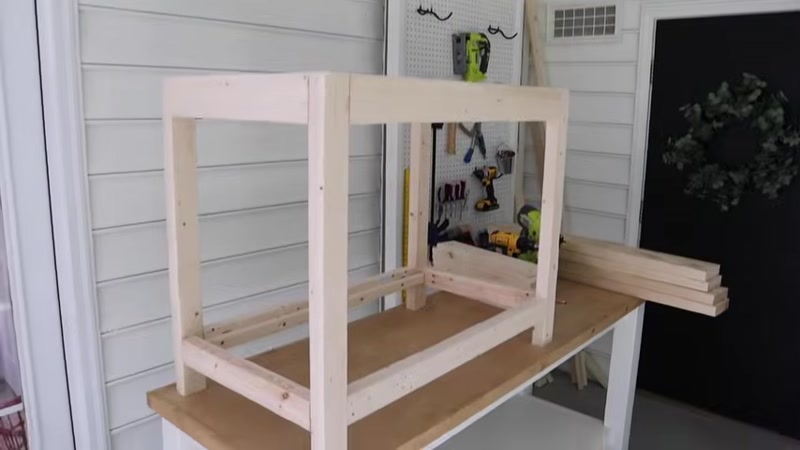
Step 5: Install the Lower Shelf Slats
Apply a bead of wood glue on top of the 1x2 shelf supports you just installed. Lay the 1x4 slat boards across the supports, spacing them about 3/8 of an inch apart. Secure each slat in place with 1.25-inch brad nails and a brad nailer.
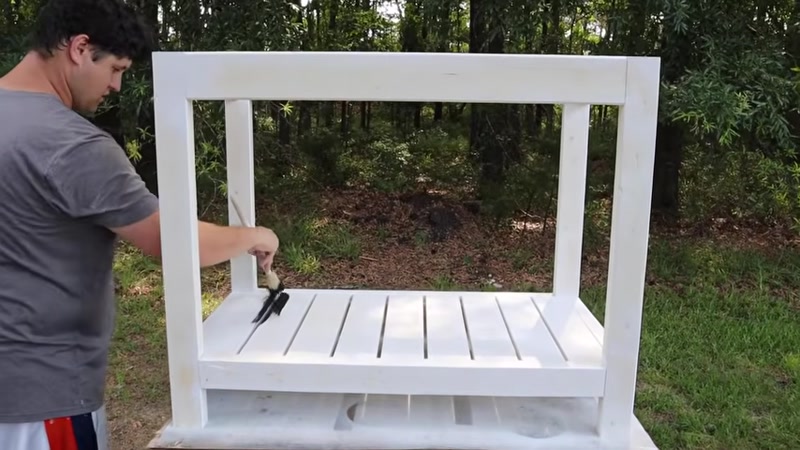
Step 6: Paint the Frame and Stain the Top
It is much easier to finish the cart in sections before final assembly.
- Paint: Prime the entire cart frame (the bottom section). Then, apply two coats of exterior-grade paint (like Tricorn Black) for durability against the elements.
- Stain: For the 2x6 top boards, apply one coat of your chosen exterior stain (like Pine Bark). Let it dry completely.
Step 7: Attach the Top Shelf
- Place the first 2x6 board on top of the cart frame. It should overhang the frame by 1 inch on each side and 1 inch on the front.
- Clamp the board in place and secure it to the frame with 2.5-inch self-tapping screws on each side. Make sure to countersink the screws slightly below the wood surface.
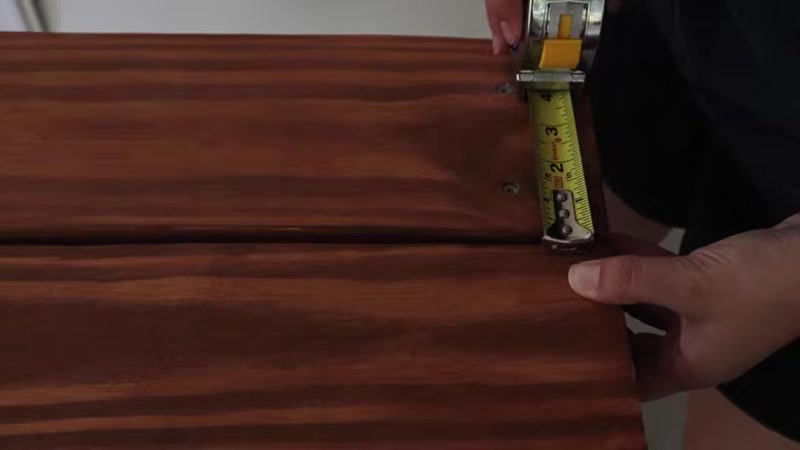
- Attach the remaining three 2x6 boards in the same way, leaving a 1/4-inch gap between each board. Ensure all sides maintain the 1-inch overhang.
- If desired, fill the screw holes with wood filler. Once dry, sand it smooth and touch up the stain.
Step 8: Install Casters and Hardware
Carefully turn the cart over. Attach the four caster wheels to the bottom corners of the frame. Finally, install any additional hardware you want, such as hooks for tools, a bottle opener, or a towel bar.
Tips for Success
- Use Exterior-Grade Everything: Since this cart will live outside, use exterior-grade paint, stain, and screws to prevent rust and rot.
- Double-Check Your Squares: Before the glue dries on each frame section, use a carpenter's square to ensure the corners are perfectly square. This ensures the cart will be stable and level.
- Pre-Drill for Casters: To prevent the wood from splitting when installing the caster wheels, pre-drill pilot holes slightly smaller than the wheel's screws.
- Work in a Clean Space: Pocket hole joints are strongest when the wood is flush. Make sure your work surface is clean and your clamps are tight.
- Sand Between Coats: For the smoothest painted finish on the frame, lightly sand with 220-grit sandpaper between coats of primer and paint.


