What You'll Need
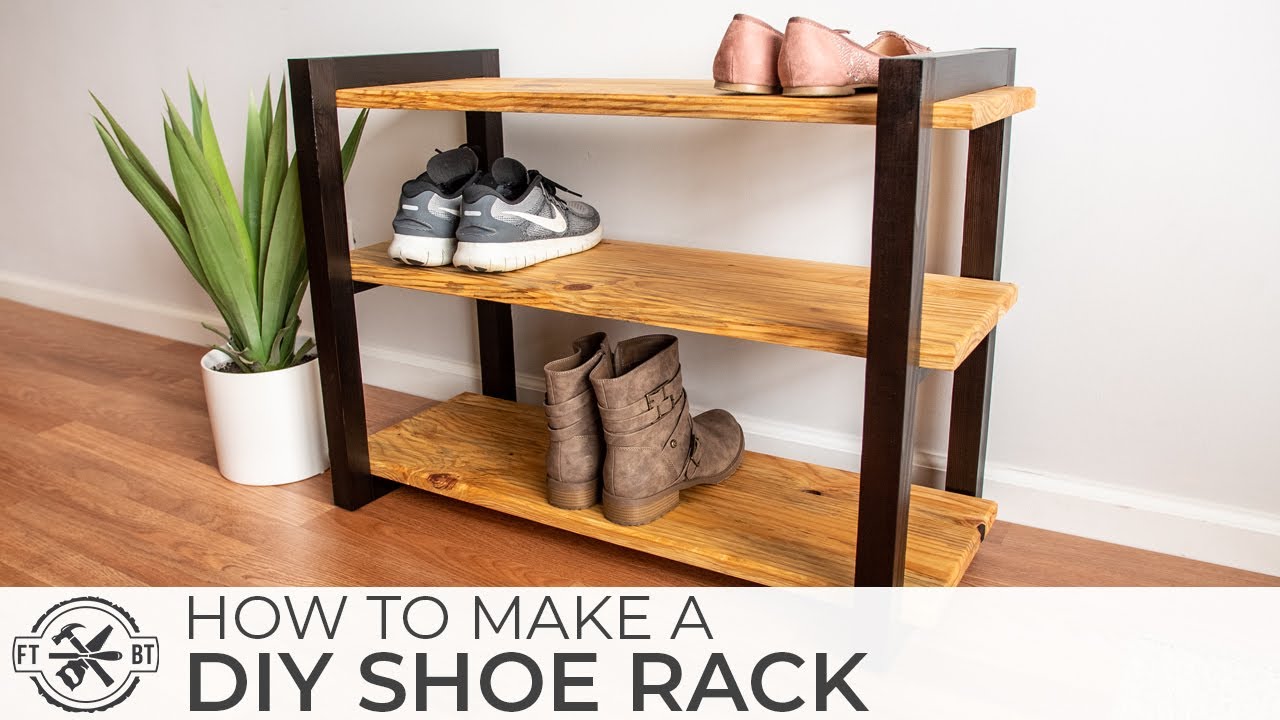
Looking for a stylish way to organize your footwear? This DIY shoe rack combines spalted pine shelves with a striking burnt cedar frame using the traditional Japanese technique of Shou Sugi Ban. The result is a beautiful, durable piece that adds character to any entryway or mudroom.
Materials
- Spalted pine boards (or 1x4/1x6 dimensional lumber) for shelves
- Cedar boards (or standard 2x2 lumber) for side frames
- Wood glue
- 2-1/2" pocket screws
- 1-1/4" and 2" wood screws
- Water-based polyurethane finish
- Rubber foot pads
Tools
- Jointer
- Planer (Jet planer recommended)
- Table saw
- Miter saw
- Router with chamfer bit
- Pocket hole jig
- Drill/driver with short bit or right-angle attachment
- Propane torch (weed burner or MAP-Pro torch)
- Shop towels
- Clamps with off-cut blocks
- Hearing protection (ISO Tunes earbuds recommended)
- Nylon brush (optional, for Shou Sugi Ban)
Step-by-Step Guide
Step 1: Prepare Your Shelf Boards
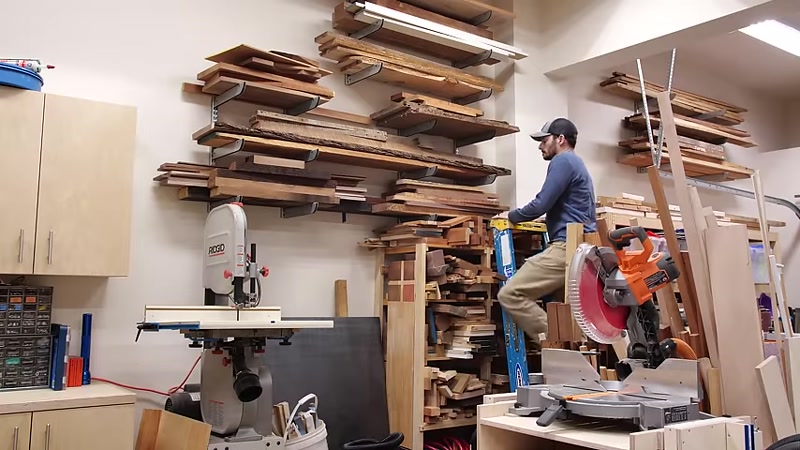
Start by milling your rough lumber. If you're using dimensional lumber like 1x4s or 1x6s, you can skip the milling steps and go straight to cutting.
Run each board through the jointer to create one flat, straight edge. This gives you a reliable reference surface for the table saw. If any boards are bowed, face-joint them to remove the curve.
Next, use the planer to bring all boards to a consistent 3/4-inch thickness. This is essential for a professional-looking final product.
Step 2: Cut Shelves to Size
Measure your shortest board and use it as a reference to mark the best sections of the longer boards. Cut all shelf pieces to rough length on your miter saw.
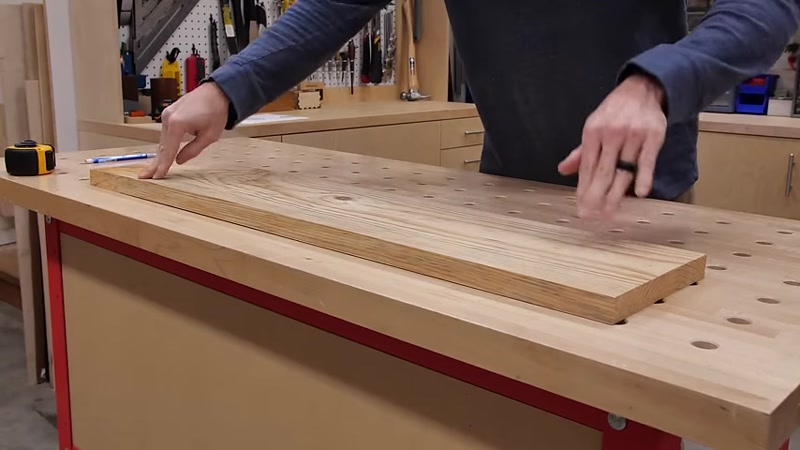
Rip the boards to width on the table saw. Each shelf will consist of one wider piece and one narrower piece glued together. Vary your cuts as needed to achieve consistent panel widths.
Step 3: Glue Up Shelf Panels

Lay out your boards and match them for the best grain pattern and color. Apply wood glue to the joining edges and clamp the panels together.
Important: When working with softwoods like pine, use off-cuts between the clamp jaws and the panels. This distributes pressure evenly and prevents dents in the wood. Let the glue dry completely.
Step 4: Build the Side Frames

If you're milling your own cedar, run the boards through the planer to 1-1/2 inches thick, then rip them to 1-1/2 inches square on the table saw. Alternatively, use standard 2x2 lumber from the home center.
Cut four tall legs to your desired height. Then cut short connecting pieces to create the side frames. For repeatable cuts under 12 inches, set your stop block 10 inches longer than needed and use a 10-inch spacer as a reference.
Join the frame pieces using pocket holes and 2-1/2-inch pocket screws. Add wood glue to the joints for extra strength, especially since the Shou Sugi Ban process involves heat.
Pro tip: You'll need a short driver bit or right-angle attachment to fit your drill into the tight frame spaces.
Step 5: Add Center Shelf Supports
The middle shelf needs two small supports. Rip an extra short support piece in half to create these. Mark and attach them to the side frames, leaving 10 inches of clearance for the bottom shelf and 8 inches for the middle shelf. Adjust these measurements to fit your footwear.
Step 6: Apply Shou Sugi Ban Finish

Take the frames outside for the burning process. Use a propane torch or weed burner to char the wood. Here's how:
- Test on scrap pieces first to find your preferred look
- Hold the flame directly on the wood for deeper charring
- For lighter effects, sweep the flame back and forth
- Move slowly and evenly across all surfaces
Safety warning: Work outdoors only and keep a water source nearby. Use caution with the torch.
After burning, you have two options:
- Brush method: Use a hard nylon or wire brush to remove loose char, creating a lighter, textured look
- Wipe method: Simply wipe off loose soot with a shop towel for a darker, more uniform finish
I preferred the wipe method for this project, as it kept the color very dark and dramatic.
Step 7: Apply Finish to Frames

Apply a coat of water-based polyurethane to seal in the char and deepen the color. The dry wood will absorb the first coat quickly. Apply a second coat after the first dries for best results.
Step 8: Finish the Shelves

Once the shelf panels are dry, run them through the planer for a few light passes to smooth the glue joints flush. Square one edge on the table saw, then use a stop block to cut all three shelves to the same final length.
Use a router with a chamfer bit to soften the top edges of all shelves. This gives a professional, finished look.
Apply your chosen finish to the shelves. Clear polyurethane will bring out the spalting and character of the pine beautifully.
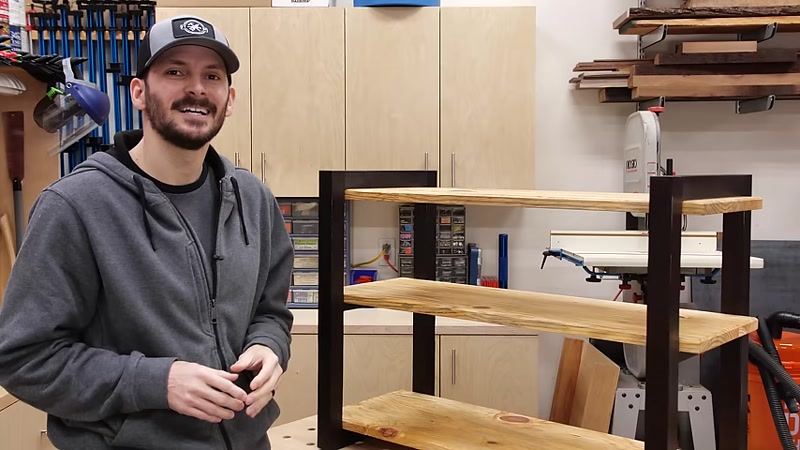
Step 9: Assemble the Shoe Rack

Flip the side frames upside down. Attach the top shelf first, using screws from underneath. Space the legs in from the shelf ends to create a nice overhang that highlights the contrast between the pine shelves and burnt cedar frames.
Watch out: When attaching the middle shelf, avoid driving screws into pocket hole recesses. I made this mistake and had to relocate my screws. Use 2-inch screws for a solid hold on the top and bottom shelves, and 1-1/4-inch screws for the thinner center supports.
For the bottom shelf, flip the rack over, clamp the shelf in place, and secure with 2-inch screws from the underside.
Step 10: Add Rubber Feet

While the rack is upside down, drill small recesses in the bottom of each leg. Insert rubber foot pads to keep the wood off the floor and help level the rack on uneven surfaces.
Tips for Success
- Test your Shou Sugi Ban technique first – Burn patterns and results vary by wood type and torch distance. Always test on scrap before committing to your project pieces.
- Use off-cuts when clamping softwood – Pine dents easily. Protect your panels by placing scrap wood between clamps and your workpiece.
- Pre-drill screw holes – This prevents splitting, especially near the edges of your shelves and frame pieces.
- Adjust shelf spacing to your needs – Tall boots need more vertical space than sneakers. Measure your family's footwear before setting shelf heights.
- Work in a well-ventilated area – Both the burning process and polyurethane application produce fumes. Wear a mask if needed and work outside or with proper ventilation.
