What You'll Need
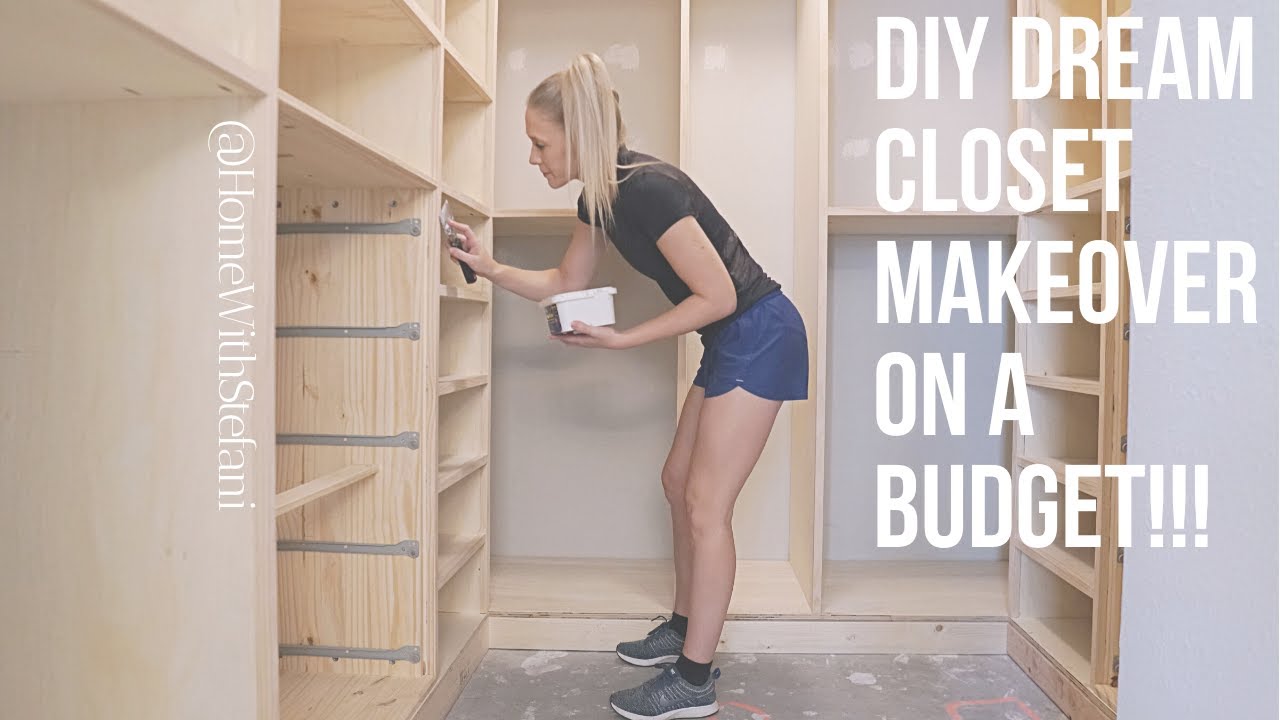
Are you tired of expensive closet systems that cost thousands of dollars? In this tutorial, I'll show you how to transform your closet on a budget using a combination of IKEA dressers and custom-built plywood shelving. This is part one of a complete closet makeover project, focusing on removing the old setup and building the foundation for your new organized space.
Materials:
- 2x4 lumber (for building the base/platform)
- 3/4-inch plywood sheets
- IKEA Tarva 5-drawer dressers (2 units)
- Liquid Nails construction adhesive
- Wood screws (various sizes)
- Pocket hole screws
- Wall brackets (included with IKEA dressers)
- New baseboard trim (for finishing later)
- Concrete floor paint (optional, for painting floors)
- Garbage bags (for moving clothes)
Tools:
- Circular saw or table saw
- Drill with screwdriver bits
- Pocket hole jig
- Stud finder
- Level
- Tape measure
- Hammer and pry bar (for removing baseboards and tack strips)
- Utility knife
- Safety glasses and gloves
Step-by-Step Guide
Step 1: Plan Your Layout

Before you start demolition, design your closet layout using software like SketchUp or even simple graph paper. Measure your closet space carefully, including height, width, and depth. Your design should account for:
- Hanging space (needs 22 inches depth for comfortable hanging)
- Drawer storage (measure your dresser depth)
- Shoe shelving
- Folding space
- Top cubbies for baskets and accessories
In this project, the left and right sides each feature a dresser, shelving for shoes, and folding space. The back wall is dedicated to hanging clothes, split between two people.
Step 2: Empty the Closet

Remove everything from your closet – clothes, shoes, bins, and accessories. Use a smart moving hack: take garbage bags and wrap your hanging clothes from the bottom up. This keeps them protected, dry, and together when you move them to another room.
Sort items into piles: keep, donate, throw away, and give to family. Do this later after the construction is complete to avoid clutter during the build.
Step 3: Remove Wire Shelving and Carpet

Take down any existing wire racks or shelving systems. Remove the carpet, carpet padding, and tack strips around the room. Use a pry bar and utility knife to get under the carpet and pull it up.
If you plan to paint your concrete floors (like in this project), now is the time to prepare the surface. Clean it thoroughly and apply concrete floor paint.
Step 4: Remove the Door and Baseboards
Take the closet door off its hinges – it will get in the way during construction. Remove all baseboards around the closet perimeter. Leave a small gap (about 1.5 inches) where your 2x4 base will sit against the wall. You'll add new baseboard trim later after the closet system is finished.
Step 5: Build the 2x4 Platform Base

Build a platform base using 2x4 lumber. Here are the measurements used in this project:
- Back wall base: 22 inches deep (for hanging clothes)
- Left and right side bases: 15.75 inches deep (to match the dresser depth)
Assemble the frame, then mark the stud locations on the wall. Secure the frame to the wall studs using screws for extra stability. This platform elevates your entire closet system and creates a clean, finished look.
Step 6: Install Plywood on Top of the Base

Cut 3/4-inch plywood to match the dimensions of your 2x4 base. Secure the plywood to the base using screws. This creates a solid, level surface for your dressers and shelving.
Step 7: Assemble and Install the IKEA Dressers

Assemble your IKEA Tarva dressers according to the manufacturer's instructions. These 5-drawer dressers provide strong, budget-friendly drawer storage. Once assembled:
- Place the dressers on the platform base
- Secure them to the wall using the included wall brackets
- Screw the dressers down into the base for extra stability
Step 8: Install Vertical Supports

Cut vertical supports from 2x4 lumber or plywood, following your SketchUp plan. The supports should be 15 inches deep (leaving room for a 3/4-inch trim piece later to create a flush finish). Install them by:
- Applying Liquid Nails to the back of each support
- Pressing the support against the wall
- Screwing into wall studs
- Drilling pocket holes and screwing down into the base
- For supports along the dressers, screw directly into the dresser sides and down into the base
Step 9: Install the Top Shelf

Cut a top shelf from 3/4-inch plywood to span the entire closet. Drill pocket holes along the shelf edges, then screw up into the shelf from the vertical supports. This creates a sturdy structure that will hold baskets and storage bins.
Tips for Success
- Measure twice, cut once – Double-check all measurements before cutting lumber. A small mistake can throw off your entire layout.
- Use a stud finder – Always secure heavy elements (like the base and dressers) to wall studs. This prevents tipping and ensures safety.
- Leave room for trim – Make your vertical supports slightly shallower than the base so you can add a flush trim piece later for a professional finish.
- Paint the floor before building – If you're painting concrete floors, do it before installing the platform. It's much easier to paint an empty room.
- Label everything – As you disassemble and remove items, label your clothes bags and bins. This makes reorganizing much easier later.
