
What You'll Need
Turn a simple dollar store flower pot into a whimsical patriotic character with glasses, a headband, and a floral crown. This beginner-friendly project is perfect for adding personality to your porch or garden.
Materials:
- 1 plastic or terracotta flower pot (Dollar Tree or similar)
- 2 wooden dowel caps (3/4 inch) for ears (or wooden beads)
- 1 wooden dowel cap or wooden bead for the nose
- Acrylic paint: flesh tone (mix khaki, pink, and off-white), black, red, white, and blue
- Clear satin outdoor spray paint (e.g., Rustoleum)
- Hot glue gun and glue sticks
- E6000 adhesive
- Dollar Tree sunglasses (or similar small glasses)
- Dollar Tree headband
- Decorative beads and a heart charm for a necklace
- Floral foam
- Red, white, and blue artificial flowers (Dollar Tree)
- Rubbing alcohol and a cloth for cleaning
- Paintbrushes
- Dotting tool (optional, or use a glue stick end)
Step-by-Step Guide
Step 1: Prepare the Flower Pot
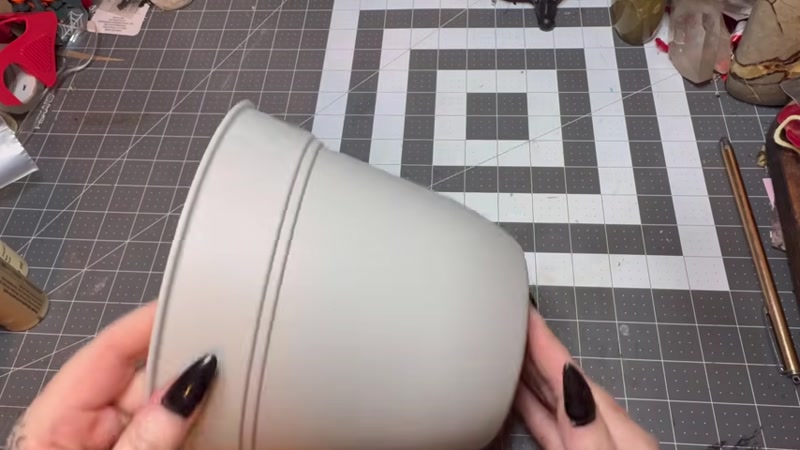
Thoroughly wipe down the flower pot with rubbing alcohol to remove dirt, debris, and oils. If you're using a plastic pot and plan to plant a real plant, pop out the drainage holes on the bottom. Set the pot aside to dry completely.
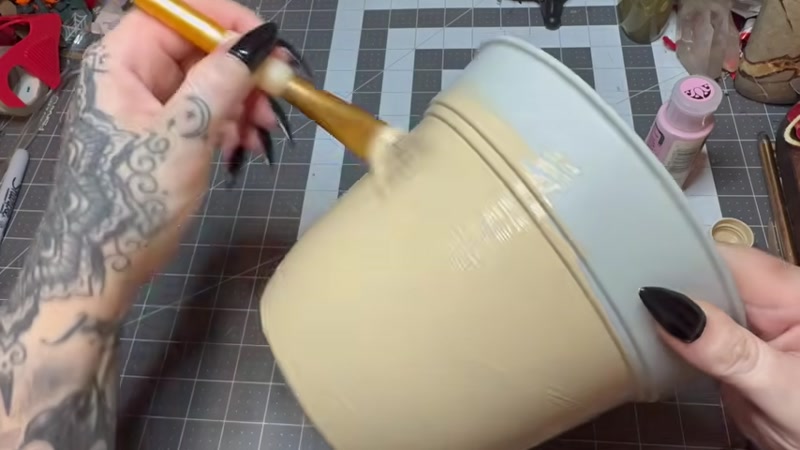
Step 2: Mix and Apply Flesh-Tone Paint
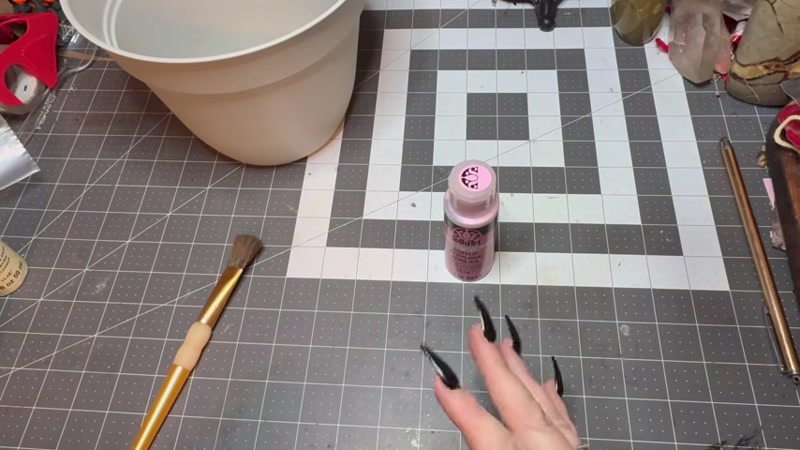
In a small container, mix khaki, pink, and off-white acrylic paint to create a flesh tone. Adjust the colors until you're satisfied with the shade. Apply an even coat of paint to the entire pot. Let it dry, then apply a second coat. Allow the paint to cure fully before moving on.
Step 3: Glue on the Nose and Ears
Using hot glue, attach the wooden dowel cap or bead for the nose in the center of the pot, about one-third of the way down from the top. For extra hold, apply a dab of E6000 underneath before gluing. Next, glue the two dowel caps to the sides of the pot for ears. Position them slightly above the nose level. Let the glue set.
Step 4: Paint the Nose and Ears

Once the glue is dry, paint the nose and ears with the same flesh-tone paint you used on the pot. Apply two coats for full coverage. Let everything dry.
Step 5: Darken the Sunglass Lenses

Take the Dollar Tree sunglasses and paint the back of the lenses with black acrylic paint. This will hide the eyes and give the character a fun, mysterious look. Let the paint dry completely.
Step 6: Sketch and Paint the Mouth

Using a pencil, lightly sketch a mouth shape on the front of the pot below the nose. Then, with red acrylic paint, carefully fill in the mouth. Use a small brush for precision. Let the paint dry.
Step 7: Paint the Body Details

Decide where you want the shirt and skirt to be on the pot. Paint the upper section white for a shirt, and the lower section blue for a skirt. You can also add a white belt line between them. For a ruffled collar effect, use a glue stick dipped in white paint to create dotted lace patterns around the neckline. Let the paint dry.
Step 8: Add Decorative Accents

Use a dotting tool or the end of a glue stick to add red and blue dots around the skirt or shirt for a festive, patriotic look. Get creative with patterns like polka dots or stripes.
Step 9: Apply Clear Spray Paint

Once all paint is dry, apply two coats of clear satin outdoor spray paint to protect the design from weather. Let it dry completely between coats.
Step 10: Attach the Headband

Cut the headband to size if needed. Position it around the pot, just above the ears and nose. Use hot glue to secure it in place, then add a few dots of E6000 underneath for long-term hold. Let the glue set.
Step 11: Make and Attach the Necklace

String beads and a heart charm onto a piece of string or thin cord to create a necklace. Tie it around the neck of the pot (just below the headband) and secure it with a knot. Add a dab of hot glue on the back to keep it in place.
Step 12: Create Earrings

Take small beads from a decorative ornament and glue them onto the ear posts (the dowel caps) using hot glue or E6000. Let them dry.
Step 13: Add the Flowers

Place a piece of floral foam inside the pot. Arrange red, white, and blue artificial flowers in the foam to create a full, festive bouquet. Trim stems as needed.
Tips for Success
- Use outdoor-rated adhesives – Hot glue alone may melt in direct sunlight. Always reinforce with E6000 or a similar outdoor glue for lasting results.
- Test your paint mix – Mix a small amount of flesh-tone paint first and test it on a scrap piece to ensure you like the color before painting the whole pot.
- Work in thin coats – Apply paint in thin, even layers to avoid drips and ensure a smooth finish. Let each coat dry completely.
- Position the glasses carefully – If your pot is smaller than the sunglasses, test the fit before gluing the nose and ears. Adjust their placement so the glasses sit snugly.
- Protect your work surface – Painting and gluing can get messy. Cover your table with newspaper or a drop cloth and wear old clothes.


