What You'll Need
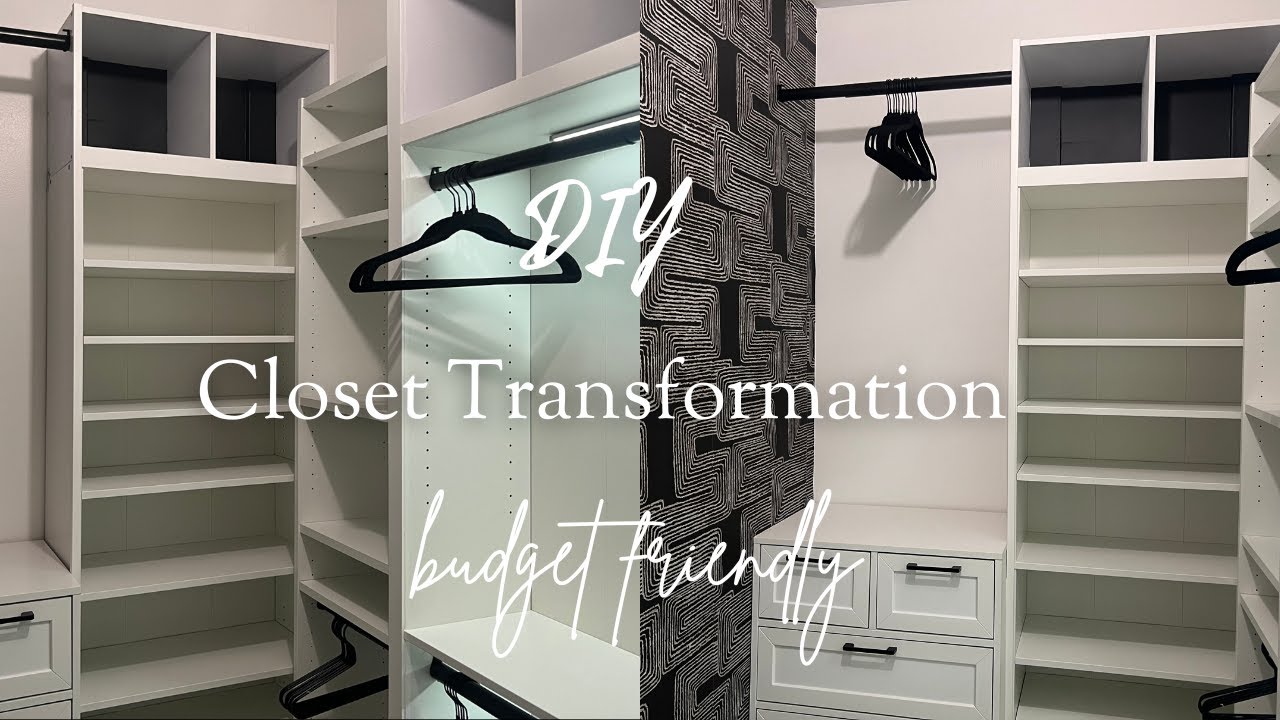
Want to turn your cramped, cluttered walk-in closet into an organized, luxury-feeling space without spending a fortune? In this tutorial, I'll show you how I transformed my small walk-in closet (which I share with my husband) using affordable bookshelves, clever storage solutions, and a weekend's worth of labor. Let's get started!
Materials:
- 4 Target bookshelves (or similar cube-style shelves)
- 2 IKEA Billy bookcases (taller than Target shelves for dimension)
- 4 cube storage bins (2-cube size)
- 2 small dressers
- 6 black closet rods
- Black hangers (multiple packs)
- Black contact paper
- Wallpaper (1 roll, peel-and-stick)
- Motion sensor lights (2-3)
- 2x4 lumber (for raising shelves)
- Trim molding
- Clamps
- Paint (Sherwin Williams Polar Bear or similar white)
- Matte black pull-down door handle
- Full-length mirror
- Area rug (optional)
Tools:
- Drill
- Stud finder
- Level
- Screwdriver
- Measuring tape
- Saw (for cutting 2x4s and trim)
- Paintbrush and roller
- Wallpaper smoothing tool
Step-by-Step Guide
Step 1: Empty and Declutter the Entire Closet

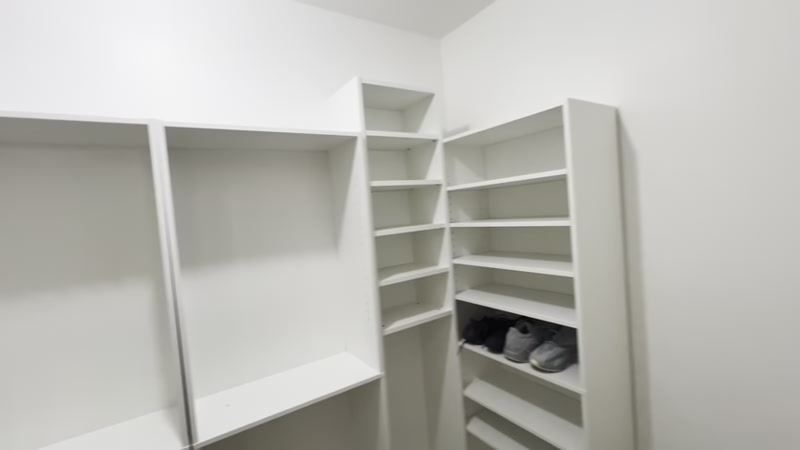
Remove every single item from the closet. This is the perfect opportunity to sort through your clothes and accessories. Create three piles: keep, donate, and toss. Be honest with yourself—if you haven't worn it in a year, let it go. This step is crucial because you're designing a system for what you actually need to store, not what you're holding onto "just in case."
Step 2: Measure Your Space and Plan the Layout

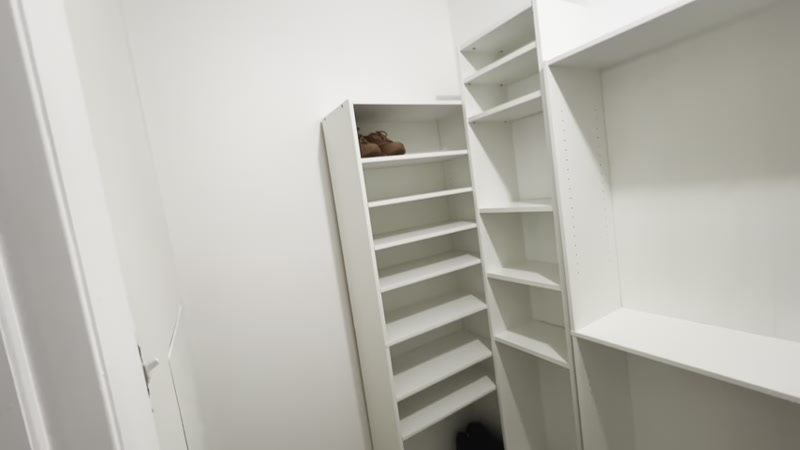
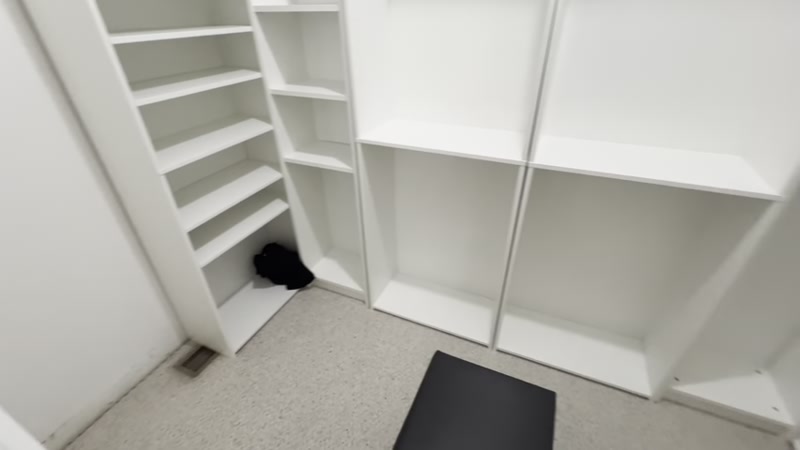
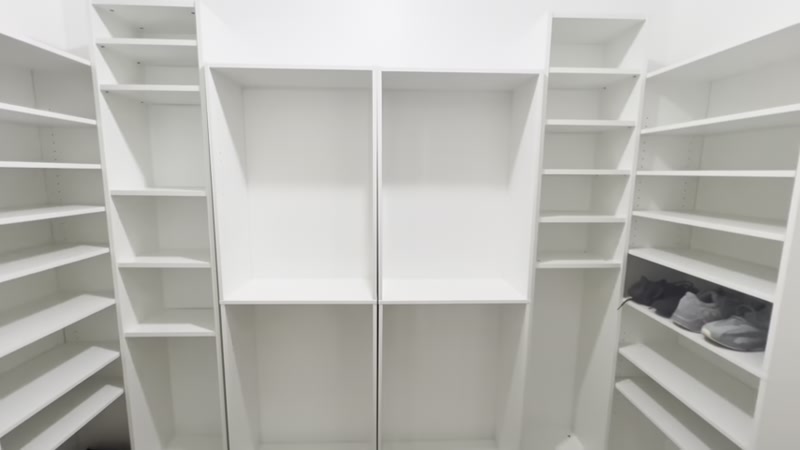
Measure the dimensions of your closet and sketch a rough floor plan. In my case, the space was small and shared with my husband, so I needed to be strategic. I decided to place four Target bookshelves as the base, with two dressers in between them. The middle area was perfect for the IKEA Billy bookcases, which are slightly taller—this adds nice dimension to the room.
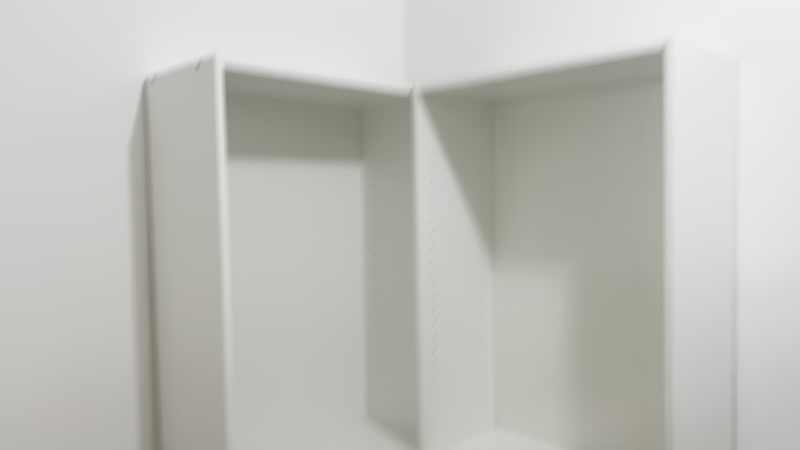
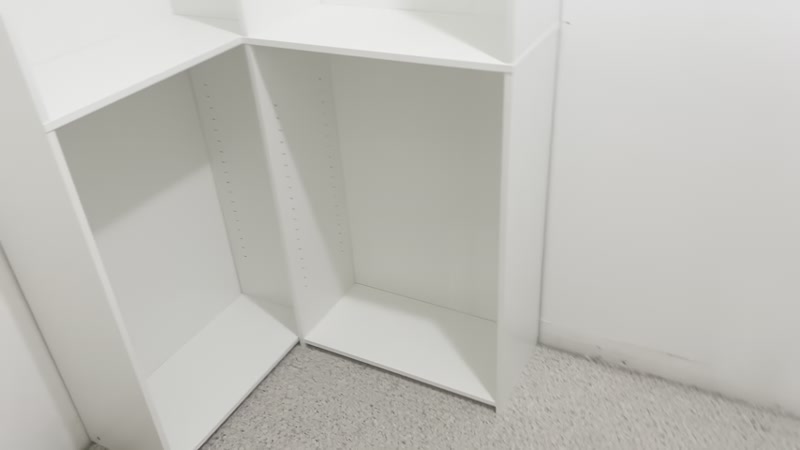
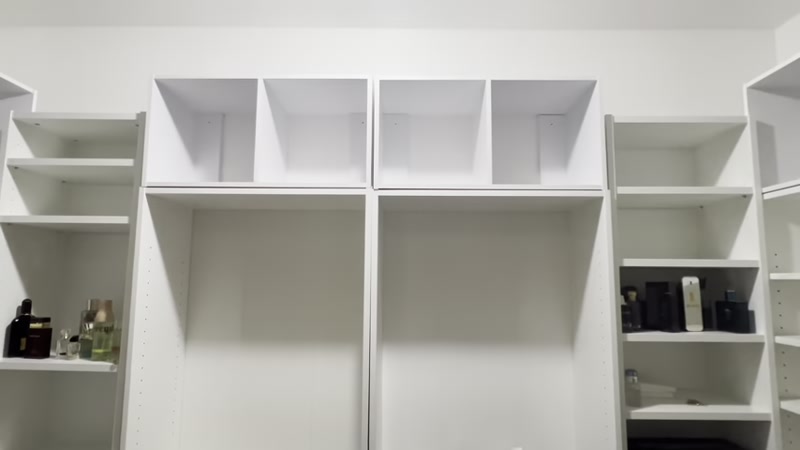
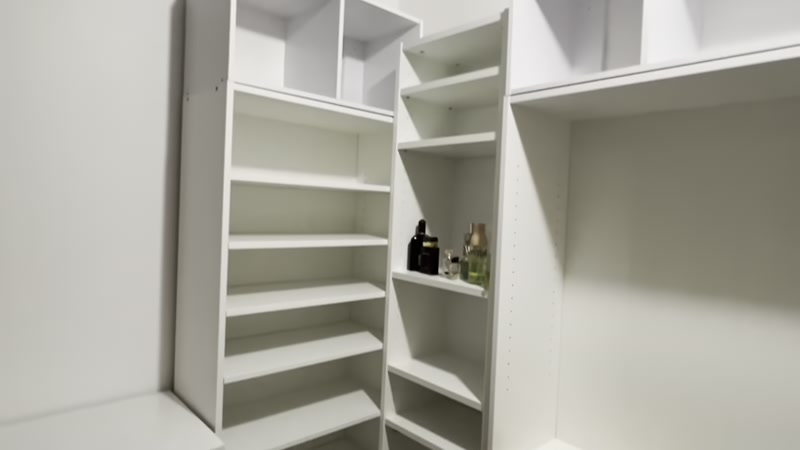
Step 3: Install the Bookshelves
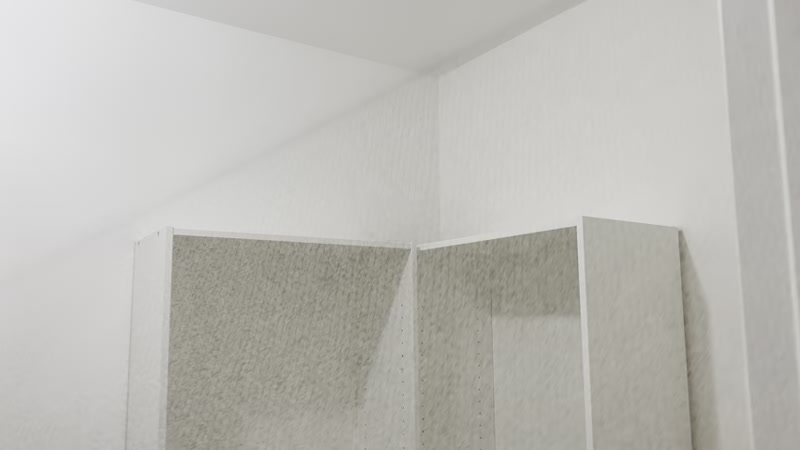
Assemble all bookshelves according to the manufacturer's instructions. Here's the important part: anchor every single shelf to the wall studs. Use a stud finder to locate studs, then drill screws through the back of the shelves into the studs. This is critical for safety, especially when you'll be loading these shelves with heavy clothing and accessories.
Step 4: Add 2x4s Under the Shelves
Cut 2x4 lumber to the width of your bookshelves. Have a helper (or your partner) lift each shelf slightly and slide the 2x4s underneath. This serves two purposes: it gives the shelves a more finished, built-in look, and it raises them slightly off the ground for a cleaner appearance. Make sure the 2x4s are level before securing them.
Step 5: Install the Dressers
Place the two dressers between the bookshelves. They should fit snugly, creating a continuous storage wall. If there are gaps, don't worry—we'll address those with trim later. The dressers provide drawer storage for folded items like t-shirts, underwear, and accessories.
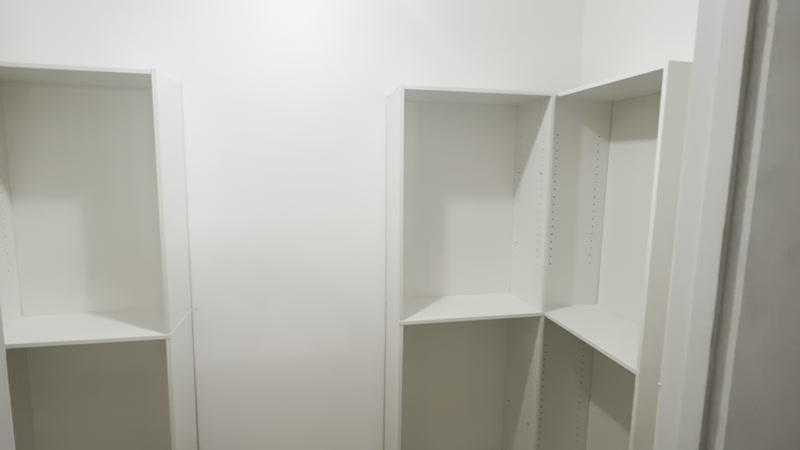
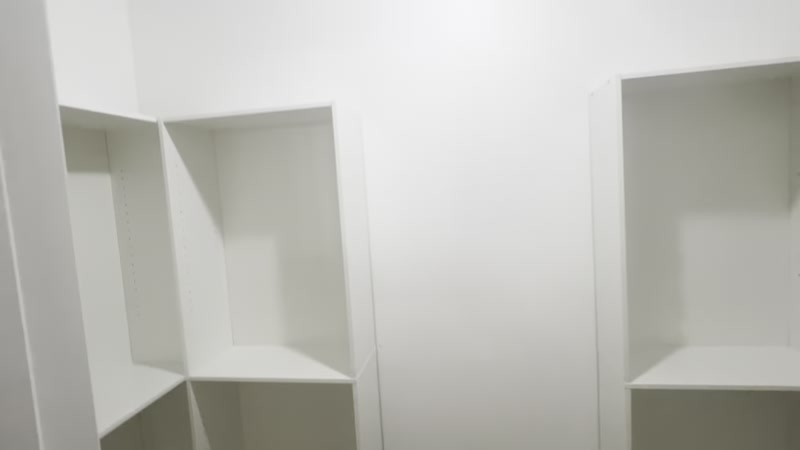
Step 6: Add the IKEA Billy Bookcases in the Middle
Position the taller Billy bookcases in the center of the closet. They should fit snugly between the dressers or bookshelves. The height difference adds visual interest and creates a natural focal point. Again, anchor these to the wall studs.
Step 7: Apply Wallpaper to the Accent Wall
Choose a wallpaper that complements your color scheme. I used a beautiful design from Amazon, but fair warning: this wallpaper was thin and tore easily. Take your time applying it. Work from top to bottom, using a smoothing tool to remove air bubbles. If it tears, don't panic—just overlap the torn section and smooth it down. The pattern will help hide small imperfections.
Step 8: Add Trim for a Polished Look
Use clamps to hold trim molding against the sides of the bookshelves where they meet the walls or each other. This covers any gaps and gives the entire setup a custom, built-in appearance. Cut the trim to size with a saw, then secure it with finishing nails. Caulk the seams for an even more professional finish.
Step 9: Install Closet Rods
Measure and mark where you want your closet rods. I installed six black rods at various heights to accommodate different types of clothing (shirts, pants, dresses, jackets). Use a level to ensure they're straight, then screw the brackets into the wall studs. Slide the rods into place.
Step 10: Apply Black Contact Paper
Cut black contact paper to fit the back panels of the two-cube shelves that sit on top of the Target bookshelves. This adds a pop of contrast against the white shelves. While this step is mostly aesthetic (since clothes will eventually cover it), it gives the empty closet a more intentional, designer look.
Step 11: Install Motion Sensor Lights
Place motion sensor lights on the top shelves or along the ceiling. These lights turn on automatically when you enter the closet, adding a luxurious feel. They're not strictly necessary, but they make the space feel more like a boutique dressing room. Stick them in place using the included adhesive strips.
Step 12: Paint the Door and Change the Hardware
Paint the closet door the same color as the walls (I used Sherwin Williams Polar Bear). This makes the room look larger by creating a seamless transition. Once the paint dries, replace the old door handle with a matte black pull-down handle for a modern, cohesive look.
Step 13: Add a Mirror
Hang a full-length mirror on the wall or door. This was my favorite addition—it makes the space feel complete and allows you to check your outfits right in the closet. Make sure it's securely anchored to the wall.
Step 14: Organize Your Clothing
Now for the fun part: putting everything back. Use matching black hangers for a uniform look. Group similar items together (shirts, pants, dresses, jackets). Use the dresser drawers for folded items and accessories. The cube shelves are perfect for shoes, bags, and folded sweaters.
Step 15: Add Final Touches
Consider adding an area rug to soften the space and add warmth. I ordered one from Amazon that didn't work out, so take your time finding the perfect one. A rug can tie the whole room together and make it feel more like a boutique.
Tips for Success
- Anchor everything to studs. Bookshelves loaded with clothes are heavy and can tip over if not secured. This is non-negotiable for safety.
- Use matching hangers. Black hangers on black rods create a cohesive, high-end look. Mixing hangers makes even an organized closet look messy.
- Don't rush the wallpaper. If you're using thin peel-and-stick wallpaper, work slowly and carefully. Have a helper hold the paper while you smooth it down.
- Measure twice, cut once. This applies to trim, rods, and shelves. A small measurement error can throw off the entire layout.
- Declutter before you organize. The most beautiful closet system won't help if you're storing items you don't need or wear. Be ruthless with your decluttering.
