What You'll Need
I needed countertops for my shop and didn't want to spend a fortune on real butcher block. So I made my own out of pine. Total cost was maybe $60 for the wood and glue. Here's exactly how I did it.
- Pine boards (or whatever wood you want — walnut, oak, maple all work)
- Titebond 3 wood glue (must be waterproof for a countertop)
- Clamps — lots of them
- A roller for spreading glue
- Planer (if you have one)
- Sandpaper: 80, 120, 150, 220 grit
- Wipe-on polyurethane (or mineral oil if you want food-safe)
Step 1: Lay Out and Glue the First Section
Lay all your boards out and make sure they're the same length. I cut mine to size first.
Spread Titebond 3 on each board with a roller. You want good coverage, so don't skimp on the glue. Stack the boards next to each other and clamp them together tight. Use as many clamps as you can fit — I'm talking clamp city. You want glue squeeze out on both the top and bottom. That means you used enough.
I did mine in two sections because my planer is only 13 inches wide. If your planer is bigger, you can do it all at once.
Step 2: Run Through the Planer
After the glue dries, you'll have a board that's probably uneven. That's fine. Run it through the planer. Do the bottom first — it doesn't need to be perfect, just flat enough to sit on a counter without wobbling. Then flip it and do the top until all the glue squeeze-out is gone and the surface is smooth.
Keep flipping and planing until both sides are flat. Make sure you plane both sections to the same thickness, because you're going to glue them together next.
Step 3: Glue the Two Sections Together
Put glue on the edge of one section, spread it evenly, and clamp it to the other section. Use your biggest clamps for this. Make sure the ends are even. You might get a small lip where the two pieces meet — that's normal. You'll sand that out.
Step 4: Sand Everything Smooth
Start with 80 grit on the seam to knock down any lip. Then hit the whole piece with 120, then 150, then 220. The higher grits make it feel like real butcher block.
Step 5: Apply Finish
I used wipe-on polyurethane because this is for my garage. You'll want at least five coats. Just wipe it on, let it dry, repeat. It brings out the shine in the pine and makes it look exactly like store-bought butcher block.
If you want food-safe, use mineral oil instead. But if you go that route, pick your wood color carefully — you can't stain it later. Want walnut? Buy walnut. Want cherry? Buy cherry.
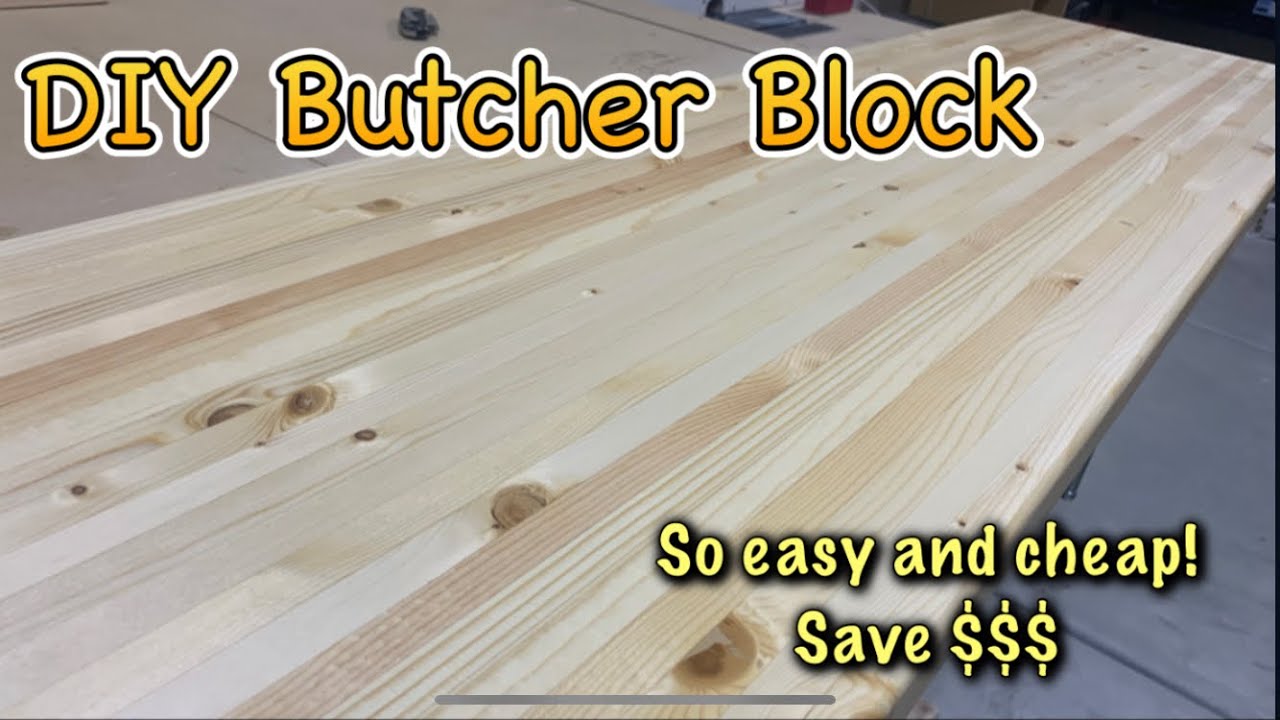
The Result
This thing looks legit. I'm not kidding — it looks exactly like the butcher block you'd buy at the hardware store for five times the price. Pine is soft, so it'll dent if you drop something heavy on it, but for a shop counter or a desk? Perfect.