
What You'll Need
Here is a DIY tutorial based on the transcript provided.
# How to Make a Stunning Gold & Glitter Christmas Centerpiece
This tutorial will guide you through creating an elegant Christmas centerpiece using a simple gold tray, floral foam, and a mix of festive picks. The design is symmetrical and beginner-friendly, making it a perfect project for your holiday table.
- 1 Gold Tray (from Dollar Tree)
- 1 Block of Floral Foam (from Dollar Tree)
- Hot Glue Gun & Glue Sticks
- 2 Long Greenery Picks (from Hobby Lobby)
- 3 Gold Glitter Fern Picks (from Hobby Lobby)
- 3 Poinsettias (from Hobby Lobby)
- Shatterproof Christmas Ornaments (from Walmart)
- Gold Berry Picks (from Hobby Lobby)
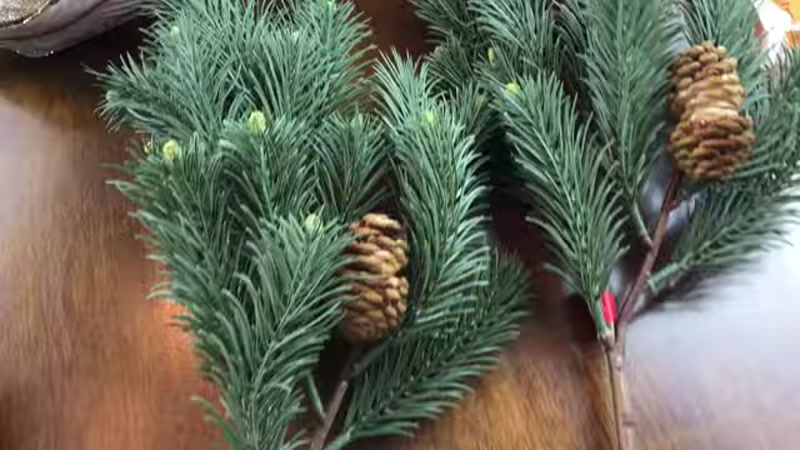
- Pine Cones (optional, for texture)
- Extra Greenery Picks (for filling in gaps)
- Moss (recommended, to cover the foam)
Step-by-Step Guide
Step 1: Prepare the Base
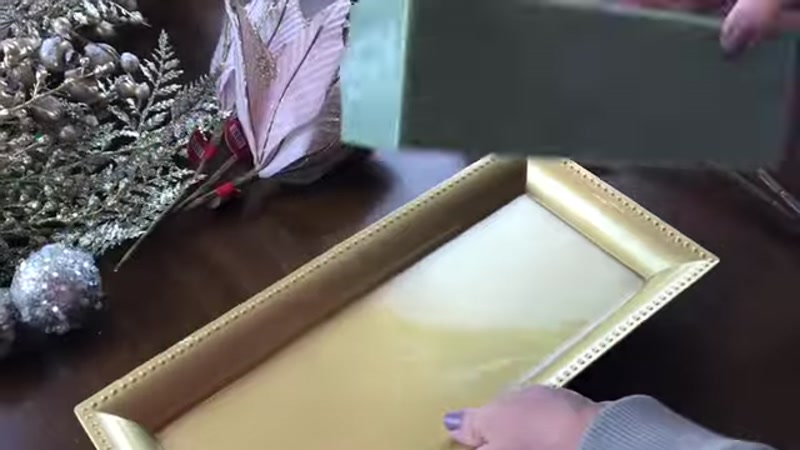
Start by placing your floral foam block onto the gold tray. If the foam is wrapped in plastic, keep it wrapped. Apply a generous amount of hot glue to the bottom of the foam block and press it firmly onto the center of the tray. Let it cool completely.
Tip: If you have moss, now is the time to glue it onto the foam. This creates a nice base and hides the foam so you don't have to be as precise later.
Step 2: Add the Main Greenery
Take your two long greenery picks. Insert one pick into the left side of the foam and the other into the right side. Push them in until they feel secure.
If you plan to reuse the foam later, just push the stems in. If you want the picks to be permanent, add a small dot of hot glue to the end of the stem before inserting it.
Step 3: Create the Fern Border

Take your gold glitter fern picks. Cut them into shorter pieces. Starting at the front edge of the foam, insert the fern pieces all the way around the perimeter. Work your way around the block, placing them close together to create a full, lush border. This hides the edge of the tray and the bottom of the foam.
Step 4: Add the Poinsettias

Grab your three poinsettias. Place one in the center of the arrangement. Position the other two on either side, slightly angled outward. Make sure to fluff the petals of the poinsettias so they look full and natural.
Step 5: Insert the Ornaments and Berries

Take your shatterproof Christmas ornaments. Push the stems (or use a short piece of wire) to insert them into the foam. Distribute them evenly throughout the arrangement.
Next, cut your gold berry picks into smaller sections. Insert these into the foam to fill in any empty spaces between the larger flowers and greenery.
Step 6: Fill In and Finish

Now, look for any gaps where you can see the foam or the tray. Use your extra greenery picks, cut into small pieces, to fill these spots. Insert them until the foam is completely hidden.
Finally, add any pine cones or other decorative elements you like. Step back and check the arrangement from all sides to ensure it looks balanced and full.
Tips for Success
- Symmetry is Key: For a classic centerpiece, try to mirror what you do on the left side on the right side, and the front with the back. This creates a balanced, professional look.
- Fluff Your Flowers: Always fluff the leaves and petals of your artificial flowers before inserting them. This makes them look much more realistic and full.
- Use Moss: If you have moss, glue it to the foam first. It provides a beautiful, natural base and makes it much easier to hide the foam as you add your picks.
- Cut to Vary Heights: Don't leave all your picks the same length. Cut some stems shorter to create layers and depth in your arrangement. Taller pieces go in the center or back, shorter ones go around the edges.
- Work in Sections: Don't try to add all of one type of pick at once. Add a few greenery pieces, then a flower, then a berry. This helps you see the arrangement come together and avoid a lopsided look.


