What You'll Need
Here is a DIY tutorial based on the video transcript provided.
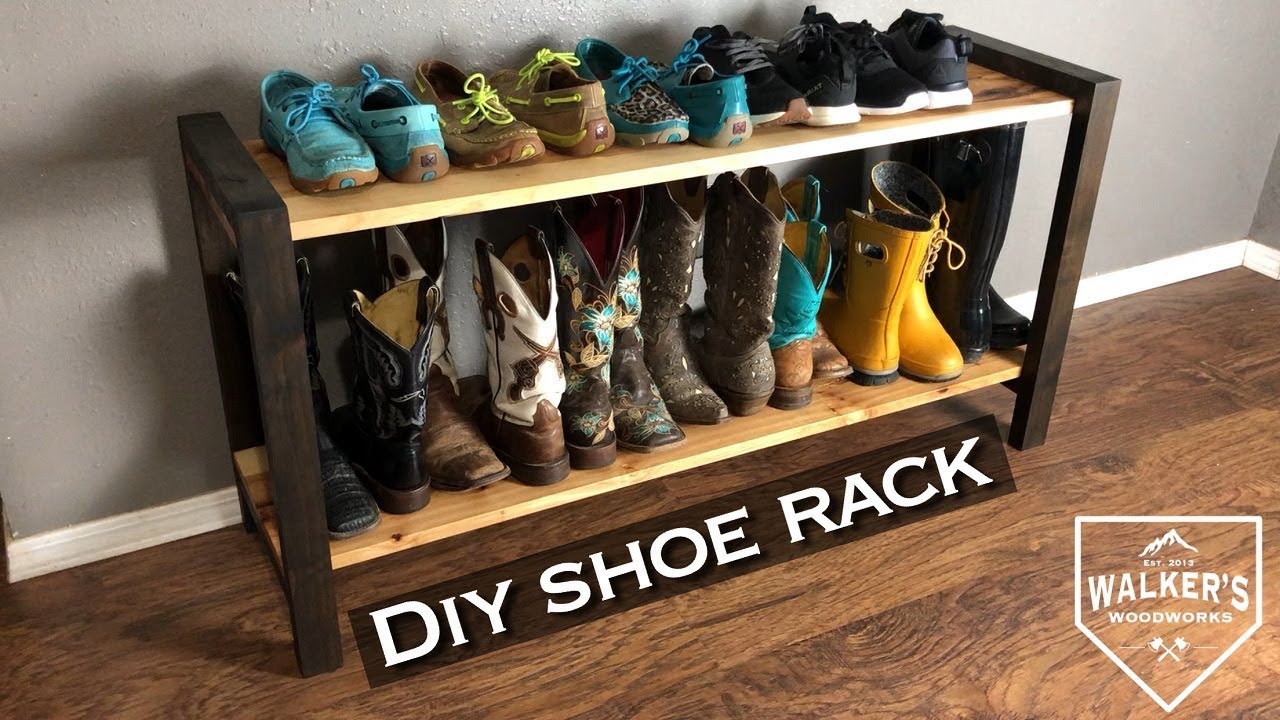
# How to Build a Simple Modern Boot Rack
This project is a great way to use up scrap lumber or create a custom piece of entryway furniture. The design is clean, modern, and very functional, providing a spot for boots and a space underneath for shoes. The best part is that you can adjust the dimensions to fit your specific space.
Materials:
- For the Shelves: 4 pieces of 1x6 lumber (Hickory was used here, but any wood works). If you want a wider shelf, use 1x12s to skip the glue-up step.
- For the Legs: Scrap lumber ripped to 2 inches wide and about 1 ¼ inches thick. You will need:
- 4 pieces cut to 24 inches (the vertical posts)
- 4 pieces cut to the width of your shelf (the cross braces)
- Wood glue
- Pocket screws (e.g., Kreg screws)
- Pre-stain wood conditioner
- Wood stain (Ebony was used for contrast)
- Rubio Monocoat (or similar hard wax oil finish)
- Painter’s tape
- #20 biscuits (optional, for aligning shelves)
Tools:
- Measuring tape
- Table saw
- Miter saw
- Kreg Jig (or similar pocket hole jig)
- Clamps (bar clamps and small alignment clamps)
- Biscuit joiner (optional)
- Impact driver or drill
- 90-degree drill attachment (helpful for tight spots)
- Sander (orbital or hand)
- Hand plane or thickness planer (for flattening glue-ups)
- Router with a 1/32” roundover bit (optional)
- Scraper
- Blue shop rags or foam brushes
Step-by-Step Guide
1. Cut the Shelf Boards to Rough Size
Measure the desired final length of your boot rack (this build is 4 feet long). Cut your four 1x6 boards a couple of inches longer than your final measurement. This allows you to square them up perfectly later.
2. Rip and Square the Shelf Boards

- Rip to Width: Take the boards to the table saw and rip them to a consistent width.
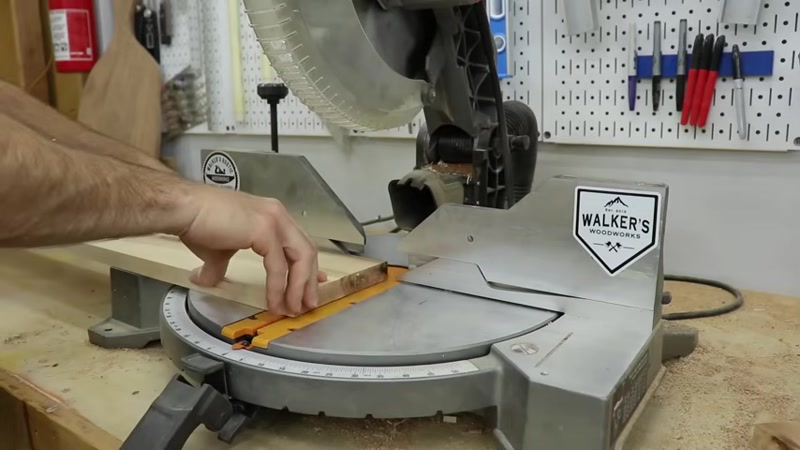
- Square the Ends: Use the miter saw to square up one end of each board, but leave them slightly longer than the final length.
3. Build the Leg Assemblies
- Cut the Leg Parts: From your scrap lumber, cut four vertical posts to 24 inches. Then, cut four cross braces to the width of your final shelf (in this case, 11 ¼ inches).
- Drill Pocket Holes: Using your Kreg Jig, drill two pocket holes into each end of the four cross braces.
- Assemble the Legs: Apply wood glue to the ends of the cross braces. Clamp the pieces together to prevent shifting. Use pocket screws to attach the cross braces to the vertical posts.
- For the top brace: Attach it flush with the top of the post.
- For the bottom brace: Measure 5 inches up from the bottom of the post and attach the brace so its top edge is at that 5-inch mark. This leaves room for shoes underneath. Make sure the pocket holes are facing up so the shelf will cover them.
- Use the 90-degree attachment on your drill if you have trouble fitting the driver into the leg assembly.
4. Glue Up the Shelves

- Prepare the Boards: Lay out your four boards for one shelf. Mark them so you can keep them in order.
- Cut Biscuit Slots (Optional): Mark the center of each board joint. Use a biscuit joiner to cut slots at intervals of 8-10 inches.
- Apply Glue: Stand one board up from each shelf joint. Apply wood glue to the edge and into the biscuit slots.
- Insert Biscuits: Place the biscuits into the slots.
- Clamp: Put painter’s tape on your clamps to keep them clean. Clamp the boards together. Tighten until you see an even bead of glue squeeze out. Use smaller clamps on the ends to keep the boards aligned, then snug up the main clamps.
5. Finish the Legs (While Glue Dries)

- Sand: Sand the leg assemblies, starting with 120-grit and moving to 180-grit. Flush up any joints and break sharp edges.
- Apply Pre-Stain Conditioner: Brush on the conditioner, let it sit for 5 minutes, and wipe off the excess. Let it dry completely.
- Stain: Apply the Ebony stain with a foam brush. Let it sit for 30-60 seconds, then wipe off the excess with a clean rag. Let dry.
6. Prepare and Finish the Shelves

- Remove Clamps: Once the glue is dry (overnight is best), remove the clamps.
- Remove Glue: Use a scraper to remove the dried glue squeeze-out.
- Flatten: Use a hand plane or thickness planer to get the shelves perfectly flat and smooth.
- Cut to Final Size: Use a crosscut sled on the table saw (or a circular saw with a straight edge) to cut the shelves to their final, exact length.
- Sand: Sand the shelves starting at 120-grit and moving to 180-grit.
- Round Edges (Optional): Use a router with a 1/32” roundover bit to break the edges. Hand sand the edges with a sanding sponge to smooth them out.
- Apply Finish: Apply the Rubio Monocoat (or your chosen finish) according to the manufacturer’s instructions. Apply it, let it sit, wipe off the excess, and buff.
7. Attach Shelves to Legs

- Position the Legs: Place the legs on the bottom of the shelves.
- Pre-drill and Countersink: From the bottom of the shelf, pre-drill and countersink holes up into the cross braces of the legs.
- Screw: Drive screws up from the bottom to attach the shelves. Use clamps to hold the bottom shelf in place while you drive the screws.
Tips for Success
- Measure Twice, Cut Once: The dimensions given (4ft length, 24" posts) are a starting point. Always measure your own space and adjust the cut lengths accordingly.
- Don't Skip the Pre-Stain Conditioner: If you are using a soft or porous wood like pine, the conditioner is essential to prevent the stain from blotching and creating an uneven look.
- Clamp Alignment is Key: When gluing up the shelves, the painter's tape on your clamps is a pro-tip that saves a ton of cleanup time. Also, ensure your biscuit slots stay aligned while you tighten the clamps.
- Pocket Hole Direction: Always pay attention to which way your pocket holes are facing. On the legs, they should be hidden by the shelf above them. On the shelves, they should be on the bottom.
- Safety First: Always wear safety glasses when using power tools. Use push sticks on the table saw, and keep your hands clear of blades.
