What You'll Need
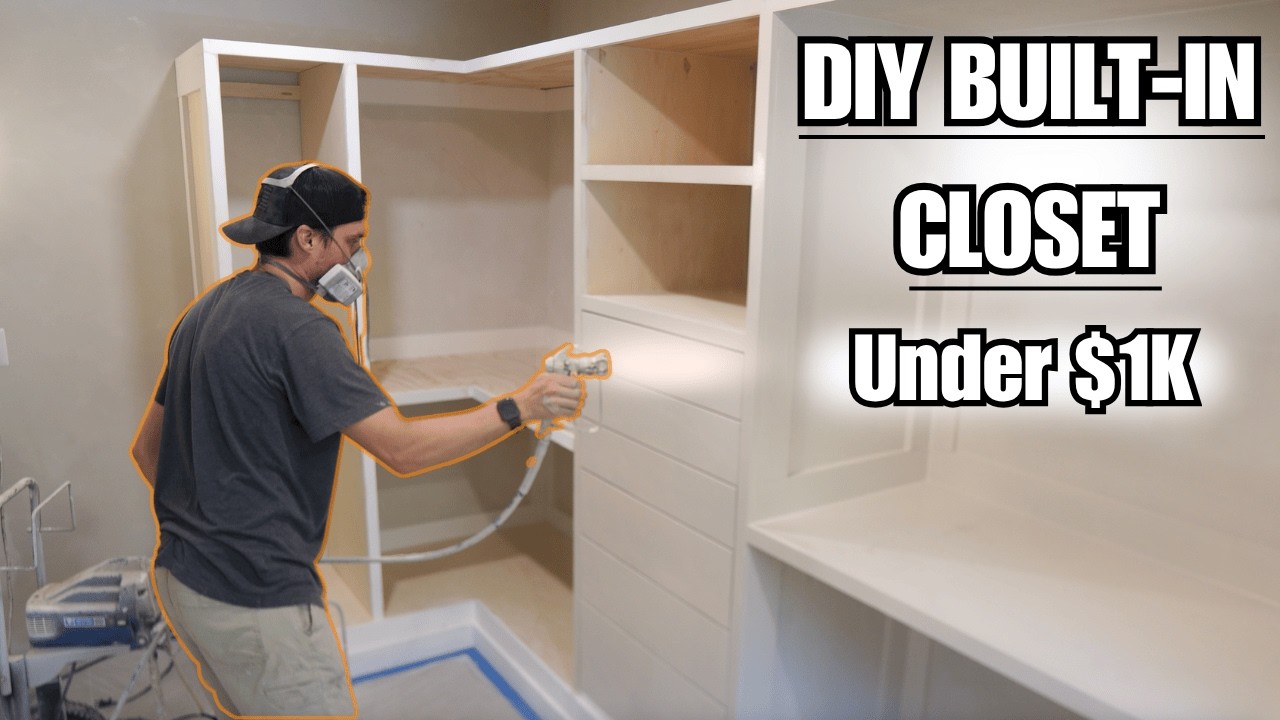
Transform a blank wall in your master bathroom into a custom his and hers closet for around $1,000. This step-by-step guide walks you through building the framework, installing dressers, adding trim, and finishing with professional-looking results.
Materials
- 7 sheets of 3/4-inch plywood
- 2x6 lumber for the base (or 2x4s as an alternative)
- 6-inch base trim (to match existing trim)
- 2-inch prime pine boards for front face trim
- 1/2-inch plywood for covering backer rods
- 3-inch construction screws
- 1.5-inch brad nails
- Pocket hole screws (approximately 100)
- Wood glue or liquid nails
- Wood shims
- Wood filler
- Caulk (Alex Plus recommended)
- Bin primer (for raw pine)
- Paint (cabinet-grade finish)
- 120-grit sandpaper
- Two IKEA dressers
- Closet rods
- Closet organizer/pants racks (optional, around $50 each)
- Dresser handles
Tools
- Circular saw
- Table saw
- Pocket hole jig ($40 kit recommended)
- Stud finder
- Level
- Chalk box
- Paint sprayer (GCO X7 or similar, around $400)
- Drill with screw bits
- Brad nailer
- Clamps
- Pencil and measuring tape
- Handle drilling jig (optional, from Amazon)
Step-by-Step Guide
Step 1: Build the Base

Start by laying out a 6-inch base using 2x6 lumber. If you prefer, you can use 2x4s instead. The larger base helps match existing 6-inch trim in the closet area.
Screw the base to wall studs using 3-inch screws. Use a stud finder to locate studs, which are typically spaced 16 inches apart. Take your time to ensure the base is perfectly level. Getting the foundation right is critical—if the base is off, all your measurements above will be wrong, and you'll struggle with uneven cuts.
Step 2: Cap the Base with Plywood
Rip a sheet of 3/4-inch plywood down the middle to create two pieces approximately 24 inches wide. Set the plywood on top of the base.
If the plywood doesn't sit flush against the wall, use a scribing technique. Find the biggest gap between the plywood and wall, match that thickness with a pencil (about 1/4 inch in this case), mark a line following the wall's curves, cut along the line, and test the fit.
Step 3: Add Trim to the Base
Cut 6-inch trim pieces at 45-degree angles for corners. Butt the trim against the plywood and secure with 1.5-inch brad nails every foot or so. Use finish nails on corners, squeezing pieces together tightly.
Lock the plywood down by screwing construction screws along the entire perimeter of the base.
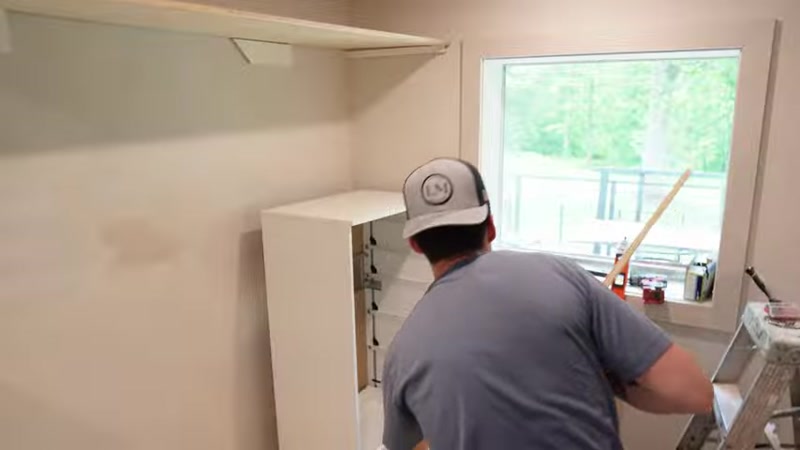
Step 4: Position the Dressers
Wheel your IKEA dressers into place to visualize the layout. This helps you see how everything will fit before building the surrounding structure.
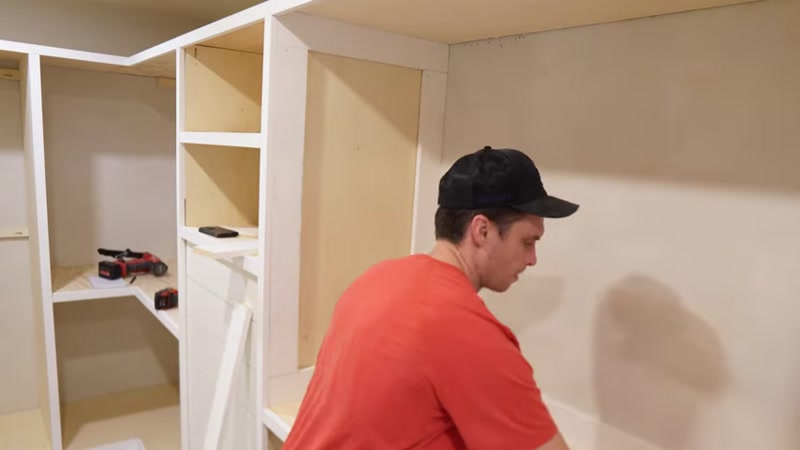
Step 5: Build the Closet Framework
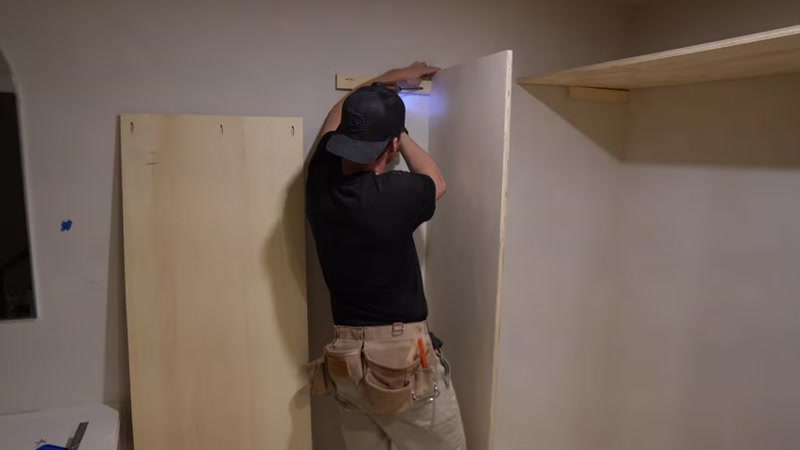
Think of the closet as a series of boxes screwed together. Each piece needs to be square and cut to the right dimension.
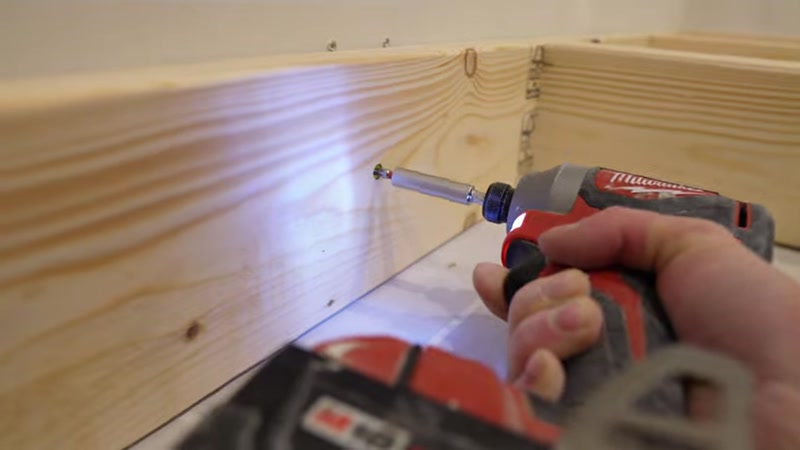
Add small temporary supports on the wall to hold up overhead plywood while you measure and cut. Install backer boards—strips of plywood cut to exact dimensions—behind the panels. Use pocket hole screws (about 100 total) to attach plywood panels to the backer boards.
Step 6: Install the Top and Shelves
Place a piece of plywood on top of the dresser and secure with pocket holes. Add shelves, making sure the two pieces of plywood sit flush. This matters later when you add trim.
Step 7: Set the Divider
You need about 40 inches of space for hanging clothes properly. Measure and set the divider to the correct height. Plan to hang nice clothes at the top and store shoes or organizers at the bottom.
For challenging corners, take extra time to ensure the divider sits snug. Lock it in with more pocket hole screws.
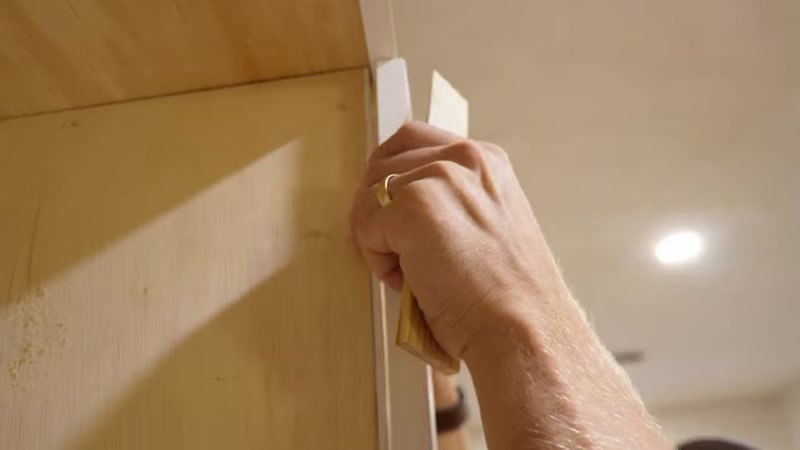
Step 8: Trim the Front Face
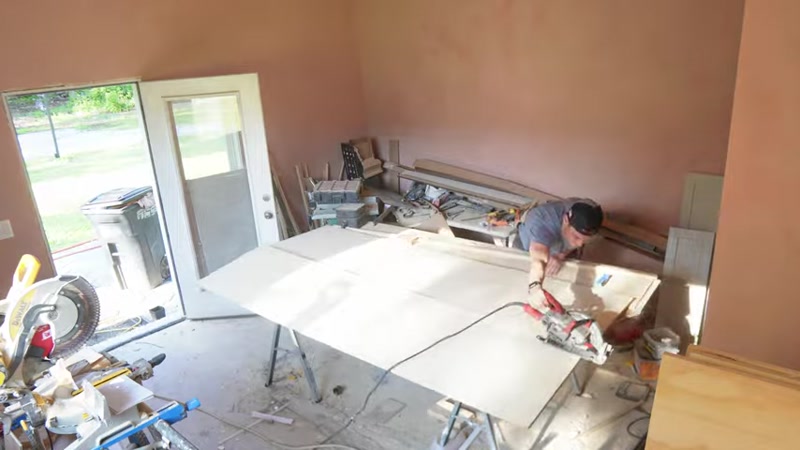
Use 2-inch prime pine boards to cover all raw edges of the plywood. Pick up 16-foot sticks from Home Depot for long runs to avoid splices.
You may need to get creative with notching. If a cabinet lip overextends the plywood, cut it back slightly. For gaps where plywood doesn't sit flush, fill with small scraps. After sanding and wood filler, the gaps will disappear.
Check drawer clearance before setting trim permanently. Use wood shims and glue to ensure trim sits flush in areas where plywood is slightly off.
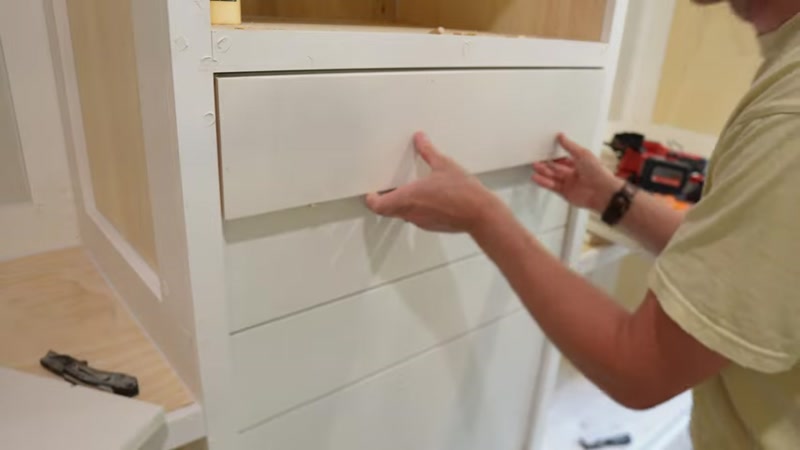
Step 9: Make Drawer Fronts
Use leftover pine board from previous projects instead of buying more prime pine. Rip the board to the correct length for your drawers. The width will vary for each drawer, so use a table saw to adjust.
Apply bin primer to raw pine before painting. This prevents wood knots from showing through and creating an aged look within months.
Attach drawer fronts with liquid nails and 1.5-inch brad nails to hold in place while glue sets. The handles will go through both pieces of wood, securing everything firmly.
Step 10: Paint the Closet

Before painting, spend time caulking, sanding, and filling all nail holes. Use Alex Plus for caulking and 120-grit sandpaper for smoothing.
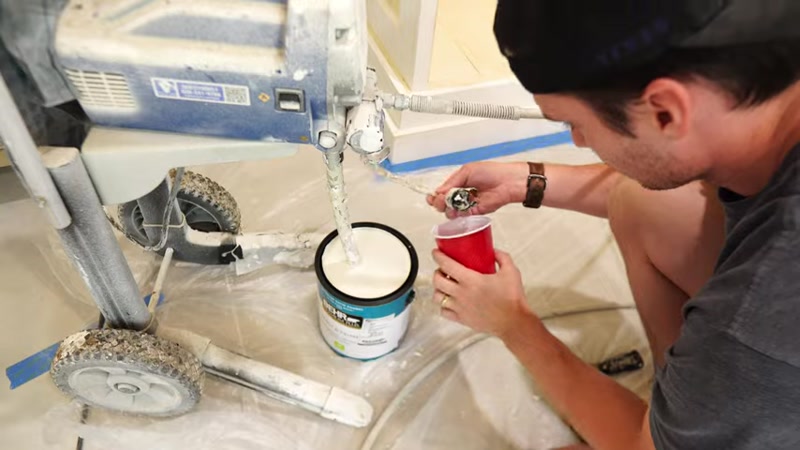
Use a paint sprayer for a cabinet-grade finish without brush strokes. A GCO X7 airless sprayer works well. Be careful when starting after long storage—clear any debris from hoses to avoid paint explosions.
Let the paint dry for 24 hours before moving to the next step.
Step 11: Install Handles

Use a handle drilling jig from Amazon to mark hole positions accurately. Double-check and triple-check your math for finding the center of each drawer. Drill through the clean drawer front carefully.
Install one handle first, then repeat for all remaining drawers. Adjust the jig for each drawer's center point.
Step 12: Add Finishing Touches

Install closet organizers or pants racks. These take about 30 minutes each and add great functionality. Test that drawers close smoothly before loading with clothes.
Tips for Success
- Level your base perfectly. If the foundation is off, all measurements above will be wrong. Spend extra time here to save headaches later.
- Use pocket holes for strong joints. A $40 pocket hole jig works fine for this project. You don't need an expensive $150 model unless you plan many future projects.
- Prime raw pine before painting. Skip this step and wood knots will show through your paint within a month or two, creating an aged look you don't want.
- Fill gaps before painting. Use wood shims, glue, and wood filler to close any gaps between plywood and trim. After sanding, these imperfections become invisible.
- Let paint cure fully. Wait 24 hours before installing handles or loading the closet. Rushing this step can ruin your cabinet-grade finish.
