What You’ll Need
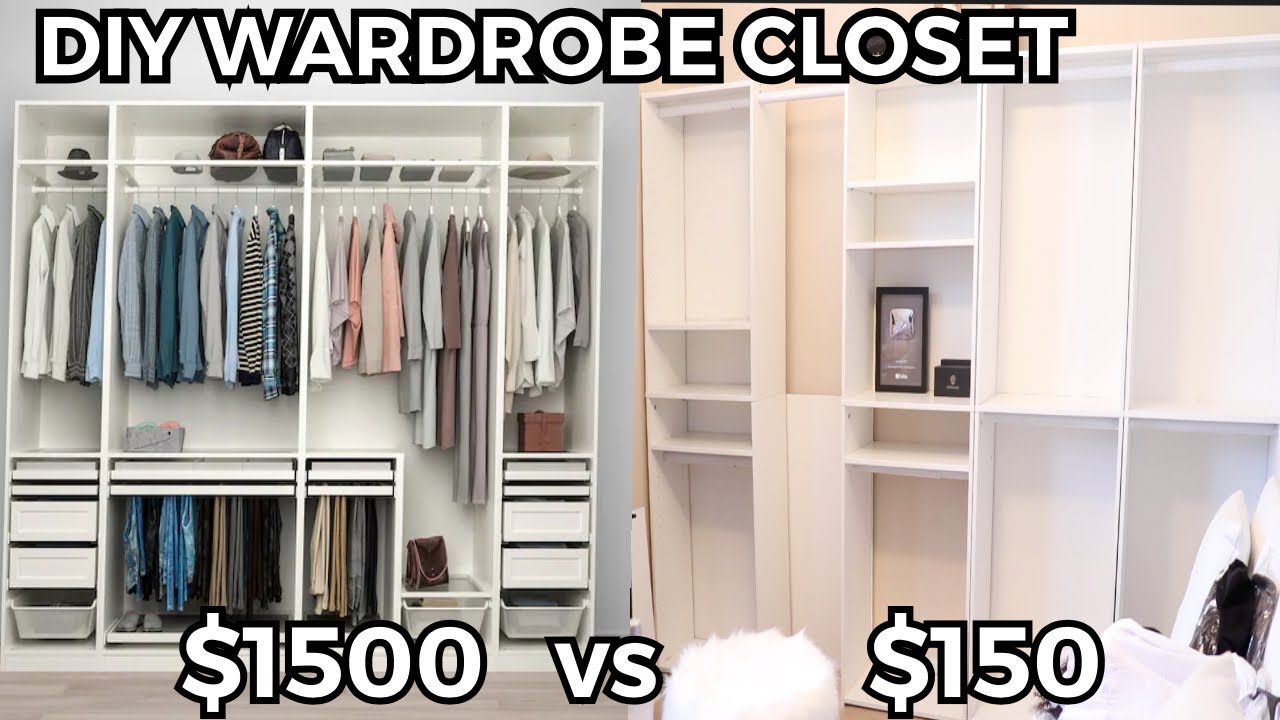
If you’ve been dreaming of a beautiful closet system but can’t justify spending $1,500 on an IKEA Pax wardrobe, you’re in the right place. This tutorial shows you how to build a fully functional DIY closet system using budget-friendly bookshelves from Target and a few hardware store finds. The best part? You can customize it to fit your space perfectly—no expensive pre-made systems required.
Materials:
- 4 Target bookshelves (or similar budget bookshelves)
- 9 adjustable closet bars from Home Depot (about $7 each)
- Screws (included with bookshelves)
- Nails (for backing and assembly)
- Drill bit (for pre-drilling holes)
- Phillips head screwdriver (long and skinny is best)
- Drill (for assembly and pre-drilling)
- Long screwdriver (for installing closet bars)
- Pencil or marker (for labeling pieces)
Optional:
- Acrylic storage cases or IKEA drawers (for accessories)
- Extra nails for drilling bookshelves together
Step-by-Step Guide
Step 1: Measure Your Space
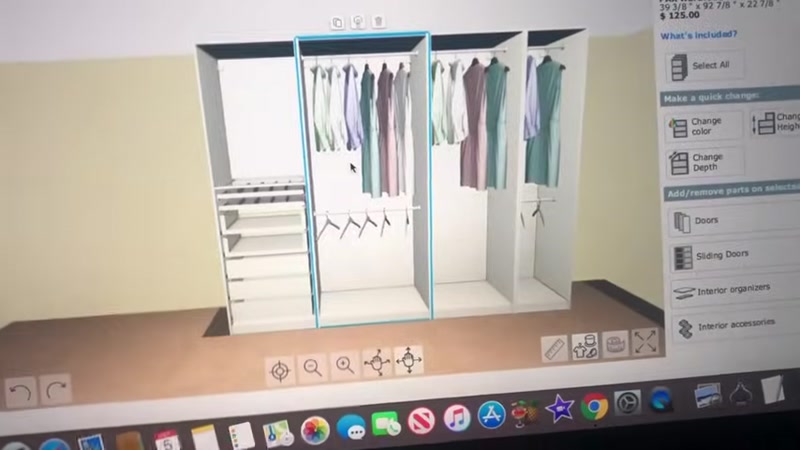
Before you buy anything, measure your room’s width, depth, and ceiling height. The IKEA Pax system is 29 inches deep, which may be too deep for small rooms. The Target bookshelves are shallower and more flexible for tight spaces. Write down your measurements and use them to plan how many bookshelves you need and where they will go.
Step 2: Label All Bookshelf Pieces

Open your bookshelf boxes and lay out all the pieces. The instructions may not label the parts clearly, so do it yourself. Use a marker to label:
- Top and bottom pieces (usually labeled “G”)
- Side pieces (left and right)
- Middle support pieces (L-shaped brackets)
- Shelves
- Long bars that hold shelves up
Labeling saves you hours of frustration and prevents assembly mistakes.
Step 3: Assemble the First Bookshelf

Start with one bookshelf at a time. Stand the pieces against the wall in the position they will go—this helps you visualize the final setup. Screw the top and bottom pieces to the side pieces first. Then attach the middle support bracket. Make sure the brown wood sides face inward for a clean look.
Step 4: Add the Shelves

Insert the shelf support bars into the pre-drilled holes. Slide the shelves onto the bars. You don’t have to use all the shelves—leave some spaces empty for hanging clothes. For example, you can use 5 shelves per unit or customize based on your needs (shoes on one side, folded clothes on another).
Step 5: Attach the Backing

The backing is a thin piece of fake wood that makes the bookshelf sturdy. Nail it into place using the provided nails. This step is crucial—skipping it makes the unit wobbly. If you mess up, it’s worth fixing because the backing adds stability.
Step 6: Repeat for Remaining Bookshelves

Assemble the other bookshelves the same way. Once you get the hang of it, each unit takes less time. Line them up against your wall in the desired arrangement. You can leave gaps between units or place them side by side.
Step 7: Install Adjustable Closet Bars
This step is the trickiest but most rewarding. Here’s the correct method to avoid stripping screws:
- Mark the spot on the bookshelf where you want the bar to go. Use a hanger to test the height—make sure there’s enough room for clothes to hang without touching the shelf below.
- Pre-drill a hole using a drill bit. This creates a pilot hole for the screw.
- Screw in a nail (without the bar) into the pilot hole, then remove it. This pre-threads the hole.
- Place the bar against the bookshelf.
- Use a long, skinny screwdriver to screw the bar into place. Do NOT use a drill for this—it’s too bulky and will strip the screw. A long screwdriver gives you better control and a straight angle.
Pro tip: You need the screw to go in bone-straight. If it’s at an angle, it will strip or break. Take your time.
Step 8: Arrange Your Clothes

Once the bars are installed, hang your clothes. Use the empty spaces for long dresses and coats. The shelves without bars can hold folded items, shoes, or accessories. You can also add acrylic cases or small drawers from IKEA for extra organization.
Tips for Success
- Label everything immediately. The bookshelf instructions are not clear, so marking pieces saves you from redoing work.
- Pre-drill holes for closet bars. This prevents stripped screws and makes installation much easier.
- Use a long screwdriver for bar installation. A drill is too bulky and will cause angle issues. A skinny screwdriver gives you precision.
- Don’t skip the backing. It makes the unit sturdy and prevents wobbling. If you mess it up, fix it—it’s worth the extra time.
- Leave space between shelves for hanging clothes. Measure your hangers first to ensure enough clearance.
