What You'll Need
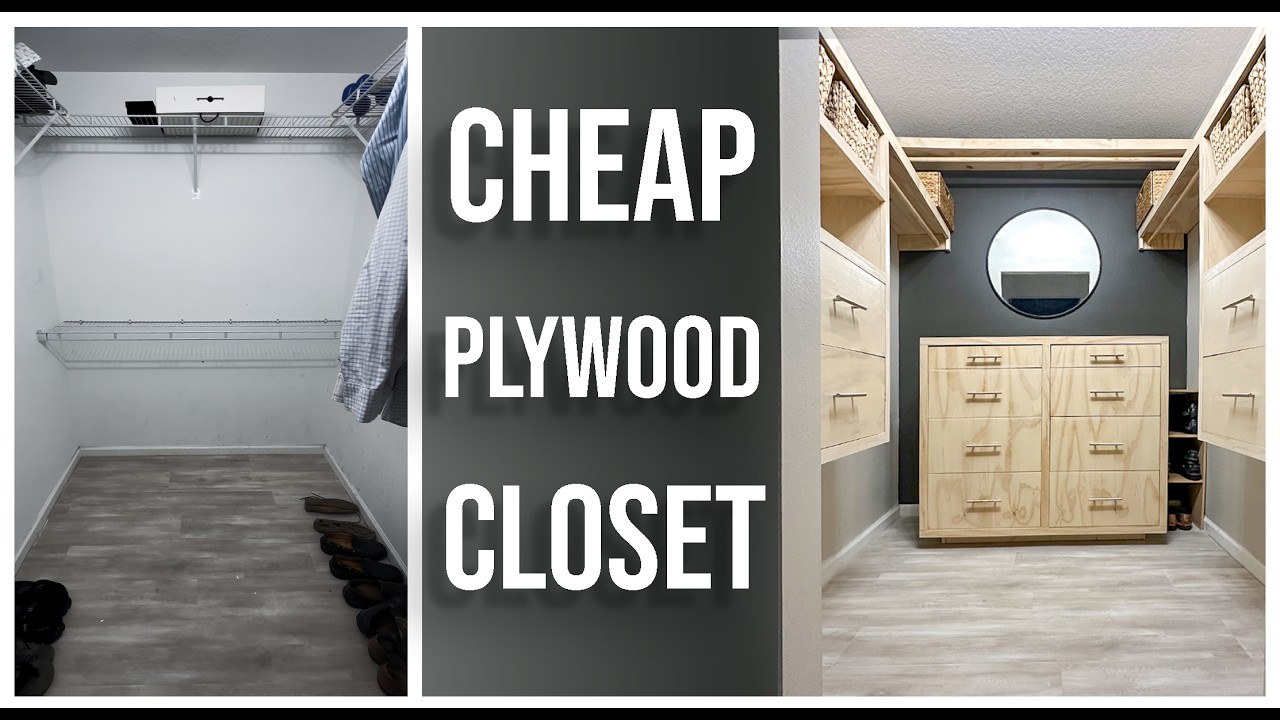
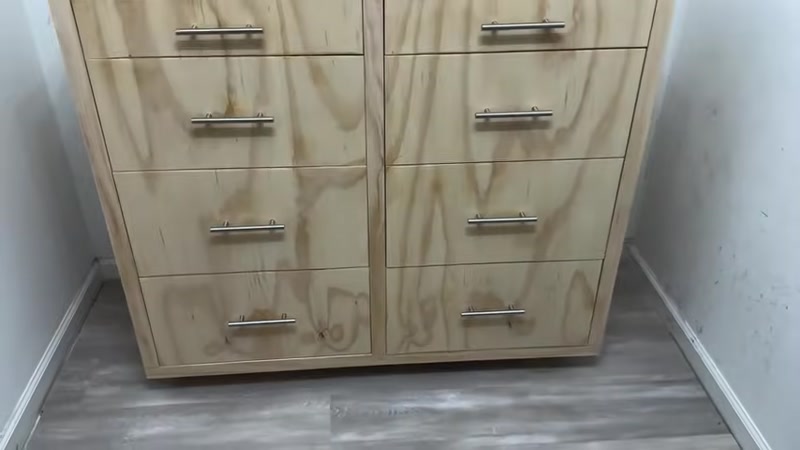
Learn how to build a massive custom closet dresser with deep drawers using basic tools and scrap plywood. This project costs under $400 and eliminates the need for hanging clothes.
Materials:
- 3/4" plywood sheets (yellow pine or similar)
- 5mm underlayment or lauan board for drawer bottoms
- 2x4 lumber for internal bracing
- 1x2 or 1x3 lumber for face frame (look for straight pieces at the home center)
- Drawer slides (cheap Chinese slides work, but measure carefully)
- Cabinet screws (self-drilling type, no pre-drilling needed)
- Pocket hole screws
- Wood glue
- Linseed oil or polyacrylic finish
- White paint (for whitewash effect)
- Edge banding (optional, for visible plywood edges)
Tools:
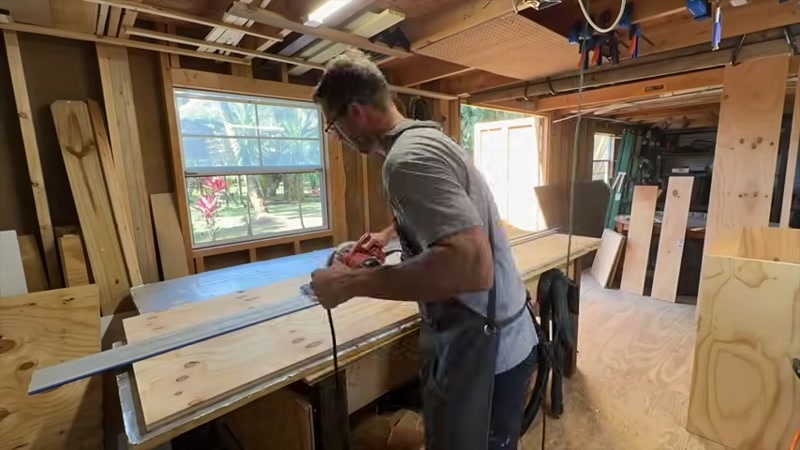
- Track saw or circular saw with guide
- Table saw (optional, for smaller cuts)
- Pocket hole jig
- Miter saw
- Clamps (including right-angle clamps)
- 16-gauge nailer (or brad nailer)
- Sander
- Router with roundover bit (optional)
- Drill/driver
- Tape measure
- Speed square
- Pencil
Step-by-Step Guide
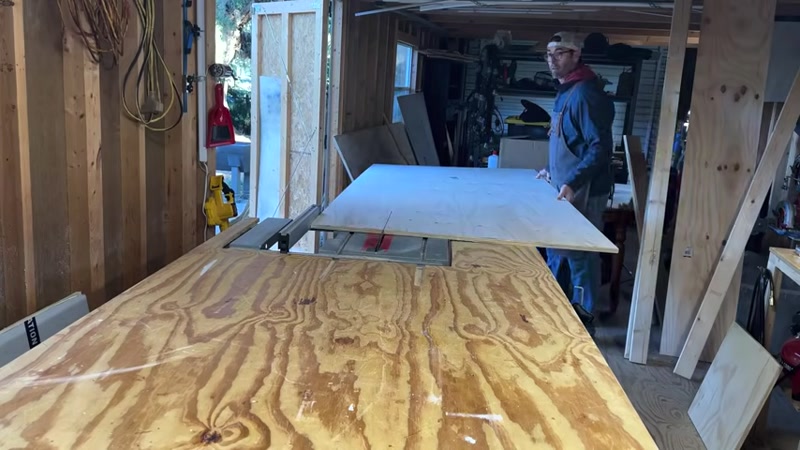
Step 1: Plan Your Cut List
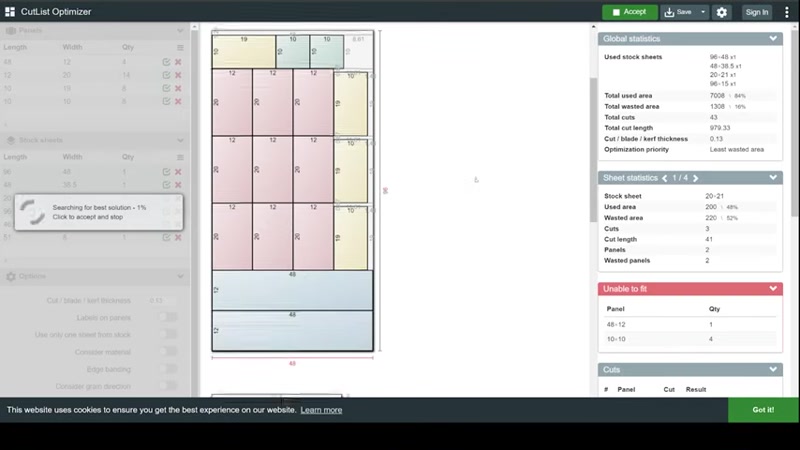
Use a cut list optimizer tool to maximize your plywood usage. Input all your dimensions and it will generate the most efficient cutting layout. This is especially important when working with scrap plywood or trying to stay on budget.
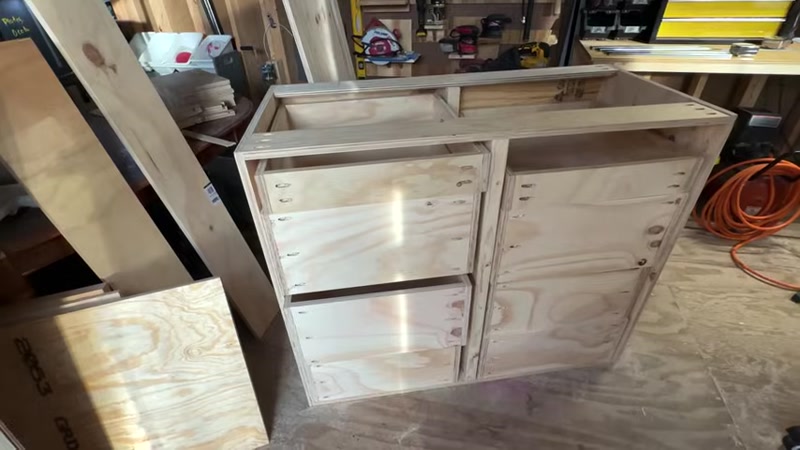
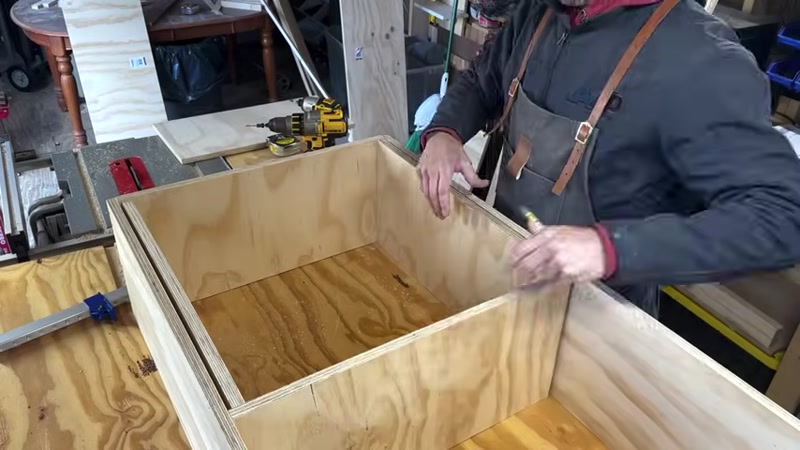
Step 2: Build the Carcass (Main Box)
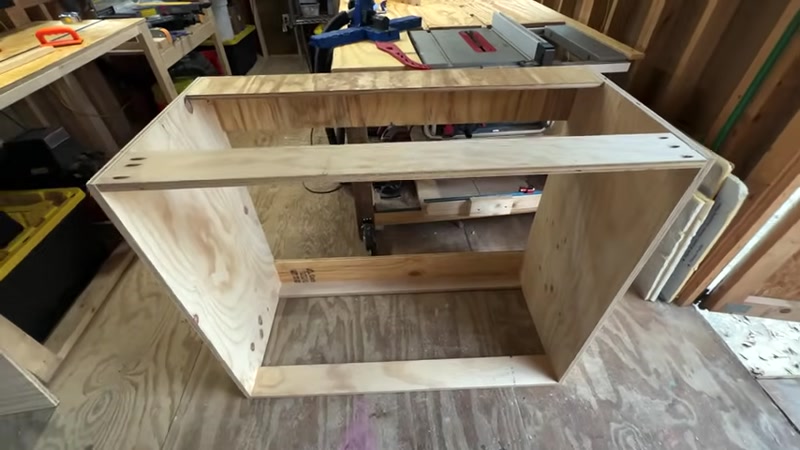
Start by cutting your plywood to size for the sides, top, bottom, and center divider. Since you'll have drawers on both sides, the center bracket must be perfectly centered.
Critical Tip: To center the divider accurately:
- Measure the thickness of your center divider material
- Measure from one side to the other, including the divider thickness
- Divide that measurement by two
- Create a spacing block at that measurement
- Use the spacing block to position your center bracket perfectly
This ensures all drawer boxes can be built identically and the slides will fit properly.
Step 3: Add Internal Bracing
Use 2x4s for internal bracing to add rigidity to the structure. They're cheap and effective. Mark all your "bad sides" (knots, imperfections) so only the good faces are visible. Sand all pieces before assembly.
Step 4: Account for Plywood and Slide Thickness
Common Mistake Alert: Failing to account for the thickness of your plywood plus the thickness of your drawer slides can leave you with a cabinet that's too long. Measure carefully and adjust your cuts accordingly.
If you end up with extra space, consider adding a small shelf or sock drawer using scrap materials.
Step 5: Build Drawer Boxes
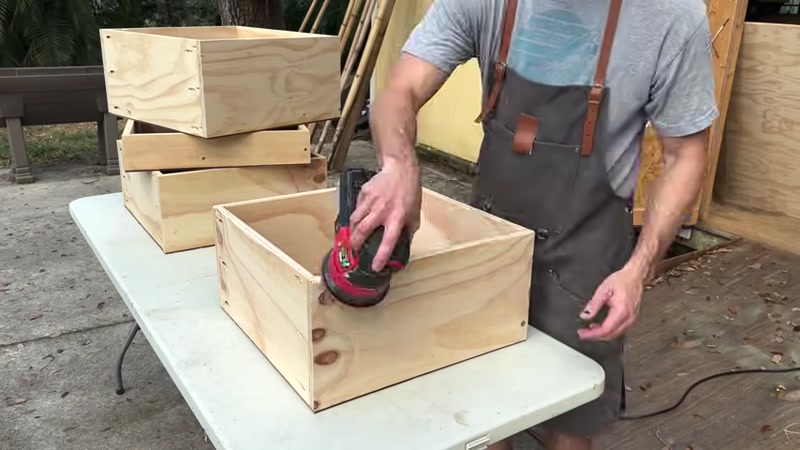
Use the 5mm underlayment or lauan board for drawer bottoms. These sheets are affordable (around $18 each) and have a smooth finish. Cut drawer bottoms to size using a stop block for consistent cuts.
For the drawer box sides, use your good plywood faces on the inside of the drawer so imperfections aren't visible.
Step 6: Finish Drawer Boxes
Run a roundover bit along the top edges of your drawer boxes to soften the hard edges. Apply a coat of linseed oil for a silky smooth finish.
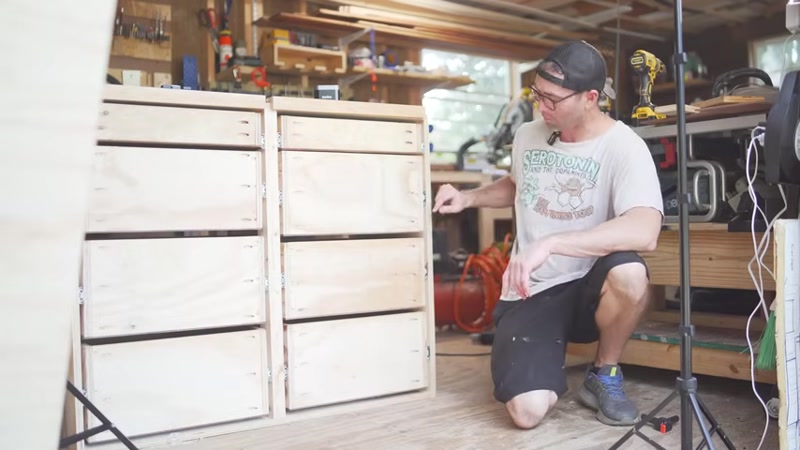
Step 7: Install Drawer Slides
Follow the manufacturer's instructions carefully. Cheap Chinese drawer slides can be tricky - the directions are often poor. The key is getting the correct fit. If you force a drawer in with these slides, you can destroy the bearings.
Step 8: Build and Attach the Face Frame
Select straight lumber from the home center. Lay out all face frame pieces to get exact sizes, then assemble them as one complete unit using pocket holes and glue. This gives a clean, square finish.
Attach the face frame to the carcass using pocket holes. For the top piece, attach it to the face frame the same way.
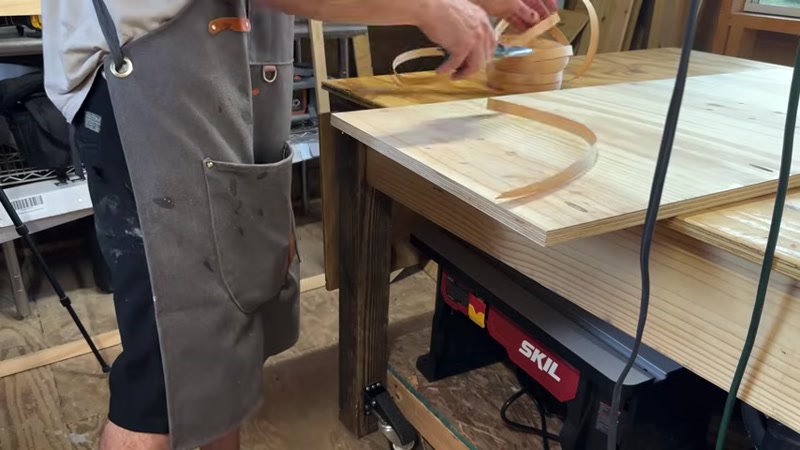
Step 9: Apply Edge Banding (If Needed)

If any plywood edges will be visible (like the top counter edge), apply edge banding. Use an edge banding tool from Amazon for clean results.
Step 10: Create Drawer Faces
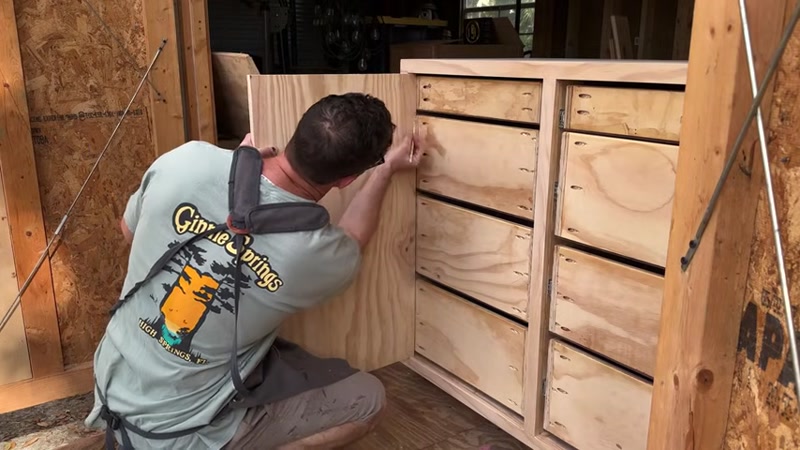
Instead of measuring each drawer face, use the scribing method:
- Place the face frame over your drawer face material
- Trace around each opening
- Cut slightly outside the line (about 1/8" oversize per drawer)
- This allows you to pick your grain pattern and ensures perfect fit
Step 11: Attach Drawer Faces
Use glue and clamps only (no nails) if you want a natural, unpainted finish. This avoids nail holes.
Step 12: Apply Finish
For a whitewashed look that removes the yellow tint from plywood:
- Mix white paint with water
- Rub onto the surface
- Let dry
- Apply two coats of polyacrylic, sanding between coats
Note: Polyacrylic will add some yellowing to the final finish.
Step 13: Install in Closet
Secure the dresser to the wall using cabinet screws. No glue needed since it's screwed into the wall.
Tips for Success
- Use a cut list optimizer - This is essential for budget projects. It helps you use every scrap and minimize waste.
- Mark your bad sides - Before assembly, mark all imperfections on your plywood. This ensures only good faces are visible in the final product.
- Scribe instead of measure - For drawer faces, tracing around the opening gives a more accurate fit than measuring and cutting to exact dimensions.
- Use 16-gauge nails as temporary clamps - When attaching face frames or drawer boxes, use 16-gauge nails to hold pieces in place before adding pocket hole screws. This prevents shifting.
- Organize your workspace - Having a dedicated, organized shop space makes a huge difference. Even a small 12x20 space can be efficient if everything has a place.
