What You’ll Need
Here is a DIY tutorial article based on the provided transcript, written for MakeDIYHub.com.
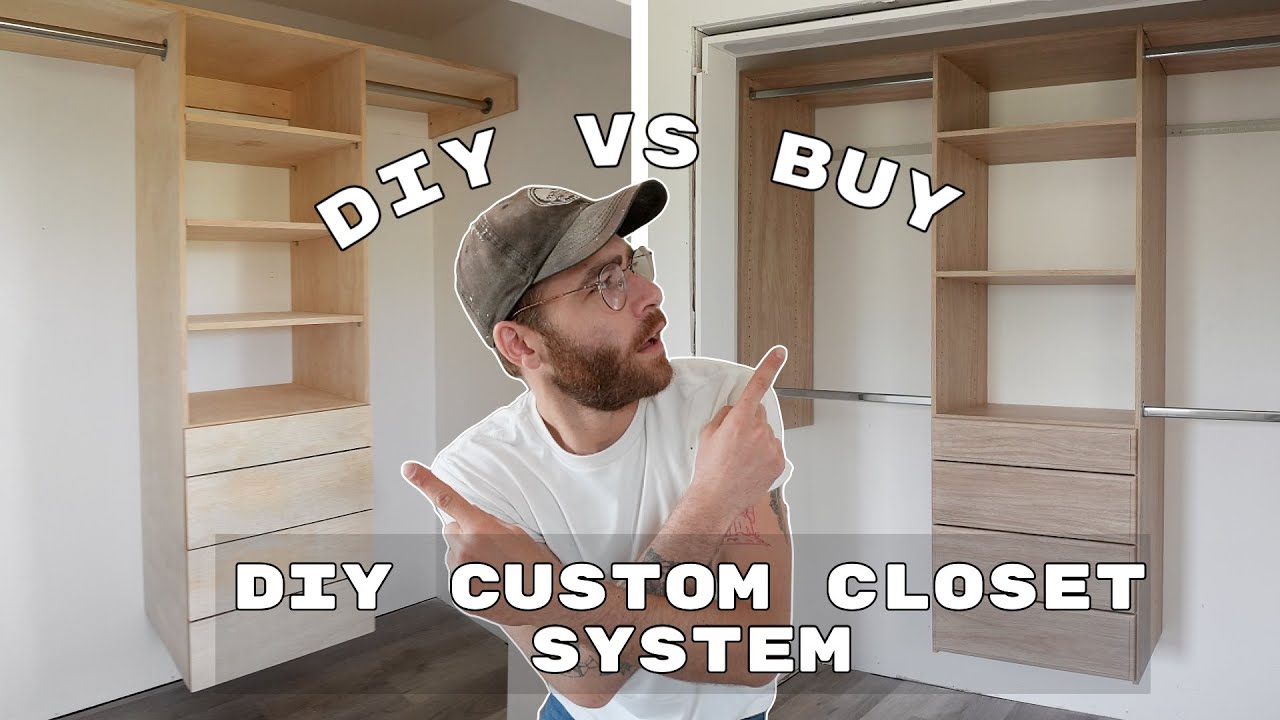
# Build vs. Buy: Your Ultimate Custom Closet Build Guide
So, you’re looking to upgrade your closet. You’re probably wondering if you should buy a pre-made kit from the store or build one from scratch using plywood. We’ve put both methods to the test to find out which one gives you the best value, quality, and storage.
In this guide, we’ll walk you through the process of building a custom closet from scratch. We’ll cover the tools, materials, and steps needed to create a heavy-duty, fully customized system that fits your space perfectly.
Materials:
- 3/4" Plywood (approx. 2 sheets for a standard reach-in closet)
- 1/4" Plywood (for drawer bottoms)
- 1/2" Birch Plywood (for drawer sides)
- Wood glue
- 1-1/2" 18-gauge brad nails
- Iron-on edge banding (matching your plywood)
- Wood putty
- 220-grit sandpaper
- Shelf pins (1/4" diameter)
- Drawer slides (bottom-mount, 50 lb capacity)
- Closet rods (metal or wood)
- Screws for mounting to studs (2-1/2" or 3" construction screws)
- French cleat material (scrap plywood)
Tools:
- Table saw or circular saw with a finish blade
- 12-inch speed square
- Stud finder
- Level
- Drill/driver with drill bits
- 18-gauge brad nailer
- Clamps
- Iron (for edge banding)
- Sharp utility knife
- Tape measure
- Pencil
Step-by-Step Guide
Step 1: Measure and Plan Your Layout
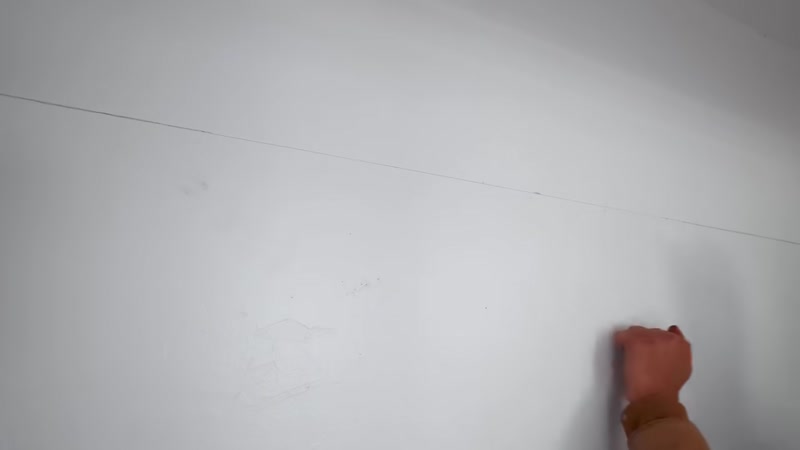
First, measure your closet space. Note the depth, width, and height of the area. For this project, we built a center tower that is 18 inches deep and 72 inches tall. Decide if you want the tower to float off the ground (like the example) or sit on the floor. Mark the locations of your wall studs using a stud finder.
Step 2: Cut the Main Case Pieces
Using your table saw, rip three pieces of 3/4" plywood to 18 inches wide. These will form the sides and the top of your center tower.
- Cut two vertical side panels to 72 inches tall.
- Cut the top, bottom, and middle divider pieces to 22-1/2 inches wide (or your desired width minus the thickness of the two side panels).
Step 3: Assemble the Tower Case

Apply wood glue to the edges of the top, bottom, and middle divider pieces. Clamp them between the two 72-inch side panels. Use a speed square to ensure everything is square, then secure the joints with 1-1/2" brad nails. Let the glue dry completely.
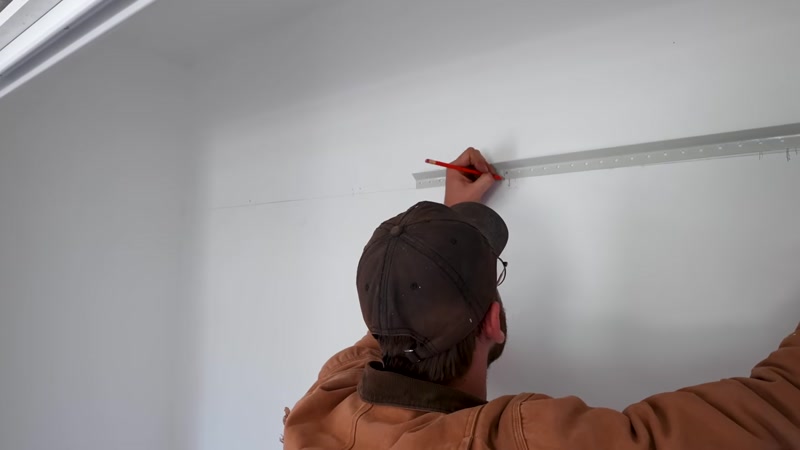
Step 4: Install the French Cleat

Cut a strip of plywood to act as your wall cleat. This strip should be the same width as your tower. Attach it to the wall, making sure it is level and screwed into at least two wall studs. This cleat will hold the entire tower securely to the wall.
Step 5: Drill for Adjustable Shelves

Mark the locations for your adjustable shelf pins. For a clean look, drill holes 1 inch from the front edge and 2 inches from the back edge of the side panels. Wrap a piece of painter’s tape around your drill bit to act as a depth stop (approximately 1/2 inch deep). Drill snug holes for your shelf pins.
Step 6: Build the Drawers

Cut your drawer parts from 1/2" birch plywood.
- Cut the sides: The height of your drawer sides (e.g., 6 inches for most drawers, 3 inches for the top).
- Cut the front and back: These should be 1 inch less than the width of your cabinet opening.
- Cut the bottom: Use 1/4" plywood for the drawer bottom.
- Create the groove: Lower your table saw blade to cut a groove halfway through the thickness of the drawer sides. Take multiple passes to widen the groove so the 1/4" plywood bottom fits snugly.
- Assemble: Glue and nail the sides to the front and back pieces (butt joints). Slide the bottom panel into the grooves.
Step 7: Apply Edge Banding

Iron-on edge banding covers the exposed plywood edges, giving your closet a professional, finished look. Use a household iron to apply the banding, then trim the excess with a sharp utility knife. Fill all nail holes with wood putty and sand the entire case smooth with 220-grit sandpaper.
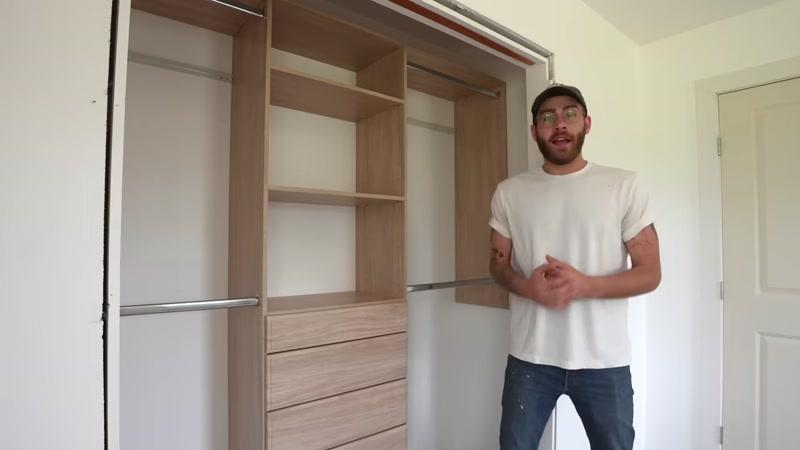
Step 8: Mount the Tower and Add Shelves

Screw your French cleat into the wall studs. Lift the tower onto the cleat. Add a screw through the bottom of the tower into the cleat for extra security. Insert your adjustable shelves onto the shelf pins.
Step 9: Install Drawers and Closet Rods

- Mount slides: Attach the bottom-mount drawer slides to the sides of the drawers and the inside of the tower.
- Cut rods: Cut your closet rods to length.
- Install rods: Drill a pilot hole through the rod bracket and into the end of the closet rod, then sink a screw to secure it. Install the rods on both sides of the tower.
Step 10: Attach Drawer Fronts
Cut your drawer fronts to size. Use 1-inch spacer blocks to ensure even gaps between drawers. Use a hot glue gun to temporarily hold the drawer front in place, then secure it permanently with brad nails from the inside of the drawer.
Tips for Success
- Double-Check Your Measurements: Always measure twice, cut once. A small mistake in measuring the width of the tower can lead to a costly error.
- Use a Finish Blade: A blade designed for plywood will dramatically reduce tear-out, saving you time on sanding and edge banding.
- Clamp Before Nailing: Use clamps to hold your pieces together perfectly square before firing the brad nailer. This prevents the case from becoming twisted.
- Don't Skimp on the Cleat: A solid French cleat screwed into studs is what makes this system so sturdy. Make sure your wall attachment is rock solid.
- Plan for Wires: If you plan to have lighting or charging stations in your closet, drill holes for wires before assembling the case.
