Why You Should Bother With Freezer Meals
I've been making freezer meals for years, and I keep learning new tricks every time I do a big prep session. Today I'm going to walk you through exactly what containers I use, how I plan my meals, and the organization system that keeps my freezer from turning into a black hole of mystery food.
The biggest reason I do this: when life gets crazy and you have zero time or energy to cook, you still want something homemade. Freezer meals give you that without the drive-thru guilt.
It also saves money. Got produce about to go bad? Freeze it. Made too much quinoa? Freeze it. That's money you're not throwing in the trash.
And here's the thing — this doesn't have to be all or nothing. When people hear "freezer meals" they think full casseroles. You can also just freeze individual ingredients to make future cooking faster. Both count.
What You'll Need
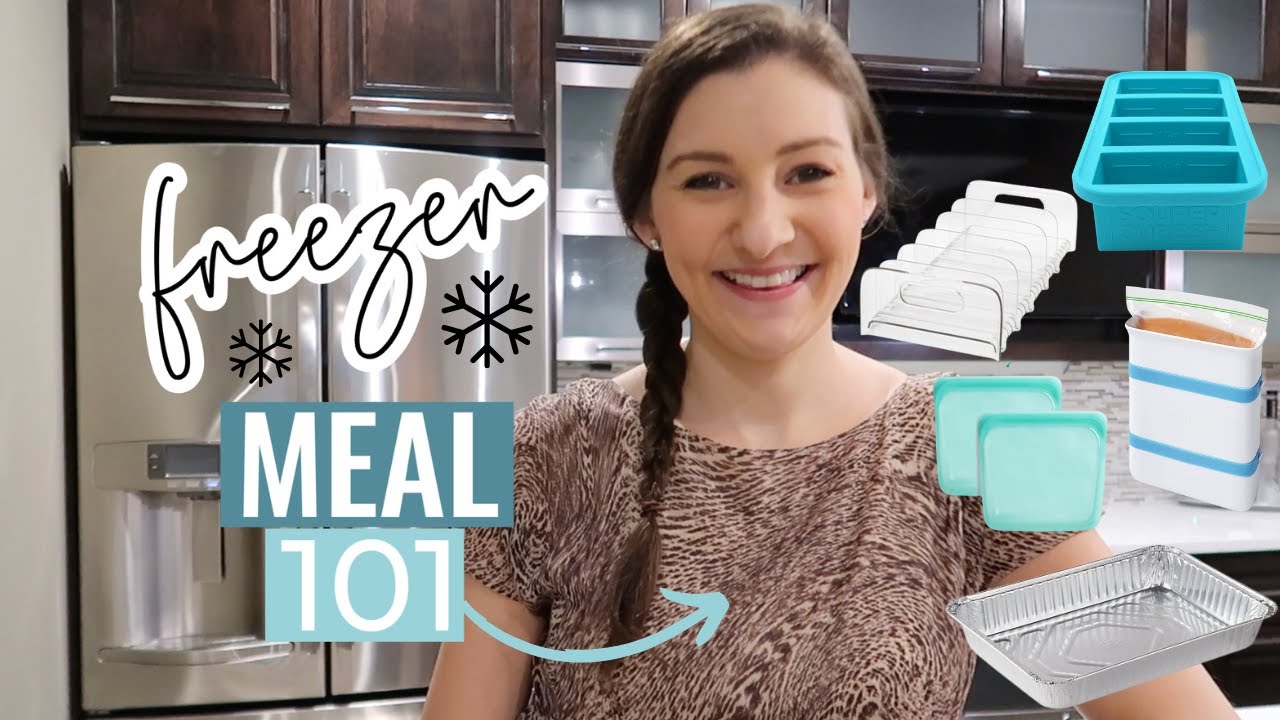
Containers:
- Aluminum foil trays (large and small)
- Freezer-safe ziploc bags (gallon and quart)
- Glass dishes like Pyrex with lids
- Super Cubes (silicone freezing trays in various sizes)
- Reusable silicone bags (optional, pricier but versatile)
Tools for organization:
- Freezer block (holds bags open while you fill and freeze them flat)
- Adjustable divider bins for your freezer
- Plastic wrap and aluminum foil
- Permanent markers or washable markers
- Masking tape
Step-by-Step Guide
Step 1: Decide What You're Freezing
Full meals or just ingredients? Both have their place.
Full meals can go straight from freezer to:
- Oven
- Crock pot
- Instant pot
- Stove top (soups work great for this)
Ingredient prep ideas:
- Big batches of quinoa frozen in portions
- Fresh herbs in olive oil in ice cube trays (this is genius — herbs are expensive and this keeps them ready to cook)
- Pre-chopped veggies
- Cooked meats
Step 2: Pick Your Container Strategy
Aluminum foil trays — The classic. The big size works for larger families or if you want leftovers. I also keep smaller ones for just me and my husband so we're not eating the same thing for a week.
Ziploc bags — Use freezer bags specifically to avoid freezer burn. Gallon size is the standard for dump-and-cook meals (crock pot, instant pot). You just dump everything straight in and cook.
Glass dishes — If you've got Pyrex or similar, use them. Big tip: let your food cool completely before freezing. I let it cool in the fridge overnight before it goes in the freezer.
Super Cubes — These are my obsession. They come in half cup, one cup, two cup, two tablespoon sizes. The measurements are printed right inside the tray. I make mini lasagnas in the two-cup size and they're perfect individual portions. Super Cubes also sells a ceramic baking dish that the frozen blocks slide right into for oven cooking.
The best part about individual portions: if your family is picky, everyone can grab their own cube and reheat whatever they want. No more thawing a giant tray that half the family won't eat.
Silicone bags — More expensive but dishwasher safe, microwave safe, oven safe, boil safe. If you've got the budget, they're versatile. If not, reusable freezer bags work too.
Step 3: Freeze Smart
For bagged meals: Lay them flat on a cookie sheet to freeze. But there's a better way — use a freezer block. It's this contraption that holds your bag open while you fill it, then you freeze it in the block so it comes out perfectly flat and uniform. Way better than guessing.
For Super Cubes: Once frozen, pop the blocks out and store them in a gallon ziploc bag. The two-cup cubes fit perfectly — four to a bag. Then you can reuse the trays for your next batch.
The file don't pile rule: This is the most important thing I'll tell you. Stand your frozen bags up on their sides like books on a shelf. Don't stack them flat. You'll actually be able to find what you need.
For extra protection: Use plastic wrap first, then aluminum foil. This eliminates air and prevents freezer burn. I do this for breakfast sandwiches and anything in aluminum trays.
Step 4: Organize Your Freezer
Get some bins with adjustable dividers. I have one for meats, one for pre-made meals. The movable dividers let you customize the spacing based on what you're storing.
If you used the freezer block, those flat bags will slide perfectly into these bins.
Step 5: Label Everything
You will not remember what's in there. I promise. Even a week later, you'll open the freezer and have no idea.
Write on every container:
- What it is
- The date you froze it
- Reheating instructions
For disposable containers and ziplocs, use a permanent marker. For Super Cubes and silicone bags, use masking tape or those washable markers that come off in the dishwasher.
Step 6: Reheat Like a Pro
Breakfast sandwiches: Take them out of the packaging. Put them on a paper towel-lined plate. Microwave for about a minute to a minute and a half. Then pop them in the toaster oven to crisp up. The paper towel catches the moisture so the toaster oven can actually crisp the outside.
Apple crisp (or similar): Thaw overnight in the fridge. Bake at 350 for 50-60 minutes. Write that on the container so you don't have to look it up.
Quick Tips
- Always cool food completely before freezing. Overnight in the fridge is ideal.
- The less air in your packaging, the less freezer burn you'll get.
- You don't need fancy equipment. Basic bins and ziplocs work fine.
- Keep a permanent marker in your kitchen drawer so you actually label things.