What You'll Need
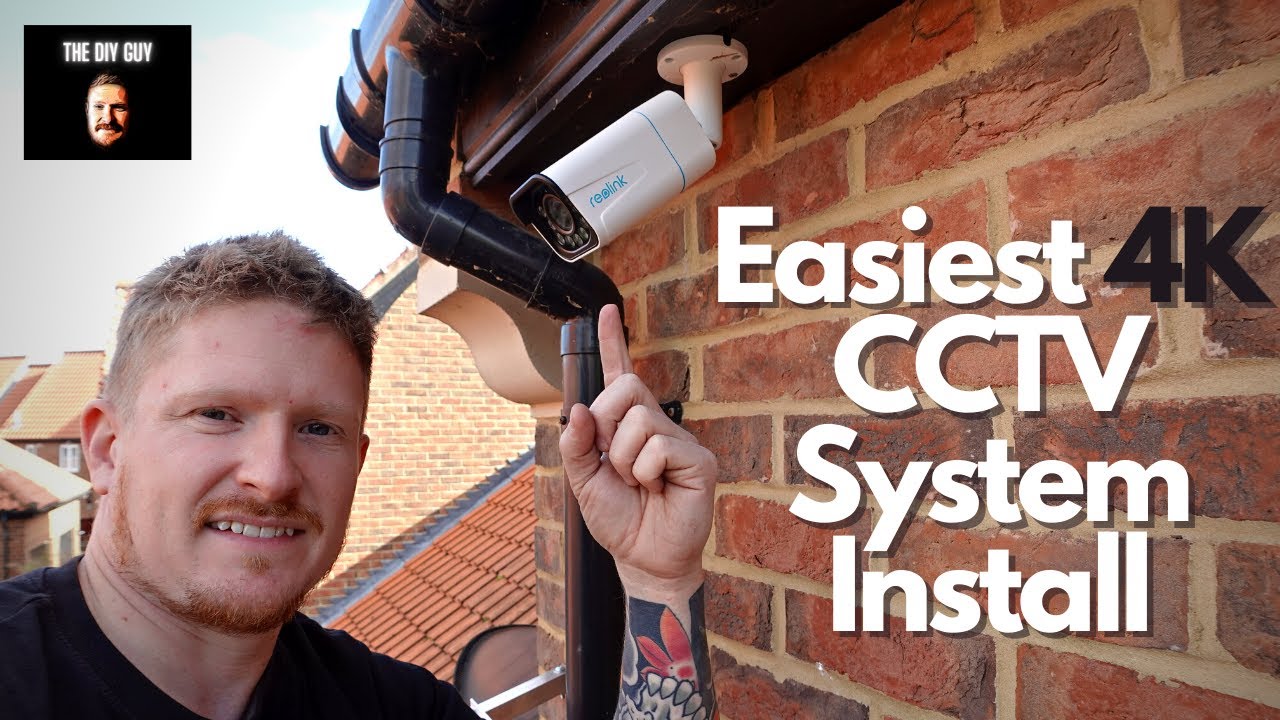
I'm going to show you how to install a 4K CCTV system yourself. Most people think this is going to be a nightmare because of all the wiring, but it's actually way simpler than you'd expect.
Let me walk you through the full install and setup.
- 4K CCTV system (I used a Reolink system with RLC-811A cameras)
- PoE (Power over Ethernet) cameras and NVR
- 18-meter ethernet cables (included with most kits)
- Drill with auger bit or spade bit
- Screws and mounting template (included)
- Cable rods or a cable pulling tool (I used a Ferret Pro)
- Trunking (if running cables indoors)
- HDMI cable and USB mouse for setup
Step 1: Test Everything First
Before you drill a single hole, set everything up in your house and make sure it works. Plug the NVR into your monitor, connect the cameras, and turn it on. If something's faulty, you want to find out now, not after you've mounted all the cameras on your roof.
I plugged in all four cameras, turned on the power, and the screen lit up with all four camera feeds. Easy.
Step 2: Mount the Cameras to the Soffits
Mounting to the soffits is the easiest way to run cables into your loft. Here's how:
- Use the template that comes with the camera. Mark the center hole and the three screw holes.
- Drill the center hole with an auger bit or spade bit. This is where your ethernet cable goes through.
- Drill the three mounting holes for the screws.
- Unravel your ethernet cable, tie a small loop in one end, and push it up through the soffit hole as far as you can.
- Head into the loft. Tie a big loop in the end of the cable so you can't pull it all the way through.
- Use a hook or cable rods to grab the cable you pushed up through the soffit and pull it through into the loft.
- Pull the rest of the cable through until you reach the knot.
- Undo the knot, push that end back up into the soffit space, and leave the connector hanging out.
- Mount the camera bracket to the soffit with the screws.
- Plug the ethernet cable into the camera, push the cables up into the soffit, and screw the bracket on.
- Adjust the camera angle using the Allen key at the back of the bracket. Roughly position it for now — you'll fine-tune it when you can see the picture on screen.
Repeat for all your cameras.
Step 3: Get the Cables to Your NVR
Now you've got a reel of ethernet cable in your loft for each camera. You need to get those cables to wherever your NVR is going to live.
You've got a few options:
Option 1: Run cables down the outside — If you've got a drainpipe, you can drill another hole in the soffit and run the cables down behind the pipe, then in through the wall. This works if your NVR is near an exterior wall.
Option 2: Run cables through the wall cavity — You can feed cables down inside the wall from the loft. You'll need cable rods for this.
Option 3: Use trunking — This is what I did. Drill a small hole in the ceiling corner, feed the cables through, and run them down in trunking to your NVR. It's the simplest method and looks neat if you do it right.
Whichever method you choose, you also need to run an ethernet cable from your router to the NVR.
Step 4: Connect Everything
- Plug all the camera ethernet cables into the ports on the back of the NVR.
- Plug in the ethernet cable from your router.
- Connect the HDMI cable to your monitor.
- Plug in the USB mouse.
- Connect the power and turn it on.
If everything's working, you'll see your camera feeds on screen.
Step 5: Set Up the System
You can adjust settings directly on the NVR — image quality, detection zones, sensitivity, spotlight controls, alarms. On the front camera, I set up a detection zone that ignores the road so I don't get false alerts from passing cars.
But honestly, I use the app most of the time. Download the Reolink app, and it detects your system automatically. Enter your password, and you're controlling everything from your phone.
Final Thoughts
CCTV installation doesn't have to be complicated. Test your system first, mount your cameras, run your cables, and connect everything. The hardest part is figuring out how to route the cables, but trunking makes that easy.