What You'll Need
Here is a DIY tutorial based on the video transcript you provided. It has been restructured into a clear, step-by-step guide suitable for beginners.
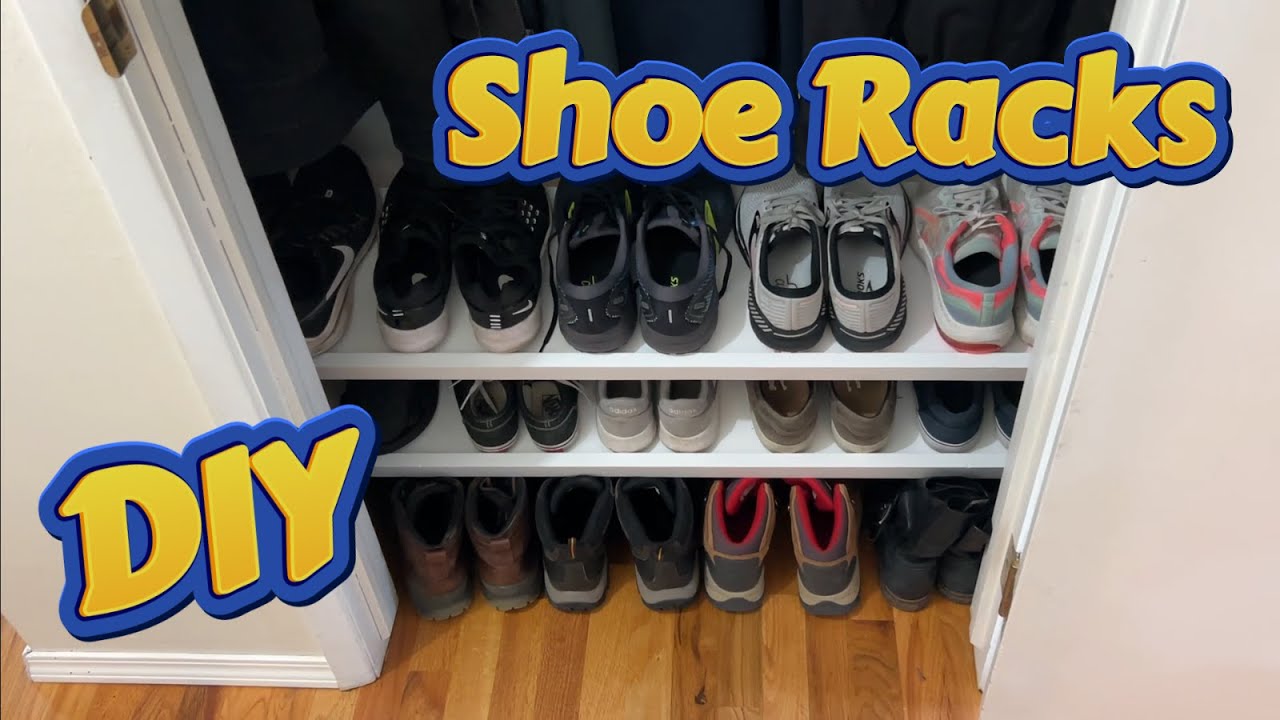
# How to Build Wall-to-Wall Shoe Racks for Your Closet
This guide will show you how to build simple, removable shoe racks that fit perfectly into your closet. These racks are easy to build, easy to clean, and can be customized with paint or stain.
Materials:
- 1x10 inch board (for the main shelf; length will be your closet width minus 1/4 inch)
- 1x2 inch boards (2 per rack, cut to the same length as the 1x10 board)
- 2x2 inch board (for the wall mounts; you'll need two 8-inch pieces per rack)
- Wood screws (for connecting the 1x2s to the 1x10)
- Drywall anchors (if you cannot screw directly into a stud)
- Screws (for mounting the wall brackets to the wall)
- Wood glue (optional, for added strength)
- Wood filler (optional, for hiding screw holes)
- Paint or stain (for finishing)
Tools:
- Miter saw or hand saw
- Drill with drill bits (including a bit for pilot holes and a bit for pocket holes)
- Pocket hole jig (e.g., Kreg Jig)
- Clamps
- Tape measure
- Level
- Speed square or combination square
- Pencil
- Sandpaper (150 grit, plus 60 or 80 grit if using higher quality wood)
- Safety glasses
Step-by-Step Guide
Step 1: Build the Wall Mounts

- Cut a 2x2 board into 8-inch long pieces. You will need two pieces for each rack.
- Cut a 45-degree angle on one end of each 8-inch piece. This angle helps the mount stay hidden behind the shelf.
- Drill two holes into each mount. The holes should be slightly larger than the screws you'll use to attach them to the wall.
- Place the holes fairly centered widthwise on the mount, about 2 inches in from each end.
Step 2: Mark the Mounting Positions on the Wall
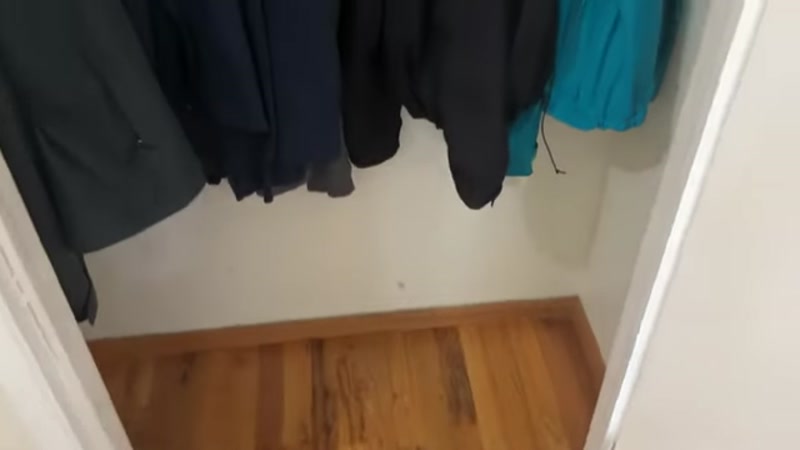
- Decide where you want the bottom of your shoe rack to sit. The presenter placed his a few inches below the bottom of his coats.
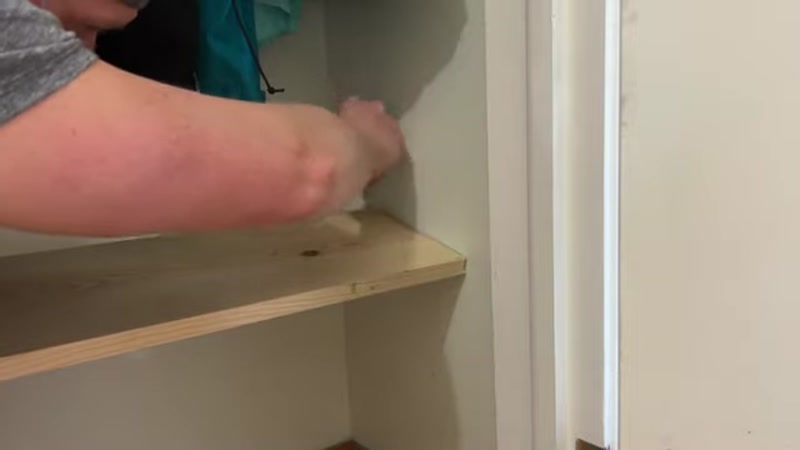
- Hold a piece of your 1x10 board up to the wall at this height. Make a mark on the wall at the bottom edge of the board, about 3 inches in from the back wall. This starting point gives your shoes extra room.
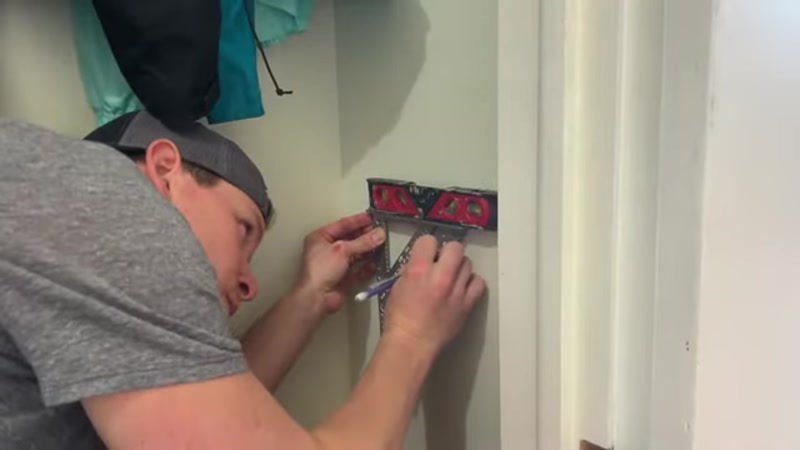
- Place a speed square against the wall, lining up its back corner with your mark.
- Put a small level on top of the square. Level the square and draw a line along its angled edge. The presenter used a 15-degree angle. This line is where the top of your mount will sit.
- Measure the distance from your mark to the floor and from the back wall. Use these measurements to mark the exact same spot on the opposite wall.
Step 3: Install the Wall Mounts

- Line up a wall mount with your marks on the wall.
- Use a drill bit (the same size or slightly smaller than your wall anchors) to drill pilot holes through the mount and into the wall.
- If your pilot holes don't hit a stud, you will need to use drywall anchors.
- Drill a hole the same size as the anchor.
- Tap the anchor into the hole with a hammer until it's flush with the wall.
- Screw the mount into the wall. Do a quick tug test to make sure it's secure.
- Repeat the process on the opposite wall for the first rack.
- For a second rack, measure about 7 inches down from the first set of mounts and repeat the marking and installation process.
Step 4: Cut and Sand the Shelf Boards

- Measure the distance from wall to wall between your installed mounts.
- Cut your 1x10 board to be about 1/4 inch shorter than this measurement. This gap makes it easy to slide the rack in and out.
- Cut your two 1x2 boards to the exact same length as the 1x10 board.
- Sand all the boards. The presenter used 150-grit sandpaper for common pine. If you are using a harder wood, start with a lower grit (like 60 or 80) and work your way up to 150 or 200 grit.
Step 5: Attach the 1x2 Rails

- Set your pocket hole jig to the 3/4-inch setting (the actual thickness of a 1x10 board).
- Drill pocket holes into the bottom of the 1x10 board. Drill one hole about 1 inch from each end, and then one hole every 10 inches along the length. Do this for both long sides of the board.
- Clamp one of the 1x2 boards to one side of the 1x10 board. The short edge of the 1x2 should be flush with the side of the 1x10 that has the pocket holes.
- Adjust the 1x2 until it is perfectly aligned, then tighten the clamp.
- Drill a pocket hole screw into the pre-drilled hole to secure the 1x2 to the 1x10.
- Repeat the clamping and screwing process for each pocket hole on this side.
- Attach the second 1x2 board to the opposite side of the 1x10. This time, the short edge of the 1x2 should be flush with the side of the 1x10 that does not have the pocket holes.
Step 6: Final Sanding and Finishing
- Sand the ends of the assembled rack to make sure the 1x2s are perfectly flush with the 1x10. This step is optional if the ends won't be visible in your closet.
- Paint or stain the rack to your liking. The presenter painted his white for a simple, clean look.
- Let the paint or stain dry completely overnight before installing.
Step 7: Install the Racks
- Simply slide the finished rack onto the wall mounts. The 1x2 rails will rest on the angled cuts of the mounts.
- Because the rack is slightly shorter than the space, it is easy to insert and remove for cleaning.
Tips for Success
- Check for Studs: Always try to screw the wall mounts into a wall stud first. If you can't, use high-quality drywall anchors that can support the weight of your shoes.
- Account for Warping: 1x2 boards are often warped or bowed. Use clamps to pull them into perfect alignment with the main shelf before driving in each screw.
- Sand in Stages: Don't skip the sanding. A smooth finish will not only look better but will also help the paint or stain adhere properly.
- Test Fit the Mounts: Before installing the mounts permanently, hold a rack up to them to ensure the angle and spacing are correct.
- Easy to Clean: The best part of this design is that the racks are fully removable. This makes cleaning the shelves and the floor underneath very simple.
Frequently Asked Questions
Can I use a different size board for the main shelf?
A: Yes. The presenter used a 1x10 because he wears a size 10.5 shoe. If you have smaller feet or want a shallower shelf, you can use a 1x8 or 1x6. Adjust the wall mount placement accordingly.
What if my closet isn't perfectly square?
A: That's why you cut the shelf board 1/4 inch shorter than the measured distance. This small gap allows you to slide the rack in easily even if the walls are slightly out of square.
Do I have to use a pocket hole jig?
A: While a pocket hole jig makes this very easy, you could also use wood glue and screws driven in from the top of the 1x10 board. Just be sure to countersink the screw heads and fill the holes with wood filler for a clean look.
How much weight can these racks hold?
A: This depends on your wall anchors and the quality of your wood. If you screw the mounts directly into studs, the racks can hold a significant amount of weight (heavy boots, etc.). If using drywall anchors, stick to lighter shoes like sneakers and sandals. ``` ```
This article is based on content from YouTube.
View original source →
