
What You'll Need
Here is a DIY tutorial based on the video transcript, written for MakeDIYHub.com.
# How to Build an Adjustable Shoe Rack for Your Home Gym
If you have a collection of shoes in your home gym—from work boots to kids' sneakers—you know the struggle of keeping them organized. This adjustable shoe rack solves that problem by letting you change the shelf height to fit any type of footwear. Best of all, it’s built from scrap lumber and uses a clever sliding shelf system, so it’s both practical and budget-friendly.
Materials:
- Scrap lumber (plywood or solid wood) in varying widths:
- 3/4-inch thick pieces (for vertical supports and shelf tops)
- 1-1/2-inch wide strips
- 3-inch wide strips
- 10-1/2-inch wide pieces (for the shelf platforms)
- Wood glue
- Standard wood screws (1-1/4 inch or 1-1/2 inch)
- Sandpaper (120 and 220 grit) or a random orbital sander
Tools:
- Table saw (for ripping lumber to width)
- Miter saw (for cutting pieces to length)
- Drill/driver with countersink bit
- Clamps (or heavy weights like paint cans, books, etc.)
- Measuring tape
- Stop block (for repeat cuts)
- Pencil
Step-by-Step Guide
1. Rip Your Lumber to the Required Widths

Start by selecting your scrap lumber. Using a table saw, rip the pieces down to the following widths:
- 3/4 inch
- 1-1/2 inch
- 3 inches
- 10-1/2 inches
Tip: Label each pile so you don’t mix them up later.
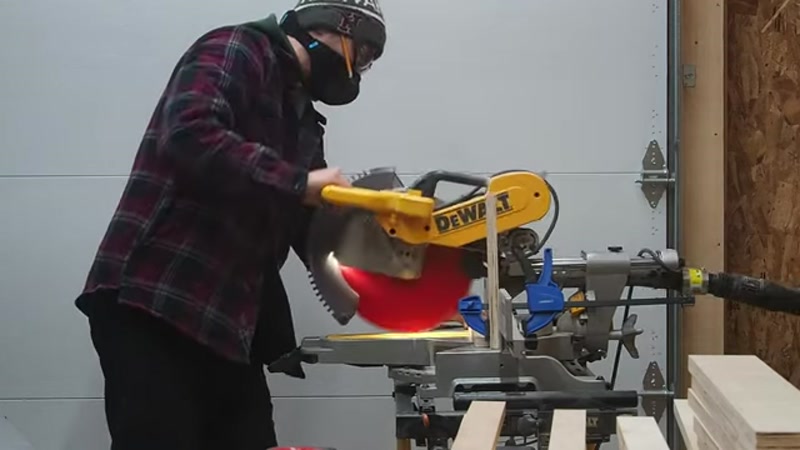
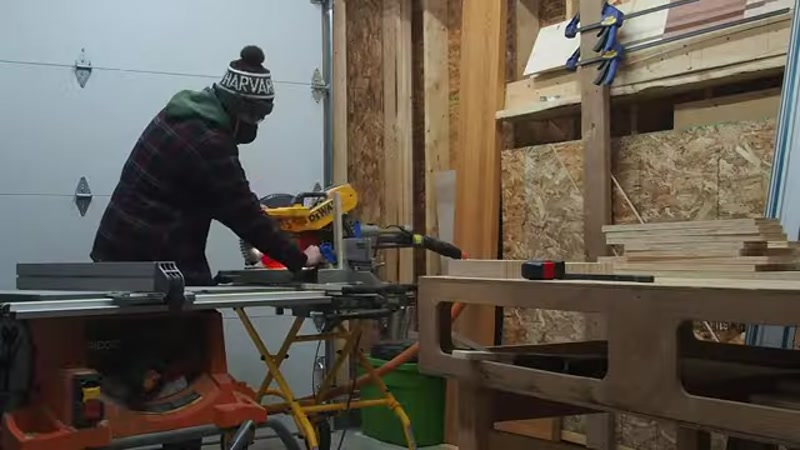
2. Cut All Pieces to Length on the Miter Saw

Set up a stop block on your miter saw fence. This allows you to cut multiple pieces to the exact same length without measuring each one. Simply butt the wood against the stop block and make your cut. Repeat for all pieces in each width category.
3. Sand All Components
Before assembly, sand every piece. Use 120 grit to remove rough edges, then finish with 220 grit for a smooth surface. This prevents splinters and gives the rack a polished look.
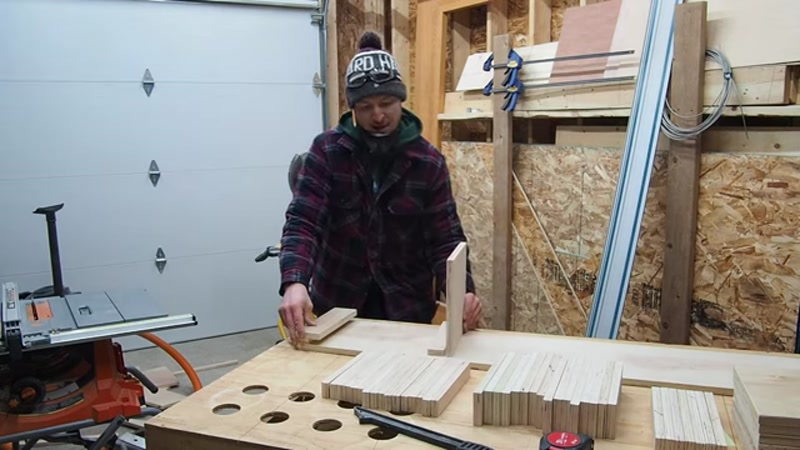
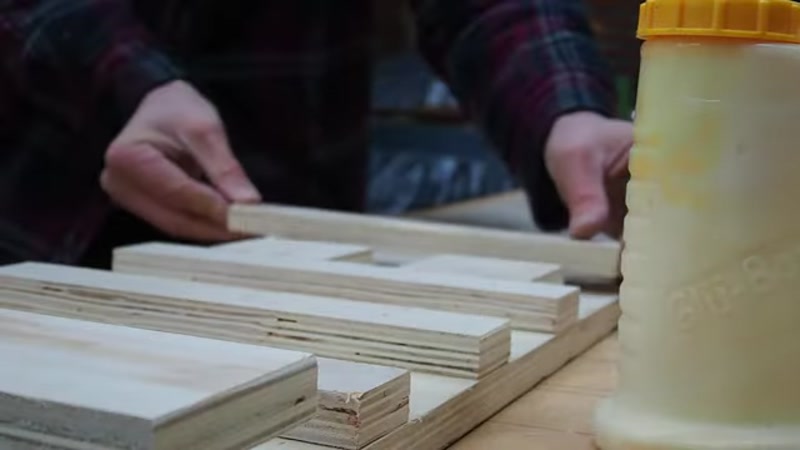
4. Assemble the Main Rack Frame
Lay out your vertical supports. Using spacers (evenly cut scraps of wood), place them between each rung to ensure consistent gaps. Glue each rung in place and press firmly. If you don’t have enough clamps, use heavy objects (like paint cans or books) to weigh down the joints while the glue dries.
5. Attach the Top Cap (French Cleat Style)
Glue one of the top pieces onto the frame. This creates an upside-down “L” shape. The shelf platform will have a matching “L” shape on its underside, so it can slide in from the side and lock into place. Do not nail or screw through the face—glue only, to keep the front clean.
6. Build the Adjustable Shelf Platforms
Take your 10-1/2-inch wide shelf pieces and the smaller 3/4-inch strips. Glue the strips to the underside of the shelf to form the reverse “L” shape. Pre-drill and countersink holes in the bottom of the shelf, then secure with wood screws. This step is hidden from view, so screws are fine.
7. Install the Shelves
Once the glue on the frame is dry, slide each shelf into the frame from the side. The interlocking “L” shapes will hold the shelf securely. To adjust the height, simply slide the shelf out and reposition it to a different set of rungs.
Tips for Success
- Use a stop block for repeat cuts. It saves time and ensures all pieces are identical, which is critical for the sliding mechanism.
- Pre-drill and countersink all screw holes, especially in plywood. This prevents splitting and lets screw heads sit flush so the shelves slide smoothly.
- Don’t skip the spacers. Using spacers between rungs guarantees even gaps and a professional look.
- Let the glue dry fully before sliding in the shelves. Rushing this step can cause joints to fail.
- Test the fit before final assembly. Dry-fit the sliding mechanism to make sure the shelves move easily without being too loose.
