What You'll Need
Here is a DIY tutorial based on the provided transcript.
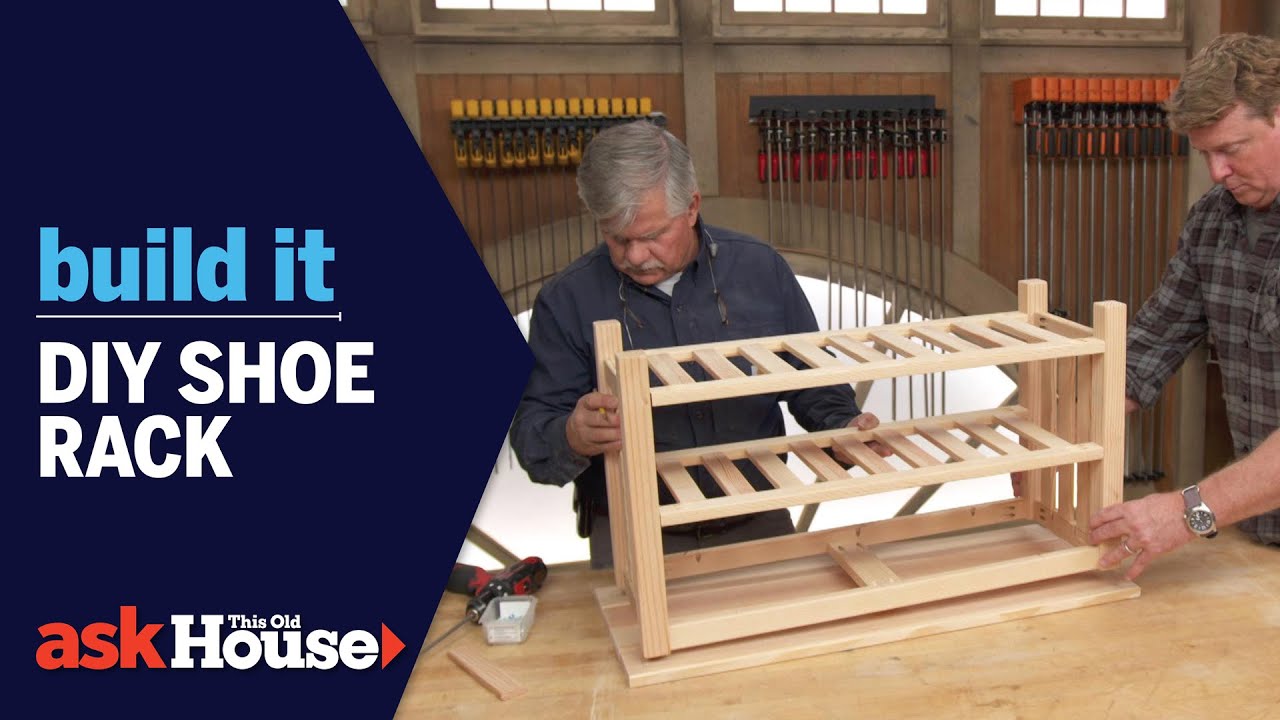
# How to Build a Sturdy Shoe Rack Bench
This project shows you how to build a combination shoe rack and bench that is much sturdier than the typical store-bought model. By using solid wood and clever joinery, you can create a piece of furniture that looks like it has traditional mortise and tenon joints but is actually much faster to build.
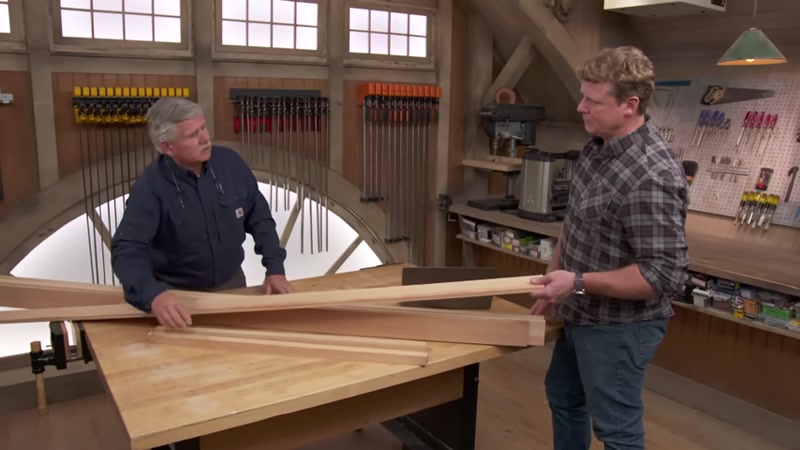
Materials:
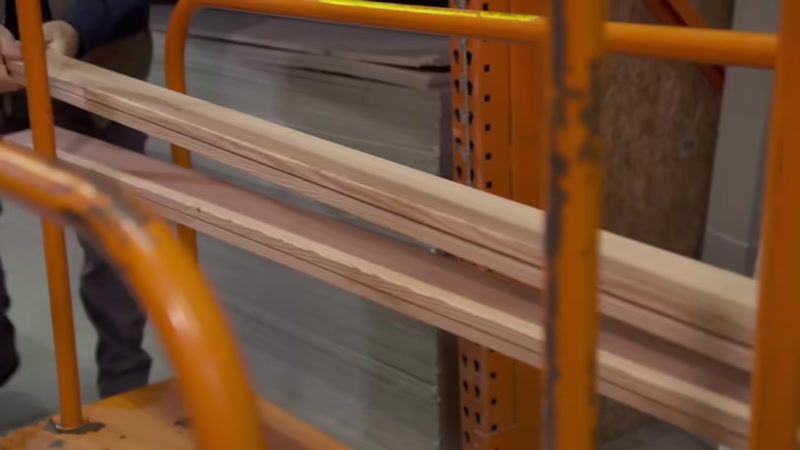
- Straight grain fir (or pine) porch decking (1x4) for the slats
- Baluster stock (2x2) for the legs
- Wood glue
- Water-based urethane finish (high gloss and satin)
- Sandpaper (various grits)
Tools:
- Miter saw (or circular saw with a square)
- Table saw
- Drill/driver
- Pocket screw jig (like a Kreg Jig)
- Clamps
- Tape measure
- Pencil
- Scrap wood for gauge blocks
- Spray gun or brush for finish
Step-by-Step Guide
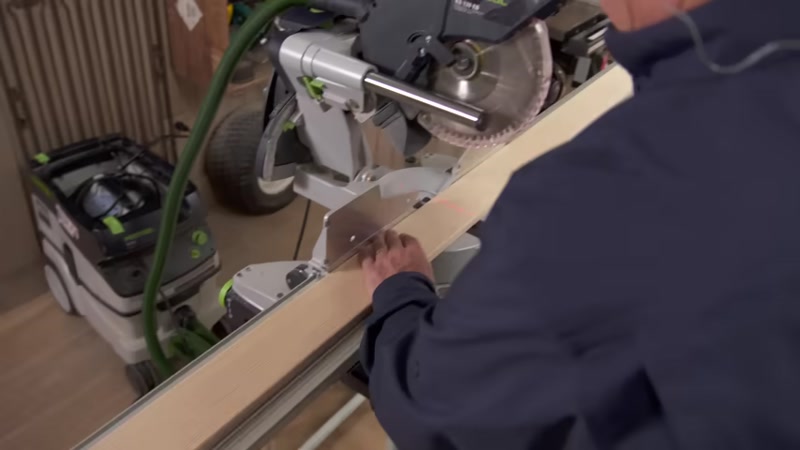
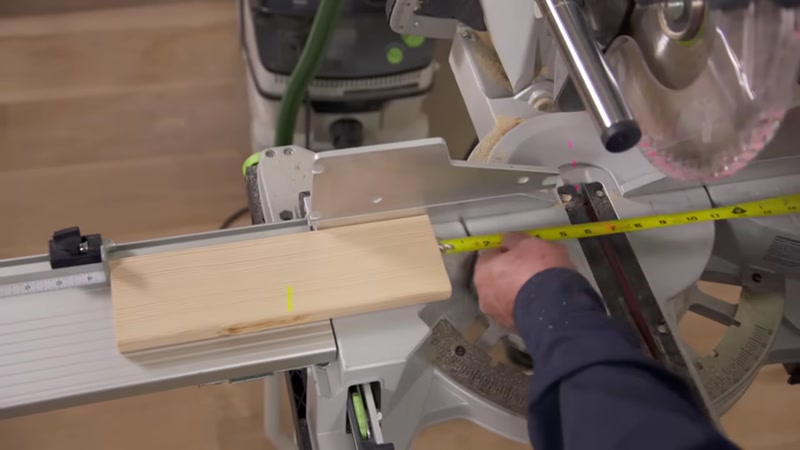
1. Cut All Pieces to Rough Length
Set up a stop block on your miter saw fence to make repetitive cuts fast and accurate. You will need to cut the following pieces:
- Slats: Nine pieces cut to 9 ¼ inches long.
- Rails: Cut to match the width of your bench (measure from your design).
- Legs: Cut to your desired bench height from the 2x2 baluster stock.
For the 9 ¼ inch slats, your miter saw stop may not reach. Fix this by clamping a scrap piece of wood to your saw fence. Measure from the end of that scrap piece to where your blade is, which should be 9 ¼ inches. Lock the stop and make your cuts.
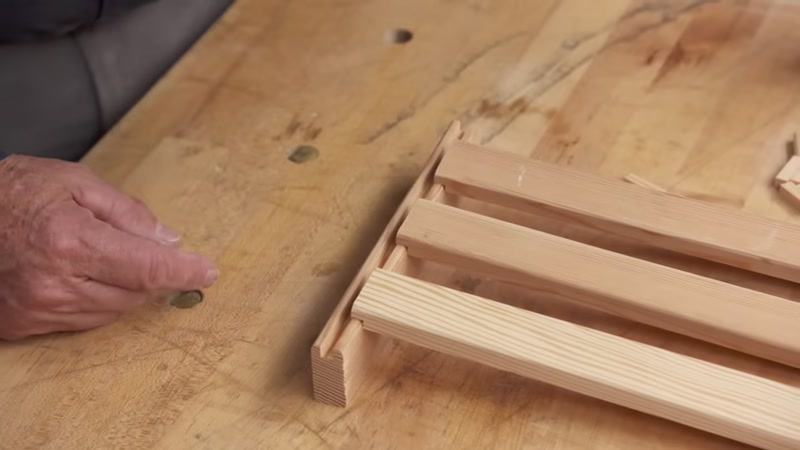
2. Create the "Simulated Mortise" Dadoes
To create the look of a mortise without the time-consuming chisel work, you will cut a long dado (groove) in each rail.
- Set your table saw fence to cut a dado the width of your slat material.
- Use a standard blade and make multiple passes, moving the fence over by the thickness of the blade each time, until the dado is the correct width. (A stacked dado blade set can also be used if you have one.)
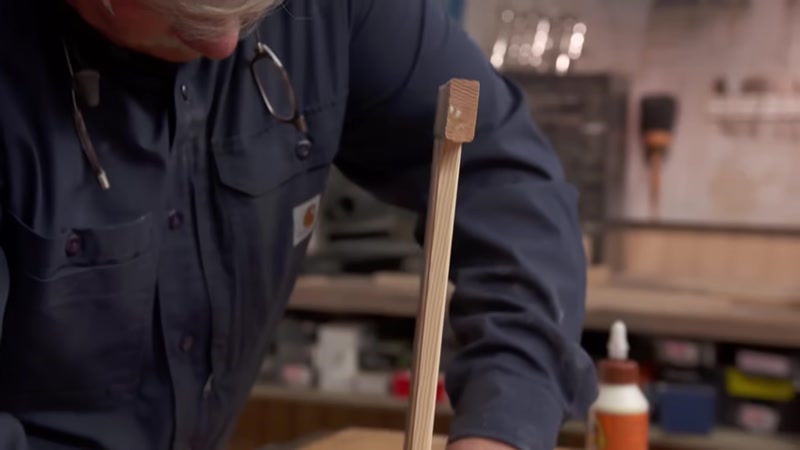
3. Cut Rabbets on the Slats
Now, cut a rabbet (a notch) on each end of the slats. This will allow them to fit perfectly into the dadoes on the rails.
- Stand each slat board on its end on the table saw.
- Make a cut on one end, then flip it and cut the other end. This creates the tenon that fits into the dado.
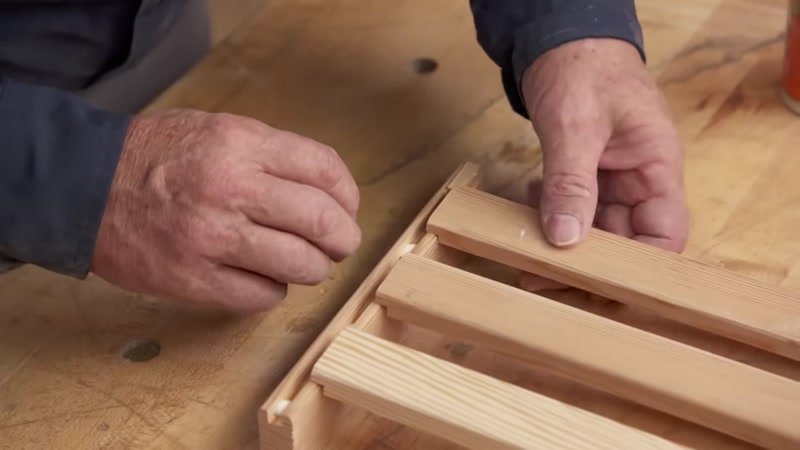
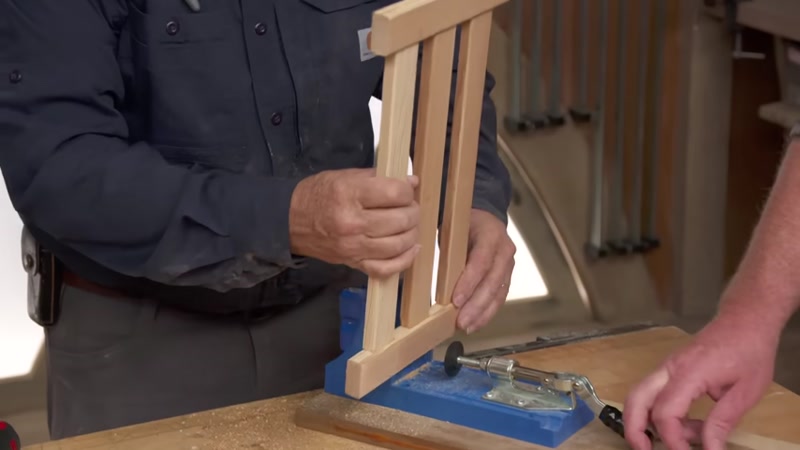
4. Assemble the End Panels
This is the clever part that creates the "mortise" look.
- Place a rail in front of you with the dado facing up.
- Put a small dab of glue inside the dado at the center point.
- Insert a spacer piece (cut from scrap) into the glue. Push it down, but not all the way.
- Place a slat next to the spacer. Do not glue the slat yet.
- Continue this pattern: spacer, slat, spacer, slat, across the entire rail.
- Once all spacers are in, push the slats down tight against the bottom of the dado.
- Repeat this process for the other rail to create the second end panel.
- Let the glue set up for a minute, then carefully disassemble the spacers. Sand the panels smooth.
5. Drill Pocket Holes
Once the glue on the end panels and the shelf slats has dried, use a pocket screw jig to drill holes. This is a fast and strong way to connect the pieces. Drill pocket holes on the back side of the rails where they will attach to the legs and the shelf.
6. Assemble the Base
- To create a nice reveal, place two ½-inch thick scrap blocks on your work surface.
- Set a leg on the blocks and a side panel on top of the leg.
- This recesses the panel ½-inch from the outside edge of the leg.
- Screw the panel to the leg using pocket screws.
- Repeat for the other side.
7. Attach the Shelf
- Set a gauge block (a piece of scrap of a specific height) on the leg to position the shelf at your desired height.
- Place the shelf on the blocks, between the two end panels.
- Screw the shelf in place with pocket screws.
- Remove the gauge block and repeat for the other side.
8. Attach the Top Slats
- Lay the top slats loosely across the top of the bench. Do not glue them.
- Measure and mark for a 1-inch overhang on the front and sides.
- Place the legs on top of the slats, aligning them with your marks.
- Screw the legs down through the slats from the bottom.
9. Apply the Finish
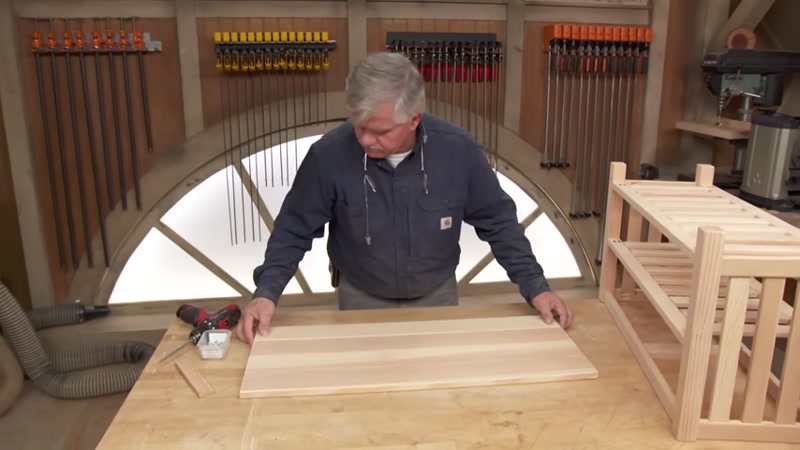
- Sand everything smooth.
- Spray or brush on a couple of coats of high gloss water-based urethane.
- Once dry, apply two to three coats of satin water-based urethane on top for a durable, beautiful finish.
Tips for Success
- Use a Stop Block: This is the key to making repetitive cuts perfectly identical. It saves time and prevents mistakes.
- Don't Over-Glue: A small dab of glue in the dado is enough. Excess glue will squeeze out and need to be cleaned up.
- Test Fit First: Before adding glue, dry-fit the spacers and slats to make sure everything fits snugly.
- Use Gauge Blocks: Using scrap wood of a known thickness (like ½ inch) ensures your reveals are consistent and your shelf is level.
- Leave the Top Loose: Not gluing the top slats allows the wood to expand and contract with changes in humidity without cracking.
