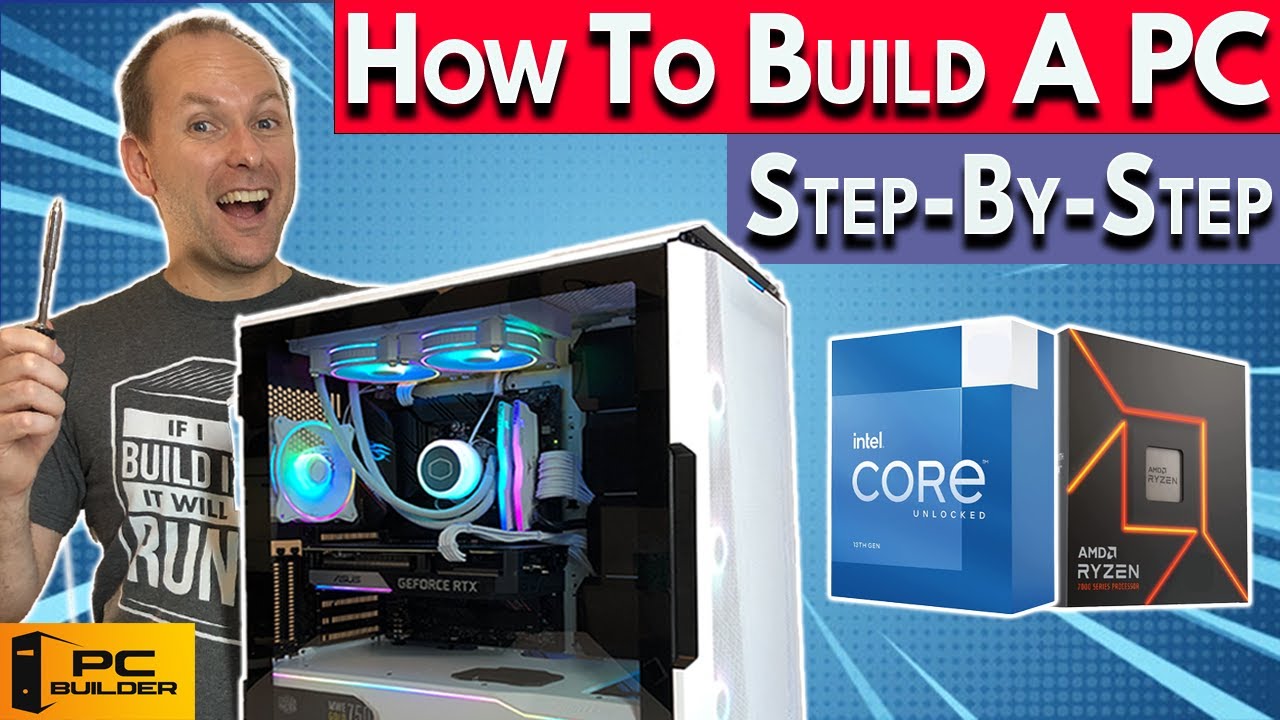
What You'll Need
Building your own PC is easier than you think. I've been doing this for years, and I still remember my first build — it's intimidating, but you can absolutely do it. Let me walk you through it.
Parts:
- CPU
- Compatible motherboard
- Compatible CPU cooler
- Compatible RAM
- Storage (preferably an M.2 NVMe SSD)
- Graphics card
- PC case
- Power supply
Tools:
- Screwdriver (I love a flexible one, about $12 on Amazon)
- Velcro strips for cable management (better than zip ties — you can reopen them later)
- Small wire clippers or scissors
- Extra thermal paste (though most coolers come with enough for 2 applications)
- Isopropyl alcohol for cleaning old thermal paste (usually not needed)
- Magnetic parts tray to keep screws organized
- Anti-static bracelet (optional — I don't use one, just don't wear socks on carpet)
Build on the cardboard motherboard box. It works fine.
Step 0: BIOS Update Check
If your motherboard needs a BIOS update to work with your CPU, check if it has BIOS Flashback (Gigabyte calls it Q-Flash Plus). If you need to do this, jump to the BIOS Flashback section at the end of this guide. Otherwise, keep going.
Step 1: Prep the Motherboard
Take the motherboard out of the box. If it has a separate I/O panel, grab that too. Put the board on the box or your mod mat.
Open the CPU socket:
- AM4 (Ryzen 5000): Push down and sideways on the lever arm, swing it up.
- AM5 (Ryzen 7000) or modern Intel: Push down on the lever to unlatch, push gently to the side, swing up. Lift the socket cover. Don't touch the pins. You can remove the plastic cover now or let it pop off when you install the CPU.
Step 2: Install the CPU
Take the CPU out of its plastic clamshell. Find the little triangle on the CPU and match it to the triangle on the motherboard. Gently place the CPU straight down — no side-to-side motion, almost no force. Let gravity do the work.
- AM4: Push the lever down and latch it.
- AM5/Intel: Close the latch cover first, then swing the arm down and latch it. The plastic cover will pop off. Keep it in case you sell the motherboard later.
Step 3: Install the Cooler
For a Ryzen box cooler:
Unscrew and remove the plastic retention bars. The cooler already has thermal paste pre-applied. Place it over the CPU, line up the screw holes, and seat each screw. Tighten in a crosswise pattern — a few turns on each, alternating. Go until snug, but don't overtighten.
For an aftermarket cooler:
Follow the cooler's instructions. Many include their own backplate (especially for Intel). For AM5, the backplate can't be removed — check your cooler's compatibility.
Apply thermal paste in an X pattern with four small dots between the lines. You can also spread it with a credit card. A little too much is fine; not enough is a problem. Seat the screws and tighten in an alternating pattern.
If the fan might overhang the RAM, install the RAM first. Otherwise, install the fan using the clips. Use steady, medium force. Tuck the cable under the fan or against the VRM and plug it into the CPU fan header.
For AIO liquid coolers: Follow the instructions for which headers to use. Check our liquid cooling guide for positioning details.
Step 4: Install RAM
Open the RAM brackets. For a 2-stick kit, use slots 2 and 4 (check your manual). Some brackets have two clips, most ASUS boards have one. Line up the notch in the RAM stick with the socket. Push down firmly and steadily until you hear the click. If you have to force it, something's wrong.
Step 5: Install M.2 Storage
If your motherboard has an M.2 heatsink, remove it by unscrewing or unclipping. Check if there's a standoff and screw pre-installed or in the box. If there's a bottom heatsink, remove the plastic film.
Take your M.2 drive at about a 45-degree angle, push the connector end into the slot until you can't see it anymore, then swing it down and latch or screw it in. Don't remove the sticker on the drive — it's actually a heat spreader. If using a motherboard heatshield, peel the film off the thermal pad, place it over the drive, and screw it down.
Some M.2 drives come with their own heatsink. Removing it voids the warranty, so plan accordingly.
Step 6: Prep the Case
Take off both side panels. Remove the hard drive cage if you're not using one. If the case has a PSU shroud, leave it. If not, you might want to keep it for cable hiding.
Check that the motherboard standoffs are in the right place. Most ATX cases come with them pre-installed. If you're using a Micro ATX or ITX board, move the standoffs as needed. A pair of pliers helps if you can't hand-screw them.
If your motherboard has a separate I/O shield, attach it to the case from the inside — push outward until it clicks in place. Make sure it's oriented correctly.
Step 7: Route EPS Cables First
Get the PSU's 4+4 pin EPS cable (or multiple if needed) and route it through the top rear hole of the case. Connect it to the motherboard while the case is flat. In many cases, you'll struggle to connect it after the motherboard is installed. Check whether your case installs the PSU through the side or the back.
Step 8: Install the Motherboard
Lay the case flat. Lift the board by the cooler, line it up with the I/O shield and the standoff holes. Some cases have a metal pin in the center standoff — slot that in. Otherwise, use a screw in the middle front hole. Screw it most of the way in, then do the rest. Tighten them all down with medium torque. You might need to push the board slightly to line up holes. Do the problematic ones (usually at the back) first.
Step 9: Install the PSU
Some cases have an external bracket. Most cases you just slide the PSU in from the side and push toward the back. Before installing, unfurl the cables you need and keep the others tied up. For modular PSUs, plug in the cables you need now — it's a pain to do later. Don't forget the PCIe cables for the GPU.
If using cable extensions, keep the cables spooled and connect the extensions. Remember: extensions plug into the PSU cables, not directly into the PSU. The PSU side isn't standardized.
Most cases have a vent for the PSU fan on the bottom. Face the fan toward the vent. Slide it in, screw it down with four screws.
Route the GPU PCIe cables however works for your case — I like going from the side and over the top of the GPU so they don't obscure the front.
Step 10: Cable Management
Route three main cable runs: top to bottom on the left, middle, and far right. Two horizontal runs on top and bottom. If you have a fan or RGB hub, figure out where to put it.
Route the 24-pin motherboard power cable. If it's a 20+4 style, make sure it's pushed together properly — there's usually a plastic piece that holds it. Same for PCIe 6+2 pin and 4+4 pin EPS connectors.
Route PSU cables first (they're thickest), then stack smaller cables on top. Don't spend too much time on cable management yet — make sure the system posts first.
Connect the case's front panel cables:
- HD Audio to the bottom rear of the motherboard
- Front panel USB (Type-A to USB 3 header, USB 2.0 to 2.0 header) — they have one pin closed off, so orient them correctly
- Front panel USB Type-C if your motherboard has a header
- Fan cables to fan headers or a hub (PWM splitters work for up to 5 fans per header)
- ARGB/RGB cables (can be daisy-chained)
Install any 2.5-inch SSDs or hard drives. They need a SATA cable (comes with motherboard) and a SATA power cable (comes with PSU). Route both cables.
For the power button and other front panel pins, consult your motherboard manual. The power button is the one you really need. Positive terminal usually goes on the left or top. Gigabyte boards come with a plastic pin-out holder that makes this way easier — push the pins into the right slots, then connect all at once.
Step 11: Install the Graphics Card
Unscrew the rear panel covers (usually at the second slot and below). On cheaper cases, you'll have to bend them out. Push down the PCIe slot retention button. Line up the card and press down from front to back. You should hear the retention bracket click. Screw the card in at the back.
If it's not going in, check that the metal bracket on the card isn't stuck on the case — this happens a lot. It should go in with gravity plus firm, steady pressure.
Plug in the PCIe power cables you routed earlier. If it's a heavy card, use an anti-sag bracket or stand. Make sure it doesn't block any GPU fans.
Step 12: First Boot
Connect a monitor using HDMI (DisplayPort can be weird on first post). If you have a GPU, plug the cable into the GPU, not the motherboard. Plug the PSU into the wall, flip the switch on, and press the case power button.
If you have debug lights or a post code readout, watch them. Give it a minute — the board might power cycle a few times.
If you don't get a post, check if the board needs a BIOS update. If it has BIOS Flashback, flash it (see below). If that doesn't work, check all connections again.
BIOS Flashback
Your motherboard needs to have this feature (Gigabyte calls it Q-Flash Plus). There's a button — usually on the back I/O panel, sometimes on the board itself. Check your manual.
You need a USB drive between 8GB and 32GB. Format it as FAT32. On another computer, download the BIOS you need from the manufacturer's support page. Extract it to the USB drive.
Rename the BIOS file based on your motherboard brand:
- Gigabyte: `gigabyte.bin`
- ASRock: `creative.rom`
- MSI: `msi.rom`
- Asus: Use their file utility to rename it
Plug the USB into the correct port for BIOS Flashback. Connect the EPS power cable (top-left of motherboard) and the 24-pin power connector (right side). Plug the PSU in and turn it on.
Push and hold the BIOS Flashback button until an LED starts flashing. Leave it alone until the light stops — this can take 1 to 8 minutes. Wait 20 more seconds, then power off the PSU.
Build the PC if you haven't already. Power it on using the case button. If you have trouble posting, clear the CMOS — either push a button on the board or bridge two CMOS pins with a screwdriver. Your PC might reboot several times during the BIOS update. Leave it alone until it finishes.