What You'll Need
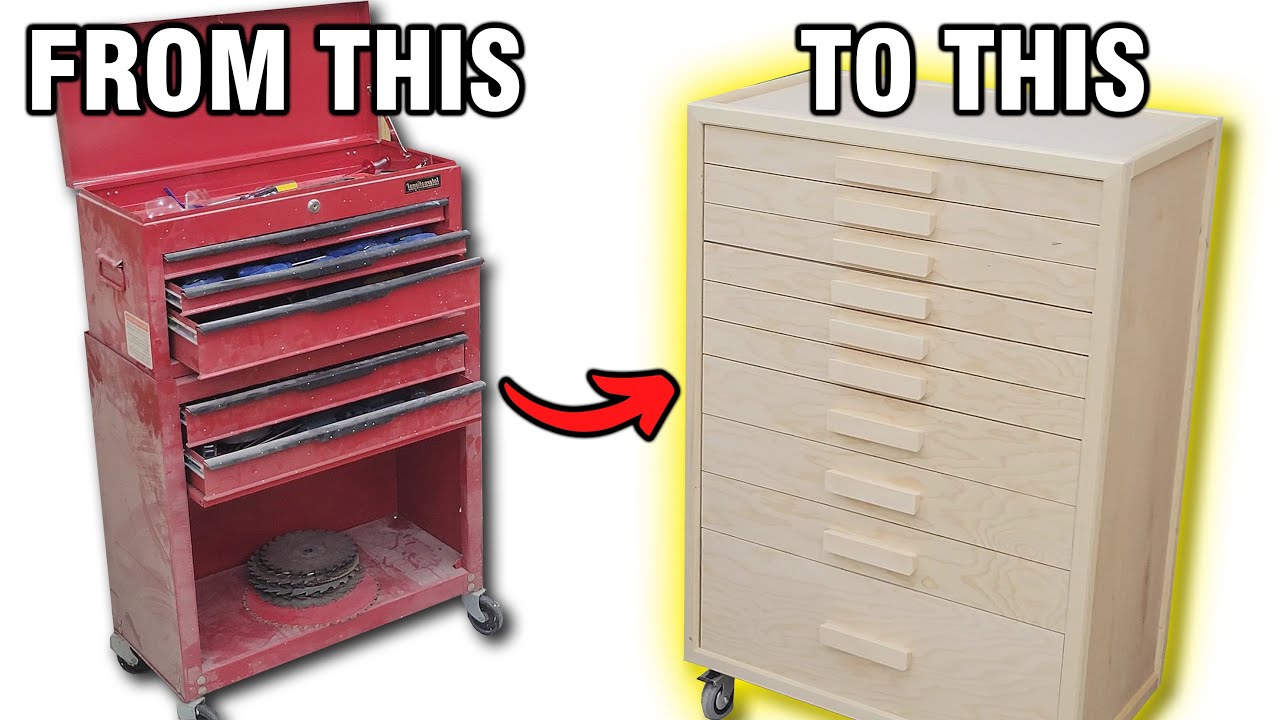
This comprehensive DIY guide will walk you through building a professional-grade rolling tool chest from plywood, featuring 10 drawers of varying sizes with full-extension soft-close drawer slides.
Materials:
- 2 sheets of 3/4" plywood
- 1/4" plywood for drawer bottoms and spacers
- 1/8" hardboard for spacers
- Wood glue
- 2" screws
- 1/2" pan head or button head screws (for drawer slides)
- Brad nails (18-gauge)
- Crown staples (1/2")
- Pin nails
- 10 sets of full-extension soft-close drawer slides
- 4 swivel casters (2 locking, 2 non-locking)
- 1" screws for casters
- Rubber floor mat (for drawer liners)
- 1-1/4" square stock (for edge banding)
- Hot glue sticks
Tools:
- Table saw
- Router table with flush trim bit and chamfer bit
- Drill with clutch settings
- Brad nailer
- Crown stapler
- Pin nailer
- Random orbit sander
- Clamps
- Combination square
- Tape measure
- Utility knife
- Pencil
Step-by-Step Guide
Step 1: Cut All Plywood Pieces
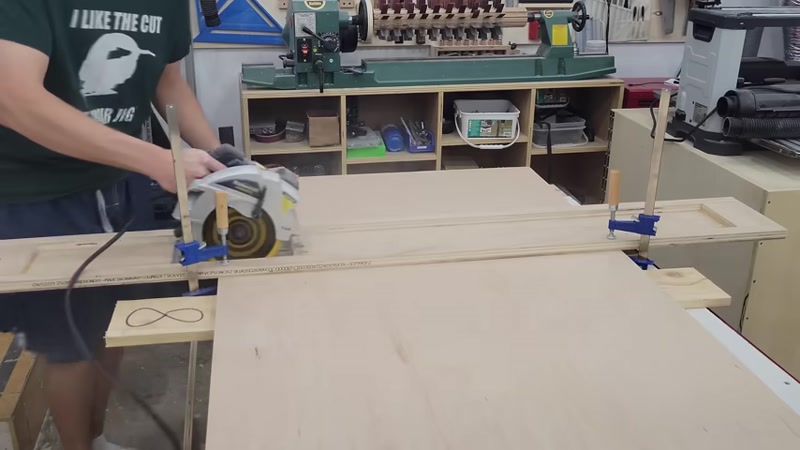
Break down both sheets of plywood into the 65 individual pieces needed for this project. This includes:
- 2 side pieces
- 1 top piece
- 1 bottom piece
- Back panel
- 10 drawer boxes (varying sizes)
- Drawer fronts
Pro tip: Label each piece as you cut to stay organized.
Step 2: Build the Drawer Boxes
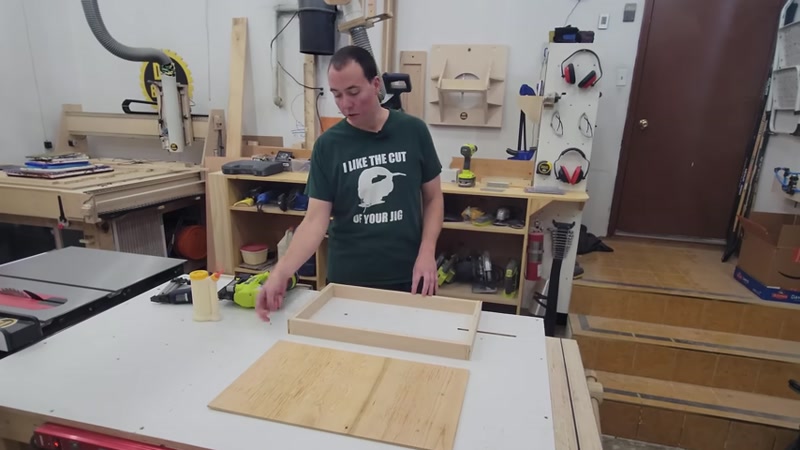
Start by assembling each drawer frame:
- Apply wood glue to all four corners of the frame
- Secure each corner with 2 brad nails
- Place the drawer bottom (currently upside down) on top
- Apply glue to the bottom panel
- Secure with crown staples every 3 inches around the perimeter
For the bottom drawer only: Add a 2" screw into each top corner for extra reinforcement.
Repeat this process for all 10 drawers (6 shallow, 3 medium, 1 large).
Step 3: Mark Drawer Slide Positions
- Lay out your two side pieces front-to-front with tops aligned
- Use your drawing to locate the center of all 10 drawer slide positions
- Mark measurements on both side pieces
- Use a square to draw horizontal lines across both pieces
- This ensures your slides will be perfectly aligned and not twisted
Step 4: Mount Drawer Slides to Cabinet Sides

Create a spacer guide from plywood with a 1/4" piece attached to the front. This ensures the slides are set back 1/4" from the front edge.
- Draw a vertical line down using your spacer guide
- Center each drawer slide on your horizontal line
- Extend the slide to expose mounting holes
- Drive in #8 1/2" pan head or button head screws
- Important: Use a drill with clutch setting, NOT an impact driver, to avoid stripping the holes
- If pan head screws won't fit, switch to countersink screws
Step 5: Create Rabbet for Back Panel

At the router table with a rabbeting bit:
- Cut a rabbet along the back edge of all four case pieces
- This allows the back panel to sit flush and provides structural strength
- If drawer slides are already mounted, space the piece slightly further from the bit
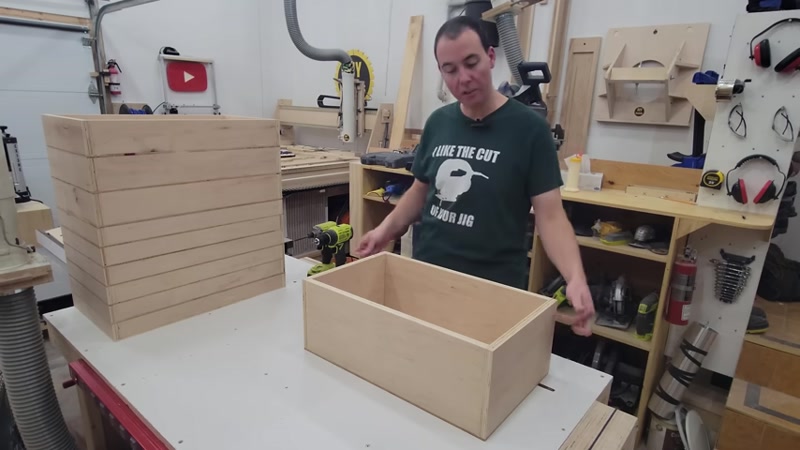
Step 6: Assemble the Cabinet Case

- Position the back side facing up (so you can attach the back panel easily)
- Stand up the side pieces
- Apply glue along the edges
- Secure with brad nails, keeping a square in the corner
- Drill pilot holes and install 5 two-inch screws per joint
- Note: The real strength comes from the back panel, so don't move the case until it's attached
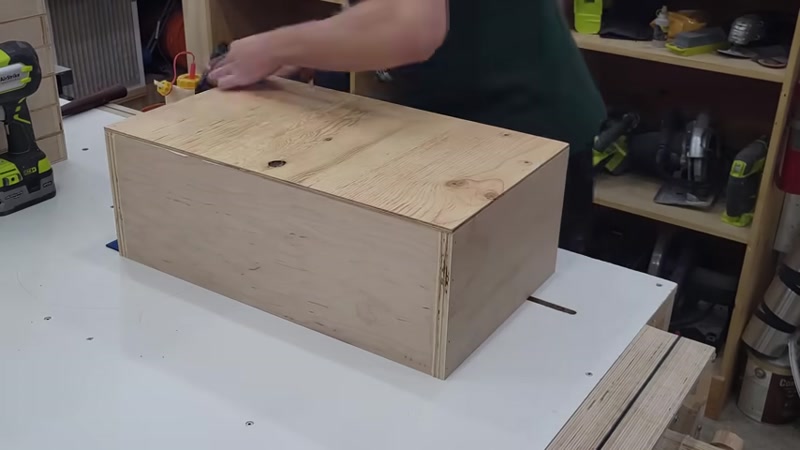
Step 7: Cut and Install the Back Panel
- Measure the inside dimensions of your rabbets (this eliminates measurement errors)
- Cut the back panel to size
- Apply heavy glue to the rabbets
- Place the back panel in position
- Secure with 1/2" crown staples every 3 inches
Step 8: Mount Drawers to Slides
- Insert 1/8" hardboard spacers between drawer and cabinet
- Extend the drawer slides
- Place the drawer upside down between the slides
- Push slides back without collapsing them
- Align the first screw point and drive in screws
- Use a spacer block to ensure the slide is flush
- Pull out further to access remaining screw points
- Remove spacers and repeat for all drawers
Troubleshooting: If the bottom drawer doesn't fit, trim 1/4" off the height at the table saw.
Step 9: Cut and Attach Drawer Fronts

- Cut drawer fronts from a single piece of plywood for grain continuity
- Place each front on its drawer
- Apply hot glue in the center and wood glue around the edges
- The hot glue holds it in place while the wood glue sets (about 30 minutes)
- Mark handle locations and glue them on
Step 10: Make and Install Trapezoid Handles

- Cut boards to 1-1/4" thick
- Cut at 15 degrees on both sides to create a trapezoid shape
- Cut to length (approximately 6 inches)
- Attach to drawer fronts with glue and pin nails
Step 11: Create L-Shaped Edge Banding

- Rip 1-1/4" square stock to length
- Set table saw blade at 3/4" high and 3/4" out
- Cut a square corner out of each piece (leaving 3/8" reveal)
- Cut pieces to length
- Apply to all exposed plywood edges
Step 12: Add Chamfer Details

At the router table with a chamfer bit:
- Run along all outside edges of the edge banding
- Also chamfer the very corners for a decorative touch
Step 13: Mount Drawer Handles

- Center handles vertically and horizontally on each drawer
- Use a spacer to ensure consistent positioning
- Apply glue to the back of each handle
- Secure with pin nails while glue dries
Step 14: Install Swivel Casters

- Place 2 locking casters on the front, 2 non-locking on the back
- Create a spacer stack: 1/4" plywood + 1/8" hardboard (total 3/8")
- This compensates for the edge banding thickness
- Glue and staple the spacer in place
- Mount casters using 1" screws, 4 per caster
Step 15: Sand Everything Smooth

Use a random orbit sander to smooth all surfaces, edges, and corners. Pay special attention to areas where you'll be touching the tool chest frequently.
Step 16: Install Drawer Liners

- Cut rubber floor mat to match each drawer bottom size
- Use a utility knife for clean cuts
- Drop liners into each drawer (glue down if they move around)
Tips for Success
- Measure twice, cut once - With 65 pieces to cut, accuracy is crucial. Double-check all measurements before making cuts.
- Use the clutch on your drill - When installing drawer slide screws, set your drill clutch properly to avoid stripping the holes in plywood.
- Maintain grain continuity - Cut all drawer fronts from the same sheet of plywood and keep them in order for a professional, seamless look.
- Don't skip the back panel - This provides critical structural support and prevents the cabinet from racking side to side.
- Test fit drawers before attaching fronts - Make sure all drawers slide smoothly before committing to the final assembly.


