What You'll Need
Here is a clear, actionable DIY tutorial based on the provided transcript.
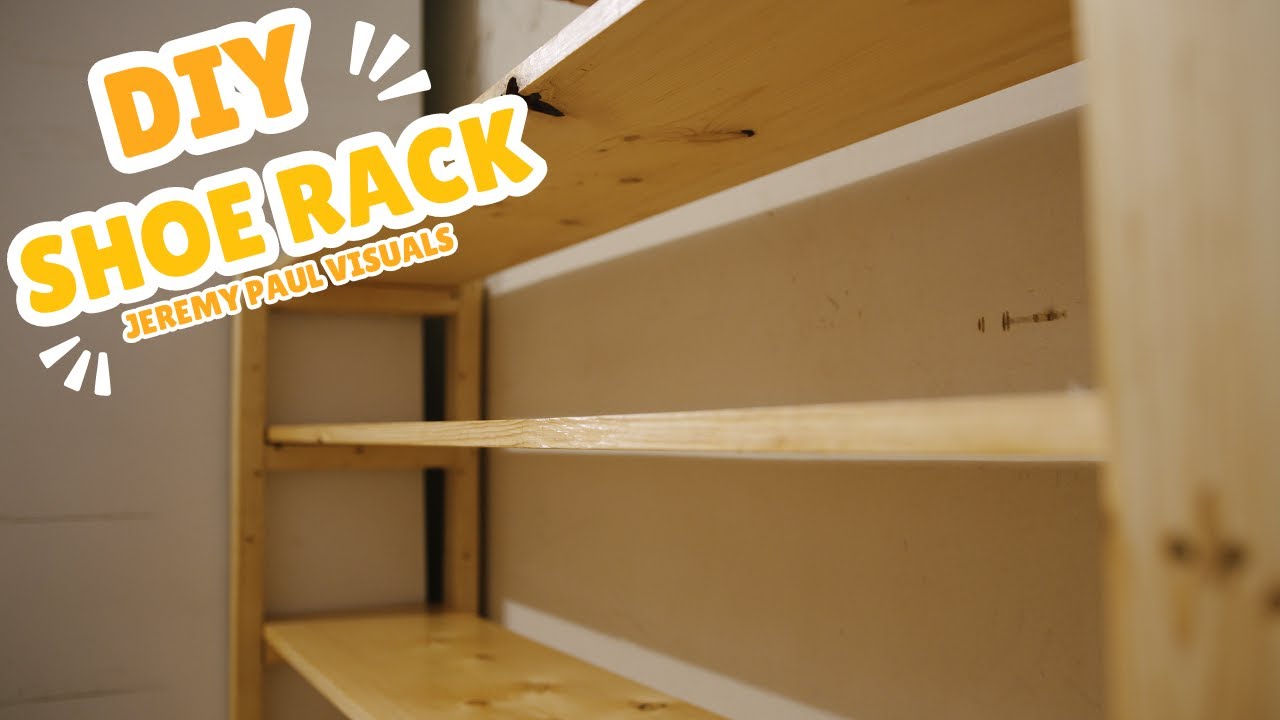
How to Build a Custom Wooden Shoe Rack
This guide will walk you through building a sturdy, custom-sized wooden shoe rack for your garage or mudroom. This project focuses on creating strong joints using a simple pocket-hole technique without needing a specialized jig, and it covers the entire process from lumber selection to applying a protective finish.
Materials:
- 2x4 lumber (for the frame)
- 3/4-inch plywood or solid wood boards (for the shelves)
- Wood glue
- Deck screws (2.5 to 3 inches long)
- Pre-stain wood conditioner
- Wood stain (e.g., Golden Oak)
- Polyurethane or clear wood finish
- Drop cloth
- Disposable rags or foam brushes
Tools:
- Tape measure
- Circular saw (or miter saw)
- Power drill and drill bits
- Screwdriver bit for your drill
- Sandpaper (60, 100, 180, and 240 grit)
- Safety glasses and a dust mask
- Pencil
- Scrap wood (for making risers)
- Framing nails (for risers)
Step-by-Step Guide
Step 1: Prepare and Measure the Space

First, clear the area where your shoe rack will go. Remove any dust and debris. Measure the width, height, and depth of the space to determine the final dimensions of your rack. Write down these measurements. For reference, a standard shoe rack is about 12-18 inches deep and 30-48 inches tall, but your build will be custom to your space.
Step 2: Cut Your Materials

Using your circular saw, cut the 2x4s to length for the frame pieces (vertical supports and horizontal rails). Then, cut your 3/4-inch boards to size for the shelves. Ensure all cuts are square and clean.
Step 3: Create Pocket Holes (The DIY Method)
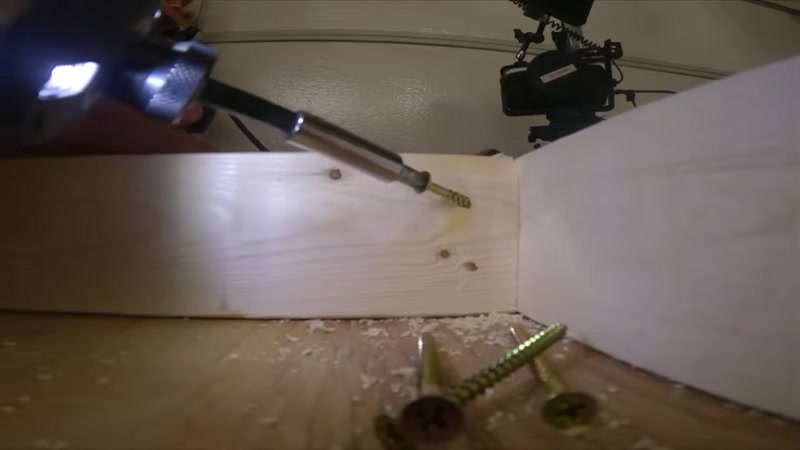
For a strong joint, you will connect the shelf supports to the frame at an angle.
- On the inside faces of your 2x4 frame pieces, mark the locations for your shelf supports.
- Drill a hole at a steep angle (about 45 degrees) through the frame piece and into the end of the shelf support board.
- This creates a "pocket" for your screw. This is stronger than driving a screw straight into the end grain.
Step 4: Assemble the Frame

Apply a generous amount of wood glue to the joint. Drive a deck screw into your pre-drilled angled hole to secure the shelf supports to the frame. Make sure the shelf supports are level. Repeat this for all shelf supports on both sides of the frame.
Step 5: Sand Everything

This is the most time-consuming step, but it's critical for a great finish.
- Use a pencil to lightly mark each piece you need to sand. This helps you stay organized.
- Start with 60-grit sandpaper to remove large imperfections.
- Move to 100-grit, then 180-grit.
- Finish with 240-grit for a smooth surface.
- Safety Warning: Always wear a dust mask and safety glasses, especially in an enclosed space. This process creates a lot of fine sawdust.
Step 6: Prepare for Staining

To avoid ruining the finish on the bottom of your rack, create small risers. Take a scrap piece of wood and cut 24 small blocks. Drill a hole through each block and insert a framing nail. These will act as legs to lift your wood pieces off the work surface.
Step 7: Apply the Stain
- Lay your drop cloth on the floor.
- Place your frame and shelf boards on the homemade risers.
- Apply a coat of pre-stain wood conditioner. This helps the wood absorb the stain evenly. Wipe off any excess after the time specified on the product.
- Apply the first coat of your chosen stain using a rag or brush. Wipe off the excess.
- Apply a second coat of stain for a richer color. Wipe off the excess and let it dry completely.
Step 8: Apply the Top Coat

Once the stain is dry, apply a clear polyurethane or wood finish. This will protect the wood from scratches and moisture. Apply at least two coats, lightly sanding with 240-grit sandpaper between coats for a smooth finish.
Step 9: Final Assembly

With the help of a friend or family member, hold the shelf boards in place on the frame. Pre-drill pilot holes through the frame and into the shelf boards. Drive screws to secure each shelf. Make sure the rack is square and level.
Step 10: Test Fit and Install

Move your new shoe rack into its final location. If it doesn't fit perfectly (e.g., it's too tall to clear a door), you may need to adjust the surrounding items (like moving a freezer slightly) or trim the rack's legs.
Tips for Success
- Work in a well-ventilated area when using stains and finishes. The fumes can be strong.
- Label your pieces with a pencil during the cutting and sanding phases to keep track of which piece goes where.
- Don't skip the pre-stain conditioner. It prevents blotchy stain absorption, especially on woods like pine.
- Use a pilot bit for all screws. This prevents the wood from splitting, especially near the ends of boards.
- Let glue dry completely before moving the frame. Clamp the joints if possible for the strongest bond.
