
What You'll Need
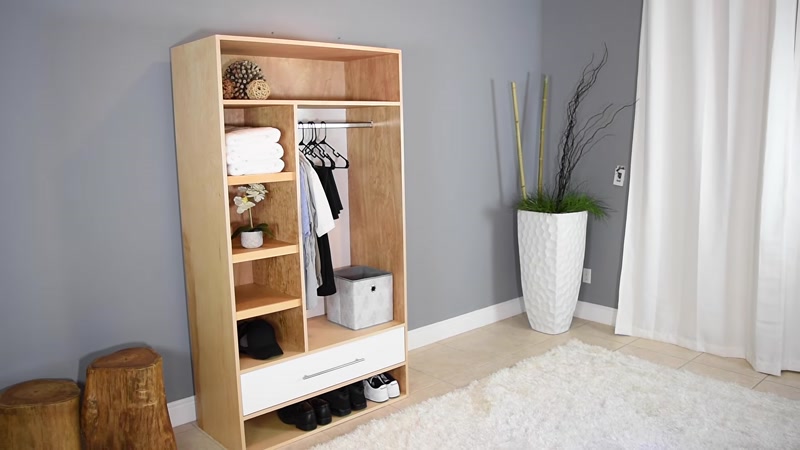
Looking for extra storage space? This DIY plywood wardrobe is perfect for organizing clothes, shoes, and accessories. It features a hanging rod, adjustable shelves, and a convenient drawer enclosure. Best of all, you can build it using basic tools and materials available at your local hardware store.
Materials:
- 3/4-inch birch plywood (quantity depends on desired size)
- Iron-on edge banding (birch, 25-foot rolls, 2 packs)
- Wood glue
- 1 1/4-inch pocket hole screws
- 3/8-inch wooden dowels (to cover pocket holes)
- Drawer slides (1 pair)
- Drawer pull handle
- Closet rod
- White paint (for two-tone look)
- Clear coat or stain (your choice)
- Painter's tape
- Brad nails (1 inch)
- Sandpaper (120 and 220 grit)
Tools:
- Circular saw with rip cut jig (or track saw)
- Table saw
- Pocket hole jig (Kreg-style)
- Drill and drill bits
- Clamps (bar clamps and band clamp)
- Tape measure
- Square
- Hot glue gun
- Iron (for edge banding)
- Sander (orbital sander recommended)
- Paintbrush or foam roller
Step-by-Step Guide
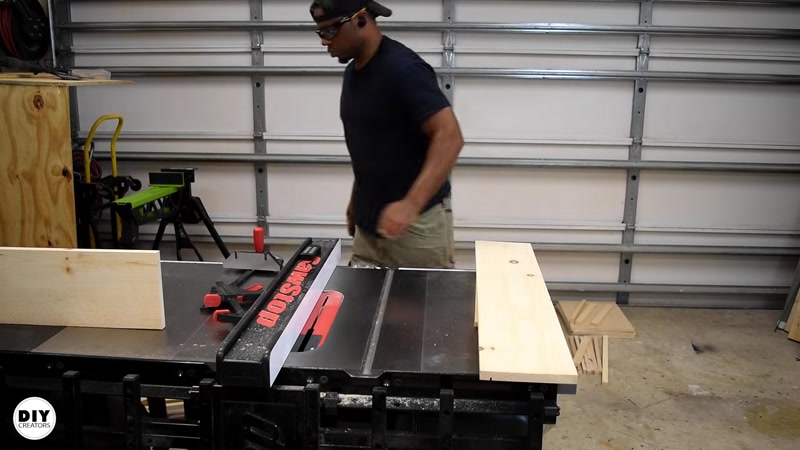
Step 1: Cut the Plywood to Size
Start by cutting your plywood sheets down to manageable sizes. Use a circular saw with a rip cut jig for straight, accurate cuts. If you have a track saw, that works even better. Plan your cuts based on your wardrobe dimensions. You'll need pieces for:
- Two side panels
- Top and bottom panels
- Middle divider
- Shelves (adjustable)
- Drawer components
- Back panel
Step 2: Create the Drawer Components
Make a simple jig for your table saw to cut accurate rabbet joints for the drawer parts. This jig allows you to transfer your practice cuts to the final pieces. Cut all drawer pieces to their final dimensions, then cut a slot for the drawer bottom using a dado blade or multiple passes on the table saw.
Step 3: Cut the Dado Joint for the Middle Divider
The middle divider needs a dado joint for a clean, strong connection. This takes more time upfront but makes glue-up much easier with less alignment issues. Alternatively, you can use a pocket hole jig for this connection and plug the holes with dowels later.
Step 4: Mark and Prep All Parts
Before assembly, mark all parts to avoid confusion. Drill pocket holes where needed. Take care of all prep work now—this makes assembly much smoother later.
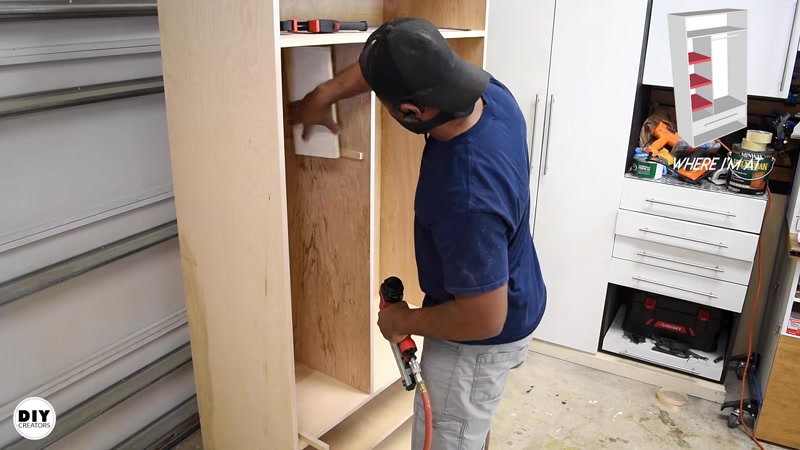
Step 5: Assemble the Main Frame
Use a corner clamp (like a Kreg clamp) to hold pieces square while you add pocket hole screws. Assemble the side panels, top, and bottom into a basic frame. Check for squareness as you go.
Step 6: Add the Bottom Shelf for the Drawer Enclosure
Install the bottom shelf that will form the base of your drawer section. Position it 7 inches from the bottom of the wardrobe. This provides enough clearance for most shoes. Adjust this spacing based on your needs.
Step 7: Install the Top of the Drawer Enclosure
Locate the plywood piece with the dado joint (unless you skipped that step). This piece is critical for proper spacing. The drawer cover needs 1/8 inch gap on all sides (top, bottom, and sides). Make sure the dado joint faces upward.
Step 8: Add the Middle Divider and Top Shelf
Use the middle divider to set the spacing for the top shelf. Apply wood glue to the joint, then carefully work the divider into place. Because of the tight fit, it's easier to install the divider after the top shelf is positioned.
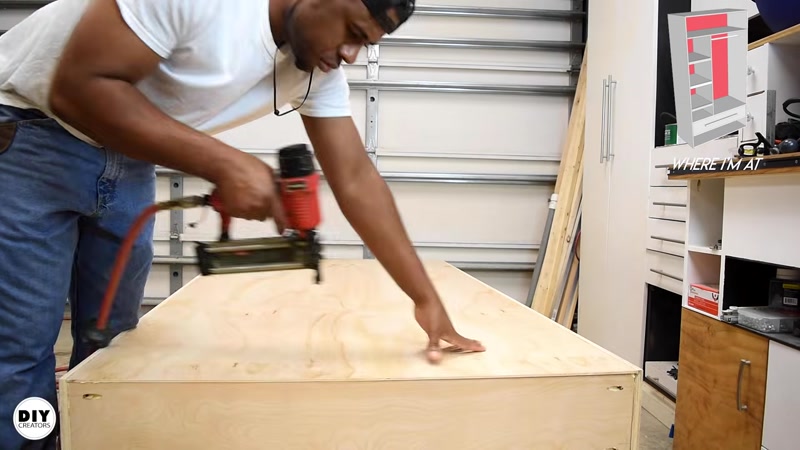
Step 9: Install the Back Panel
If you made rabbet cuts on the inside of the side panels during cutting, the back panel will sit flush into these grooves. Apply wood glue to the surface where the back panel sits, then add a few brad nails at the top and bottom to hold it in place. Add clamps and weight where you can't place clamps.
Step 10: Make and Install the Drawer Trim
Cut a rabbet joint on the trim piece that sits in front of the back panel. You can use a router, but multiple passes on the table saw work fine. Apply wood glue to the simple two-part shelf, join the pieces, and clamp until the glue sets.
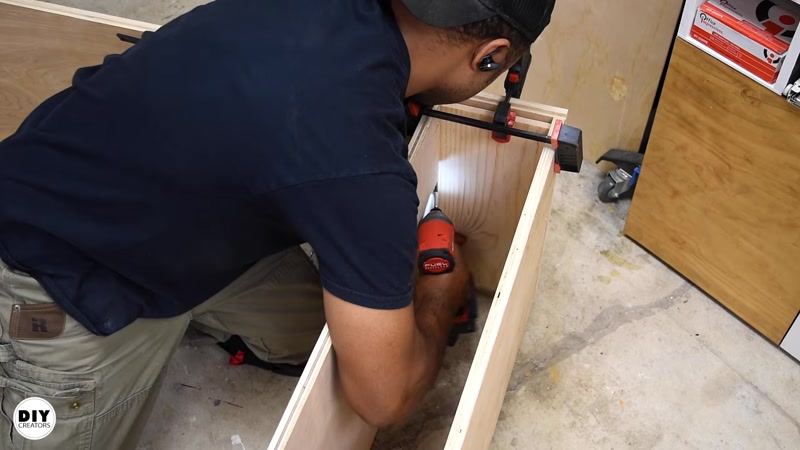
Step 11: Assemble the Drawers
For your first time making drawers this way, focus on keeping everything square. Use a band clamp—it's gold for this kind of clamping. After clamping, check diagonal measurements with a tape measure. If they're equal, everything is square. Add additional clamps to hold everything while the glue dries.
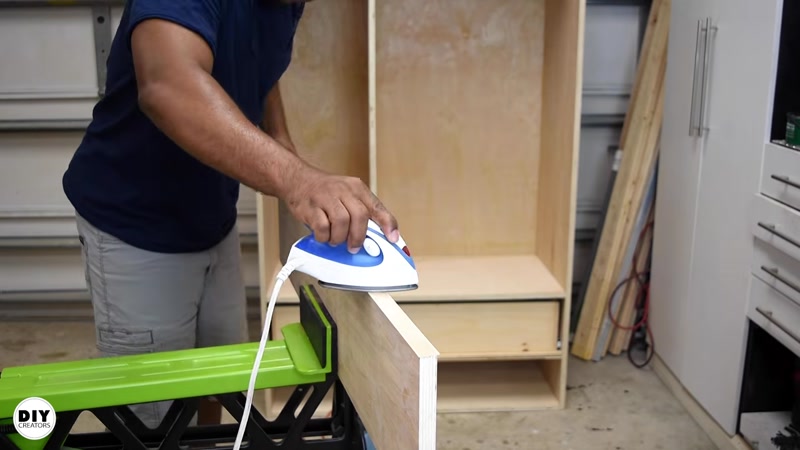
Step 12: Apply Edge Banding
Plywood has exposed edges that show the layers. Cover these with iron-on edge banding. Choose birch edge banding to match birch plywood. Edge banding comes in 25-foot rolls, so you'll need about two packs for this project. Use an iron to apply it, then trim the excess.
Step 13: Cover Pocket Holes
Use 3/8-inch wooden dowels to plug all visible pocket holes. Cut them flush and sand smooth. This gives your wardrobe a clean, professional look.
Step 14: Sand Everything
Sand all surfaces thoroughly. Start with 120-grit sandpaper, then finish with 220 grit. Pay extra attention to areas around the edge banding and dowel plugs.
Step 15: Determine Shelf Spacing
Use a scrap piece of wood as a spacer. Space the two top shelves 12 inches apart. The bottom shelf should be about 9 inches from the bottom. Don't glue these shelves in place—place them on shelf supports so you can adjust later if needed.
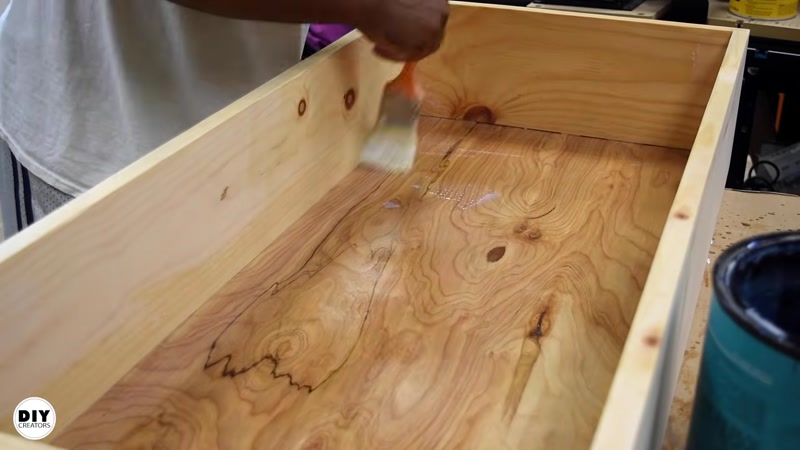
Step 16: Apply Finish
For a two-tone look, tape off areas you don't want painted. Apply white paint to the back area (where the closed section is) and the drawer cover. For the rest, apply stain or clear coat. Be careful when choosing stain—the color on the can lid may look different from the actual result. Test on scrap wood first.
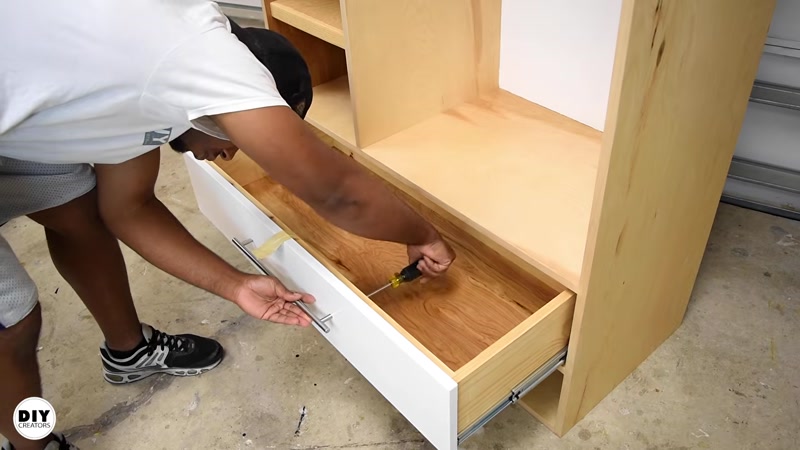
Step 17: Install Hardware
Install the drawer slides according to the manufacturer's instructions. Then install the drawer itself. To attach the drawer cover, place a few coins as spacers for even gaps, add strips of hot glue to the front of the drawer, and attach the cover. Carefully pull the drawer out, then secure the drawer to the cover with screws. Finally, pre-drill holes and add the pull handle.
Step 18: Install the Closet Rod
Mount the closet rod bracket at your desired height. Make sure it's level. Insert the rod and secure it in place.
Tips for Success
- Plan ahead with a model. Sketch or model your wardrobe before cutting. This saves time and prevents mistakes during assembly.
- Do all prep work first. Drilling pocket holes, cutting dados, and marking parts before assembly makes the build much smoother.
- Check for square constantly. Use diagonal measurements, not just a square. Equal diagonal measurements mean perfect squareness.
- Test your finish on scrap. Stain colors can look very different from the can label. Always test on a scrap piece of the same plywood before applying to your project.
- Use spacers for consistent gaps. When installing drawer fronts, use coins or spacers to ensure even gaps all around.
