
What You'll Need
Welcome to this beginner-friendly tutorial! Today, you'll learn how to bake a moist vanilla cake, make a silky buttercream, and create a beautiful textured finish. Whether you're a complete novice or looking to refine your skills, this guide will walk you through every step.
For the Vanilla Cake:
- 2 cups (250g) all-purpose flour
- 1½ cups (300g) granulated sugar
- 1 cup (226g) unsalted butter or margarine, softened
- ½ cup (120ml) vegetable oil
- 4 large eggs
- 1 tablespoon vanilla extract
- 1 cup (240ml) milk (or buttermilk)
- 2 teaspoons baking powder
- ½ teaspoon baking soda
- ¼ cup (30g) cornflour (cornstarch)
- Pinch of salt
For the Vanilla Buttercream:
- 1½ cups (340g) unsalted butter, softened
- 4 cups (500g) powdered sugar (icing sugar)
- 2 teaspoons vanilla extract
- 2-3 tablespoons water or milk
- Gel food coloring (blue, or your preferred color)
Tools:
- Two 8-inch round cake pans
- Electric hand mixer or stand mixer
- Mixing bowls
- Whisk
- Rubber spatula
- Offset spatula
- Bench scraper or cake scraper
- Textured cake scraper (optional)
- Piping bag and 1M piping tip
- Cake board or serving plate
- Kitchen towel and edible spirit (for sanitizing)
- Parchment paper
Step-by-Step Guide
Step 1: Prepare Your Cake Batter
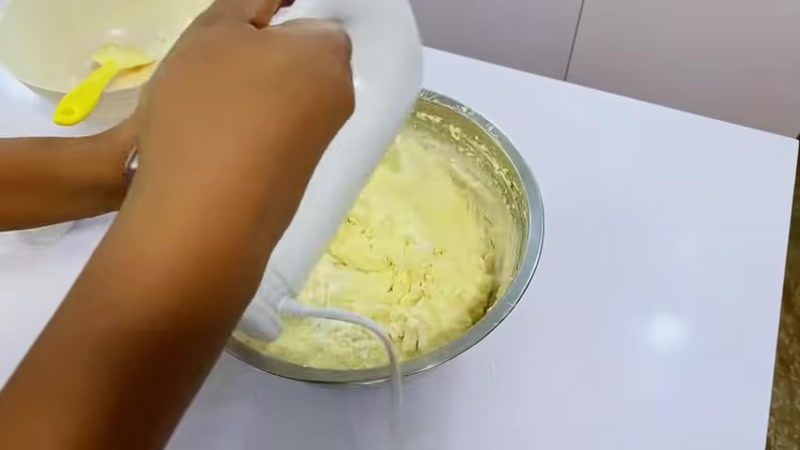
In a large mixing bowl, add your softened butter (or margarine), sugar, and vegetable oil. Using a whisk or electric mixer, beat the mixture on medium speed until it becomes light, fluffy, and pale in color. This should take about 3-5 minutes.
Step 2: Add Wet Ingredients
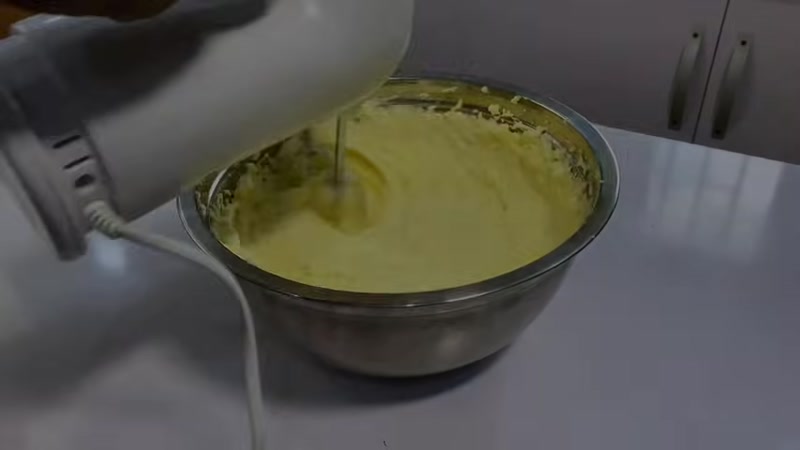
Add the vanilla extract and eggs, one at a time, beating well after each addition. Continue mixing until the batter is creamy and smooth. Scrape down the sides of the bowl with a spatula to ensure everything is well incorporated.
Step 3: Mix Dry Ingredients
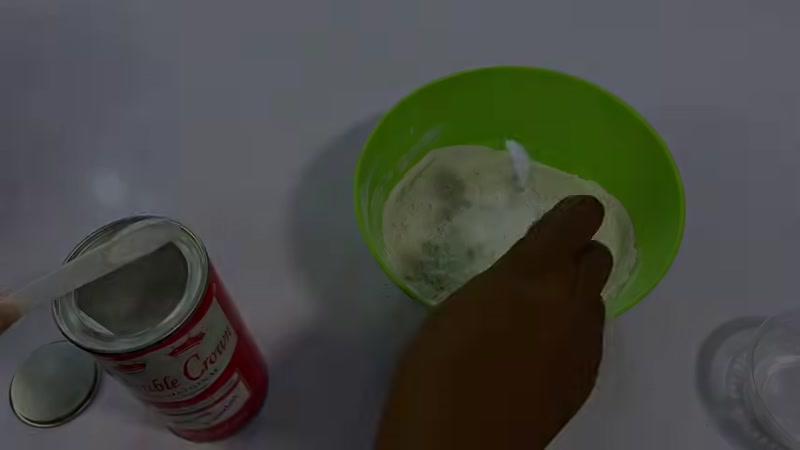
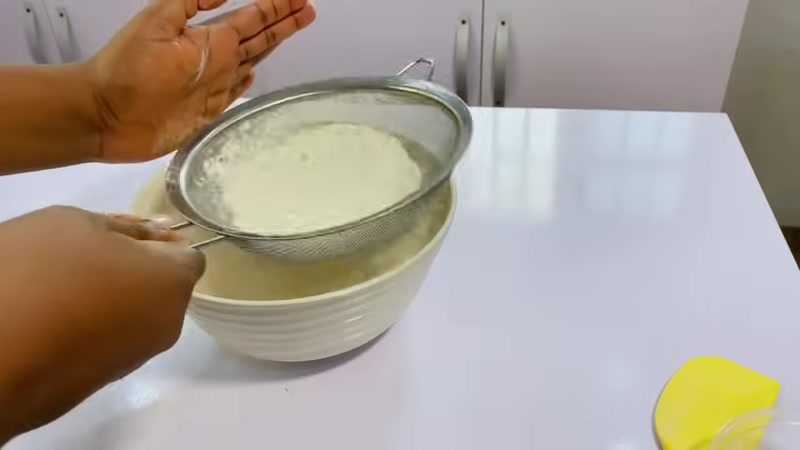
In a separate bowl, whisk together the flour, baking powder, baking soda, cornflour, and a pinch of salt. This step removes any lumps and ensures even distribution of leavening agents.
Step 4: Combine Wet and Dry Ingredients
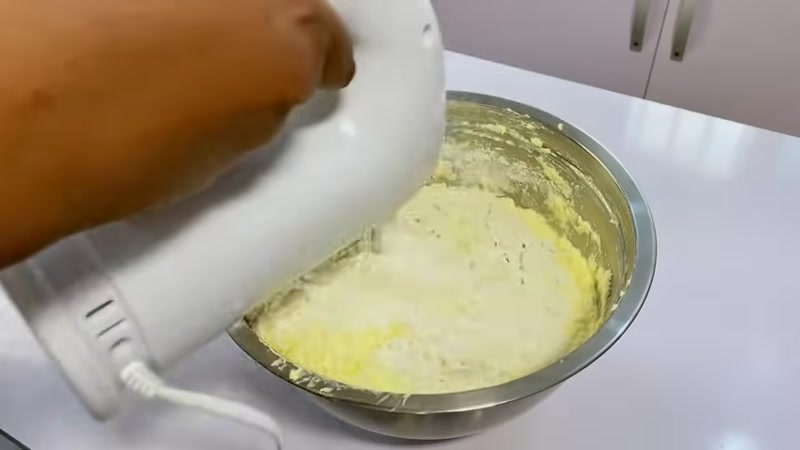
With the mixer on low speed, add the dry ingredients to the wet mixture in three additions, alternating with the milk. Start and end with flour. Important: Always add flour last when alternating. This prevents overmixing and keeps the air you've beaten into the batter intact, resulting in a lighter cake.
Step 5: Prepare and Fill Cake Pans

Grease two 8-inch round cake pans and line the bottoms with parchment paper. Divide the batter evenly between the pans. Smooth the tops with a spatula, then gently tap each pan on the counter a few times to release any air bubbles.
Step 6: Bake the Cakes
Preheat your oven to 350°F (175°C). Bake for 25-30 minutes, or until a toothpick inserted into the center comes out clean. Allow the cakes to cool in the pans for 10 minutes, then turn them out onto a wire rack to cool completely.
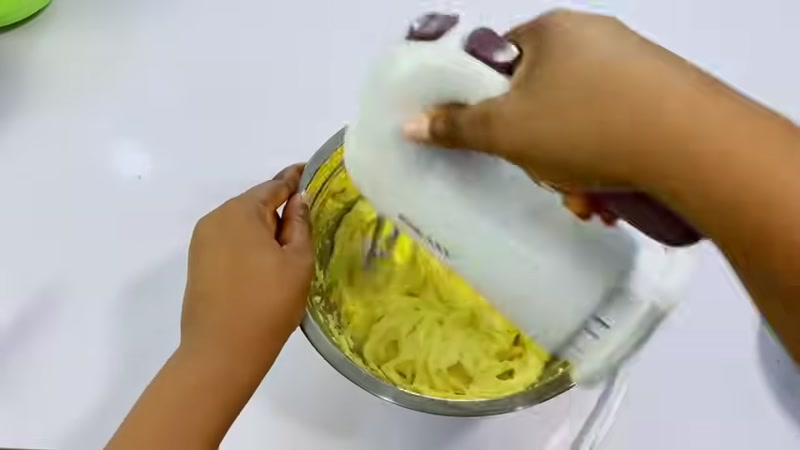
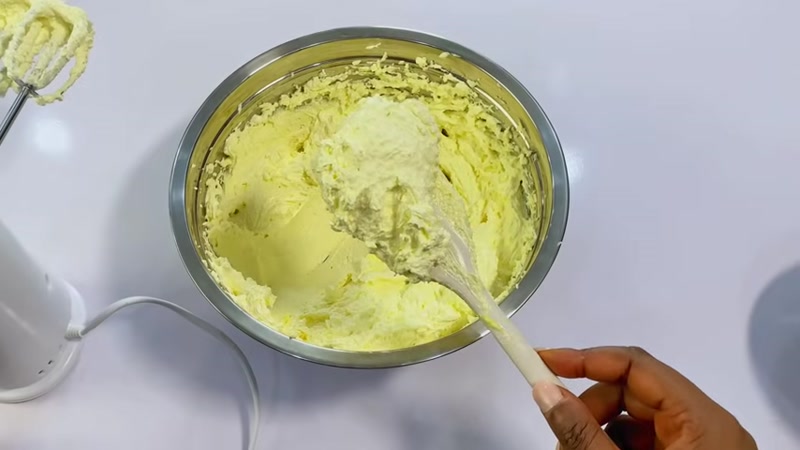
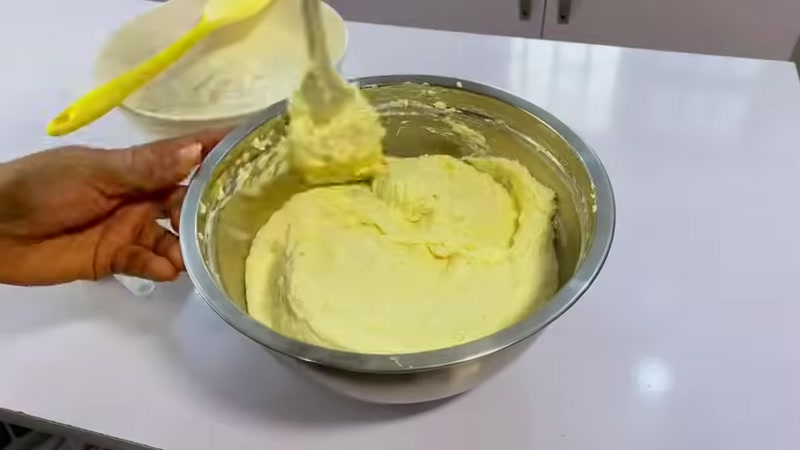
Step 7: Make the Vanilla Buttercream
While the cakes cool, make your buttercream. In a large bowl, beat the softened butter on medium-high speed until light and fluffy (about 5 minutes). Gradually add the powdered sugar, one cup at a time, beating on low speed to avoid a sugar cloud. Add vanilla extract and 2 tablespoons of water or milk. Increase speed to medium-high and beat for 3-4 minutes until smooth and creamy. If you want tinted buttercream, add a small amount of gel food coloring and mix until evenly distributed.
Step 8: Prep Your Cake Board
To keep your cake clean and sanitary, pour a small amount of edible spirit (or rubbing alcohol) onto a kitchen towel. Wipe down your cake board thoroughly to remove any dust or debris. This prevents contamination of your cake.
Step 9: Assemble and Crumb Coat

Place a dollop of buttercream on the center of your cake board to act as glue. Place your first cake layer on top. Add a generous layer of buttercream (about ½ cup) and spread it evenly. Place the second cake layer on top, pressing gently.
Apply a thin layer of buttercream all over the cake—this is called a crumb coat. It seals in crumbs and creates a smooth base. Use your bench scraper held at a 90-degree angle to the cake. Rotate the cake while holding the scraper steady. Scrape off excess buttercream from the top edges.
Step 10: Apply Final Buttercream Coat

Using a piping bag (or spatula), pipe or spread a generous amount of buttercream around the sides and top of the cake. You want enough to work with but not so much that it's all icing. Use your bench scraper to smooth the sides, rotating the cake. Fill any gaps or creases with extra buttercream and smooth again.
Step 11: Create the Textured Finish

Take your textured scraper (or a combed scraper) and hold it against the side of the cake at a slight angle. Rotate the cake slowly, keeping the scraper steady. The first pass may look rough—that's okay! Fill any spots where the cake shows through with more buttercream and continue scraping. Keep going until you achieve clean, even lines.
Step 12: Prepare Your Piping Bag

Fit your piping bag with a 1M tip. Cut the tip of the bag so the tip sticks out slightly. Secure the tip by twisting the bag. Fill the bag with your remaining buttercream—start with a small amount if you're a beginner. Practice controlling the pressure before piping on the cake.
Step 13: Pipe Rosettes on Top
Hold the piping bag vertically about ½ inch above the cake. Squeeze gently, allowing the buttercream to fan out into a rosette shape. Release pressure and pull away. Repeat around the top edge of the cake. If you make a mistake, simply scrape it off and try again.
Tips for Success
- Room temperature ingredients are key – Make sure your butter, eggs, and milk are at room temperature before starting. This ensures a smooth batter and even baking.
- Don't skip the crumb coat – A thin first layer of buttercream traps crumbs and makes your final coat much smoother. Chill the cake for 15 minutes after crumb coating for best results.
- Work with a chilled cake – If your buttercream starts to feel too soft, pop the cake in the fridge for 10-15 minutes. Cold cake is easier to scrape and texture.
- Practice piping on a plate first – Before piping on your cake, practice making rosettes on a plate or piece of parchment paper. This builds confidence and muscle memory.
- Keep your scraper clean – Wipe your bench scraper clean between passes to avoid dragging crumbs or old buttercream back onto the cake.


