Build a Solid Walnut Desk Organizer
Okay, here is the DIY tutorial article based on the provided transcript.
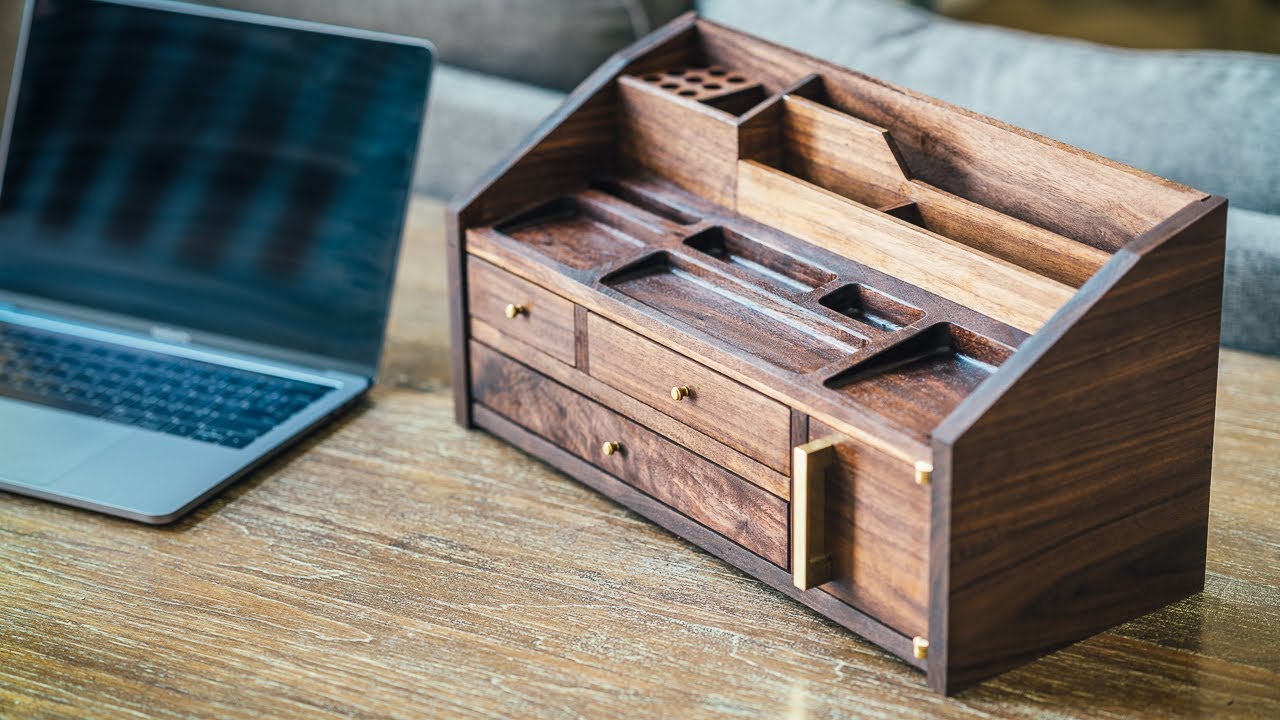
This tutorial will guide you through building a beautiful and functional desk organizer from solid walnut. The project features a sloped top tray, a pencil holder, larger dividers for mail or notepads, a storage compartment with a door, and two small drawers. While it looks complex, the process is broken down into manageable steps that will teach you valuable woodworking techniques like cutting stop dados, making sliding dovetail battens, and installing knife hinges.
What You'll Need
Materials:
- 8/4 (2-inch thick) Walnut lumber (enough for all parts)
- 1/2-inch MDF (for making templates)
- Double-sided tape
- Wood glue
- Knife hinges (for the door)
- Ball catch (for the door)
- Drawer pulls
- Brass screws (for hinges)
- Steel screw (for tapping threads)
- Finish of your choice (e.g., Danish oil, polyurethane)
- Brad nails
Tools:
- Table saw with a dado stack
- Jointer
- Planer
- Router with a router table
- Router bits: Pattern bit (with bearing), 1/4-inch down-cut bit, 1/4-inch straight bit, 1/2-inch straight bit, 14-degree dovetail bit
- Drill press
- Forstner bits (various sizes, e.g., 1/2-inch, 1-inch)
- Jigsaw
- Tenoning jig (or a reliable method for cutting angles on the table saw)
- Clamps
- Hand saw
- Hand plane
- Floss (for test-fitting the ball catch)
- Sandpaper (up to 220 grit)
Step-by-Step Guide
1. Mill and Prep the Lumber
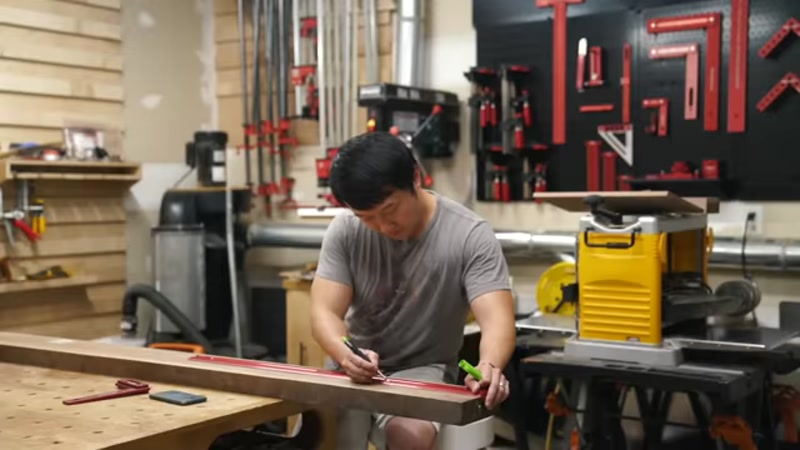
Start by laying out all the cuts on your 8/4 walnut to visualize the parts. Use a table saw to cut the boards down to rough lengths. Since you don't have a bandsaw, you can re-saw the pieces on the table saw.
Take the rough-cut pieces to your jointer to flatten one face and square up one edge. Then, run them through a planer to bring them down to a consistent rough thickness. You will mill them to their final dimensions later as needed.
2. Make the Top Organizer Tray Template
The top tray has routed pockets. To do this safely and accurately, create a template.
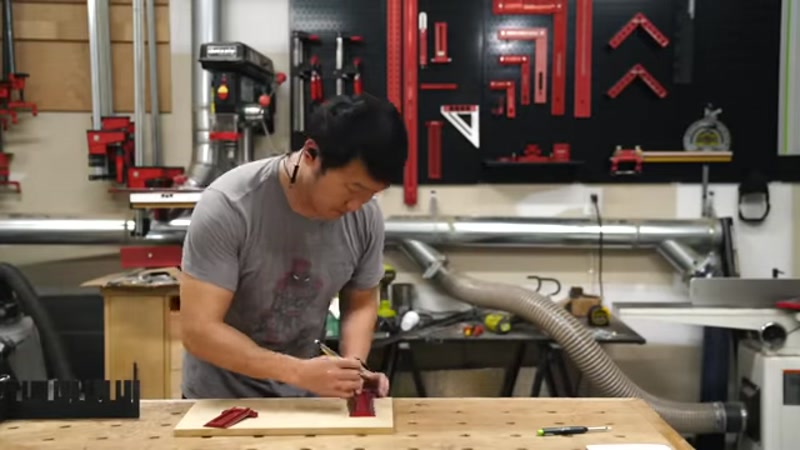
- On a piece of 1/2-inch MDF, lay out the shape and position of the pockets.
- Cut out the pocket shapes using a jigsaw.
- Attach the template to your walnut workpiece with double-sided tape.
3. Route the Organizer Tray Pockets

- On a drill press, use a Forstner bit to clear out the bulk of the material inside each pocket. This reduces the load on your router bit and makes the process safer.
- Install a pattern bit with a bearing in your router. Run the router in a clockwise direction around the inside of the template. Plunge no more than half the diameter of the bit with each pass. The bearing will ride against the template, and the bit will create a clean, flat-bottomed pocket with tight radius corners.
- Once all pockets are cut, remove the template.
4. Cut the Tray to Final Size and Angle

- Cut the tray workpiece to its final dimensions on the table saw.
- To add the downward slope, set your table saw blade at the desired angle. Use a tenoning jig to hold the workpiece safely while making the angled cut. You may need to move your fence to the other side of the blade to complete the cut.
5. Build the Tray Support and Dividers

- Edge-glue two or more boards together to create a panel wide enough for the tray support.
- On this panel, cut a 1/4-inch deep dado using your dado stack on the table saw. This dado will receive the organizer tray and the stationary dividers. Sneak up on the cut until the tray fits snugly.
- Glue the tray into the dado on the support. Use the angled offcut from step 4 on top of the tray to ensure even clamping pressure.
- The next day, cut the tray assembly down to size, leaving about 1/4 inch of material on either side.
- Cut a notch on the front two corners of the tray assembly to hide the rounded ends of the dados later.
6. Build the Pencil Holder

- Cut the small 1/4-inch pieces for the dividers behind the tray.
- For the pencil holder, tilt your table saw blade to cut a bevel on the top edge of the front face to match the downward angle of the tray.
- Lay out and cut dados for the partitions inside the pencil holder. Use a 1/4-inch bit on your router table with a stop block to end the cut about 1/8 inch from the edge.
- Drill holes for the horizontal divider in the left compartment using a 1/2-inch Forstner bit on the drill press.
- Glue all the pencil holder pieces together, then glue the completed pencil holder to the tray assembly.
7. Build the Larger Dividers

- Make the dividers that sit behind the tray for holding mail or notepads. The height of these dividers should be referenced from the angle of the pencil holder to maintain the downward slope.
- Glue these dividers into place to complete the top tray assembly.
8. Build the Case Structure

- Mill up the panels for the sides, bottom, and partitions of the case.
- Cut the side panels to size.
- Use a 1/2-inch bit on your router table to cut stop dados (dados that don't go all the way to the edge) in the side panels. These will connect the side panels to the case bottom, horizontal partition, and top tray support. Use stop blocks to end the cut about 1/2 inch from each edge.
- With the same 1/2-inch bit, cut a rabbet along the back edge of each side panel to accept the back panel.
- Do a dry fit to determine the length of the case bottom and partitions. Cut them to size and cut notches to hide the rounded ends of the stop dados (as in step 5).
9. Install the Knife Hinges

- Cut hinge mortises in the top of the bottom panel and the bottom of the tray assembly. Use a guide bushing and a 1/4-inch down-cut bit in your router with a template for the hinge.
- Mark and pre-drill holes for the hinge screws. Use a steel screw to tap the threads in the wood before installing the brass screws.
10. Build the Door with Sliding Dovetail Battens

- Cut the door panel to size.
- To prevent warping, use sliding dovetail battens. First, make relief cuts on the table saw to reduce the load on the dovetail bit.
- Cut the dovetail grooves into the door panel on your router table using a 14-degree dovetail bit.
- Without changing the bit height, run a separate workpiece vertically to create the matching batten. Cut the dovetail portion off at the table saw, then crosscut to produce two battens.
- The battens should be a friction fit into the grooves. Do not glue them. This allows the solid wood panel to expand and contract with seasonal changes while staying flat.
- Flush up the battens with a handsaw and hand plane.
11. Install the Door and Ball Catch

- Cut the mortises for the female side of the knife hinges on the top and bottom edges of the door.
- Install the door and check the fit.
- Mark the position for the ball catch. Drill a hole in the underside of the door for the ball catch. Pro-Tip: Insert a piece of floss into the hole before inserting the ball catch. This allows you to pull it out if the hole isn't deep enough. Sneak up on the perfect fit.
- Drill the matching catch hole into the top surface of the bottom panel.
12. Cut Side Panel Profiles and Glue the Case

- Do a dry assembly and lay out the downward slope profile on the side panels to match the angle of the organizer assembly.
- Sand all case pieces up to 220 grit.
- Glue the case together.
13. Build the Drawers

- Rip all drawer pieces to width. Since the drawers are the same height, set your fence once.
- Crosscut the pieces to their final lengths.
- Cut dados in the drawer sides for the drawer bottoms.
- Cut rabbets in the ends of the drawer fronts and backs to attach to the drawer sides. Glue these together.
- Cut the 3/8-inch-thick solid wood drawer bottoms to size.
- Cut rabbets around three sides of the drawer bottoms so they sit in the dados.
- Cut two notches along the back edge of the drawer bottoms. This allows you to screw the bottom to the back panel while still allowing for wood movement.
- Slide the drawer bottoms into the dados and secure them with screws through the notches and into the drawer back.
- Drill a hole in the center of each drawer front for the friction-fit drawer pulls.
14. Final Assembly and Finishing

- Apply your chosen finish to the drawers, door, and case.
- Install the brass hardware.
- Install the door.
- To ensure the drawers close flush, add small strips of walnut behind the drawers to act as stops.
- Mill up a couple of pieces for the back panel. Join them with a shiplap joint to allow for wood movement.
- Do a dry fit to lay out the angled cut on the top edge of the back panel to match the case's slope.
- Attach the back panels to the case, keeping a 1/8-inch gap between them for expansion. Use a few brad nails.
Tips for Success
- Sneak Up on Fits: When cutting dados, hinge mortises, or ball catch holes, always cut a little undersized and test the fit. It's much easier to remove a little more material than to add it back.
- Use a Template for Routing: For repetitive cuts like the tray pockets and hinge mortises, a template is essential for accuracy and safety.
- Allow for Wood Movement: Solid wood expands and contracts with humidity. The sliding dovetail battens on the door and the shiplap joint on the back panel are designed to allow for this. Never glue a solid wood panel tightly into a frame.
- The Floss Trick: When installing a ball catch, always put a piece of floss under it. If it's too tight, you can pull it right back out without damaging the wood.
- Dry Fit Everything: Before applying any glue, do a complete dry fit of the assembly. This helps you identify any issues with fit, alignment, or missing cuts before it's too late.


