What You’ll Need
Heading out for a camping trip or a long day at the beach? A well-packed cooler can make all the difference. In this guide, we’ll walk you through 10 simple and effective cooler hacks that will keep your food colder, your ice lasting longer, and your trip much more enjoyable.
- 1-liter or gallon water bottles (for freezing)
- Double reflective insulation roll (e.g., Reflectix)
- Duct tape or gorilla tape
- Spray foam insulation (for windows and doors)
- Drill with a wide drill bit
- Vegetable oil or cooking spray
- Gloves and safety glasses
- Epoxy (for sealing holes)
- Small storage bin (plastic or metal)
- Egg carton (cut to size)
- Empty water bottle (for scrambled eggs)
- Frozen meat (pre-frozen)
- Refrigerator thermometer
- Bottle opener
- Zip tie
- Velcro command strips
- Small bag (e.g., mesh or fabric)
- LED light (with motion sensor optional)
Step-by-Step Guide
Step 1: Use Frozen Water Bottles Instead of Ice
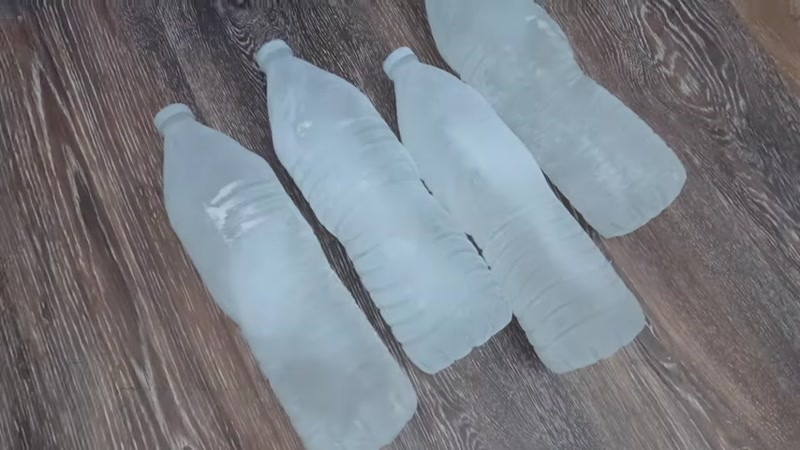
Instead of buying bags of ice that melt quickly and leave your cooler full of water, freeze 1-liter or gallon jugs of water. These solid blocks of ice last much longer, won’t create messy water, and when they finally melt, you have drinkable water.
Step 2: Add Extra Insulation to Your Cooler Lid
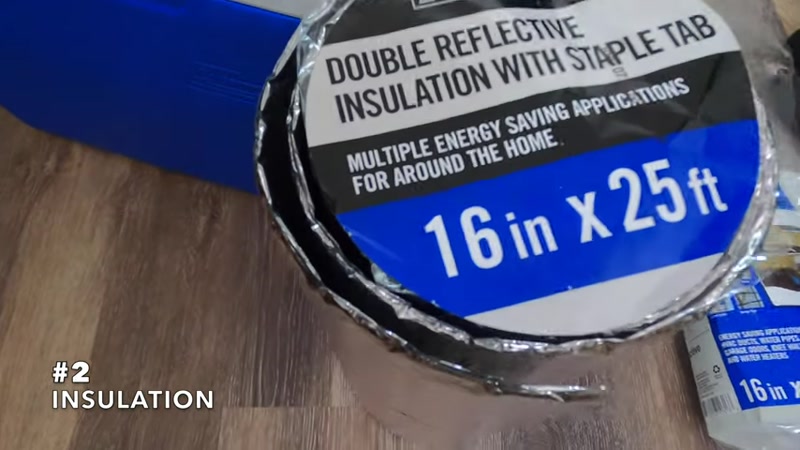
The lid is often the weakest point for insulation, especially on cheaper coolers. Here’s how to upgrade it:
- Buy a roll of double reflective insulation.
- Measure the inside of your cooler lid.
- Cut the insulation to size.
- Use strong tape (duct tape or gorilla tape) to attach it to the inside of the lid.
- For even better results, you can also add insulation to the floor and sides of your cooler, or build a box around the outside to reflect sunlight.
Step 3: Fill the Lid with Spray Foam Insulation
This hack adds serious insulation power:
- Remove the lid by unscrewing the screws from the back of the cooler.
- Drill several holes into the lid—just through the first layer, not all the way through. Use a drill bit wide enough for the spray nozzle.
- Coat the entire lid with vegetable oil or cooking spray to make cleanup easier.
- Wear gloves and safety glasses. Spray foam into the holes evenly until it starts coming out of all holes.
- Let the foam expand and dry for a few hours (8 hours for full cure).
- Clean off excess foam (the oil helps a lot).
- Fill the drill holes with epoxy to keep the lid waterproof and airtight.
- Reattach the lid and tighten screws by hand.
Step 4: Add a Storage Bin Inside Your Cooler
Place a small storage bin inside your cooler. This keeps items like eggs, cheese, or fruit dry, protected, and easy to find without digging through ice.
Step 5: Pack Eggs the Smart Way
- Whole eggs: Cut a section of an egg carton to the size you need and place it in your storage bin.
- Scrambled eggs: Crack and scramble eggs at home, pour them into a clean water bottle, and seal tightly. This makes transport easy and breakfast quick.
Step 6: Freeze Your Meat Ahead of Time
Freeze meat before your trip. Frozen meat acts like extra ice blocks, keeping other items colder longer. Plus, it thaws naturally over time for your meals.
Step 7: Pre-Cool Your Cooler
A day or two before your trip, put your cooler in a cold place (like a garage or basement) or add a bag of ice to chill the interior. This means your fresh ice won’t have to work as hard to keep everything cold.
Step 8: Use a Refrigerator Thermometer
Place a simple refrigerator thermometer inside your cooler. This removes guesswork and lets you know exactly how cold your cooler is, so you can adjust ice or insulation as needed.
Step 9: Attach a Bottle Opener to the Handle
Use a zip tie to fasten a bottle opener to one of your cooler’s handles. Now you’ll always have it handy for cracking open a cold beer or soda.
Step 10: Create a Grab-and-Go Bag
Attach a small bag to the inside of your cooler lid using Velcro command strips. Store utensils, napkins, straws, or seasonings in it. When you’re ready to eat, just remove the bag and take it to the table.
Bonus: Light Up Your Cooler
Attach an LED light to the inside of your cooler lid with Velcro command strips. For extra convenience, get one with a motion sensor so it turns on automatically when you open the lid. No more fumbling in the dark!
Tips for Success
- Freeze everything you can – Water bottles, meat, and even some fruits can double as ice packs.
- Keep your cooler out of direct sunlight – Shade or a reflective cover helps a lot.
- Don’t over-pack – Leave some space for air circulation and ice to work effectively.
- Layer your cooler – Place ice at the bottom, then food, then more ice on top. Cold air sinks.
- Open the cooler as little as possible – Every time you open it, cold air escapes and warm air rushes in.


