What You'll Need
Transform your cramped, outdated closet into a functional, beautiful storage space using an IKEA Pax system. This guide walks you through the entire process, from demolition to finishing touches, based on a real one-day makeover project.
Tools:
- Reciprocating saw (with demo blade)
- Multi-tool (oscillating tool)
- Hammers (2)
- 16-gauge finishing nailer
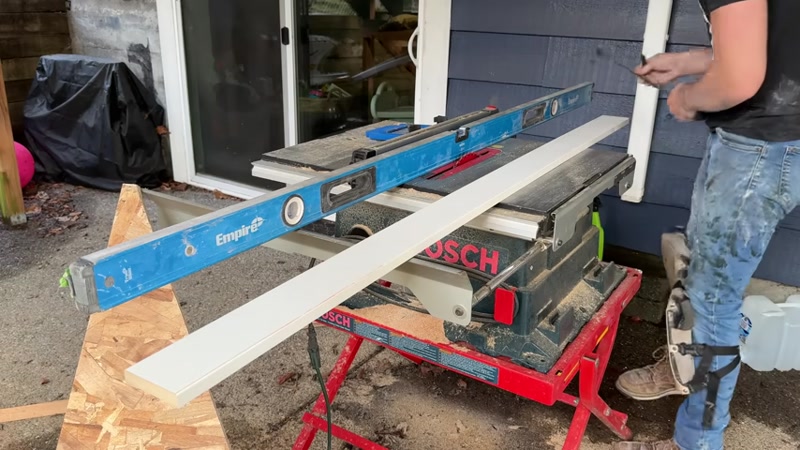
- Table saw (or circular saw with straight edge)
- Clamps
- Level (4-foot or longer)
- Tape measure
- Caulking gun
- Paintbrush and roller
- Safety glasses and gloves
- Utility knife
Materials:
- IKEA Pax closet system (customized to your space)
- OSB board (for attic hole cover)
- Joint compound (20-minute set)
- Sandpaper
- Paint-grade MDF trim boards
- Shims
- DAP Alex Plus caulk
- Paint (matching existing trim)
- Cabinet screws
- Wood glue
- Finishing nails
Step-by-Step Guide
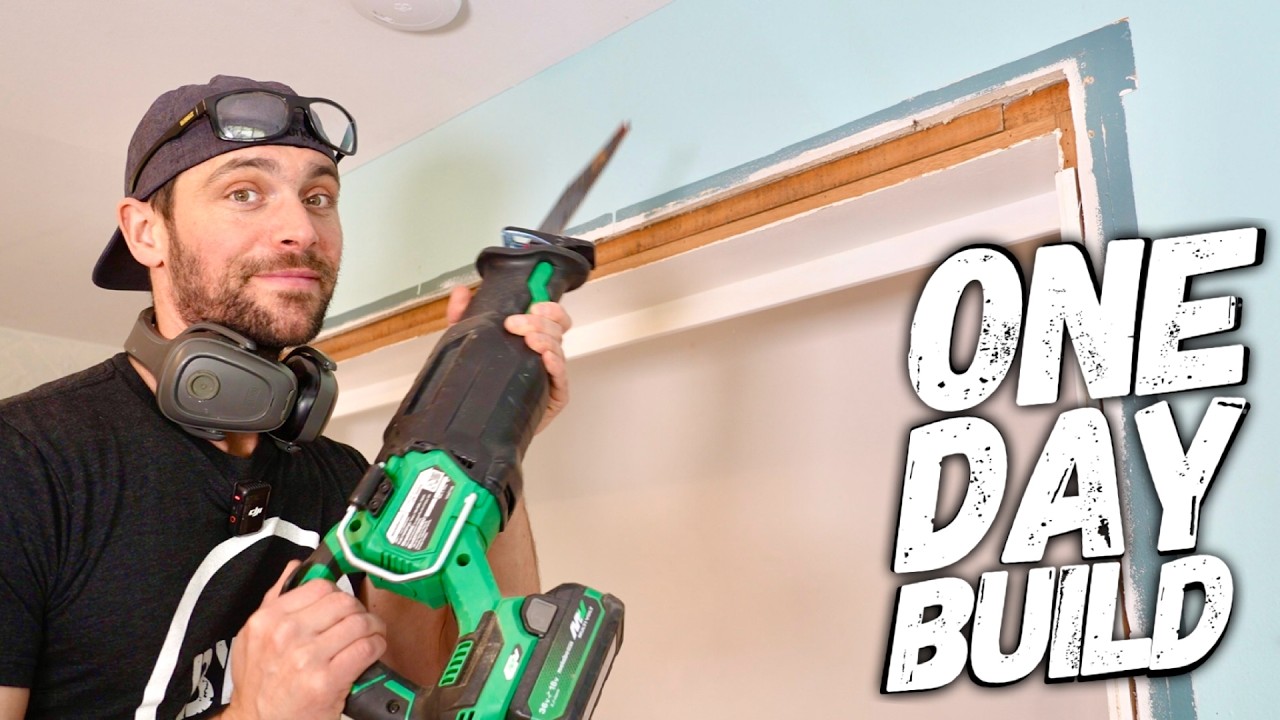
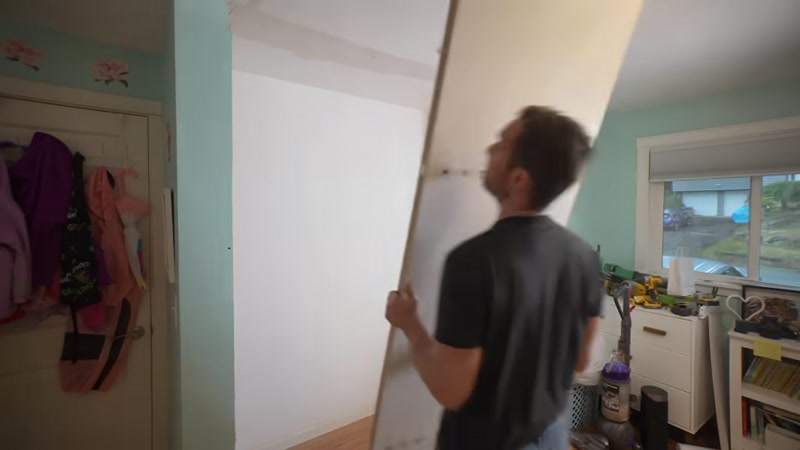
1. Demolish the Existing Closet
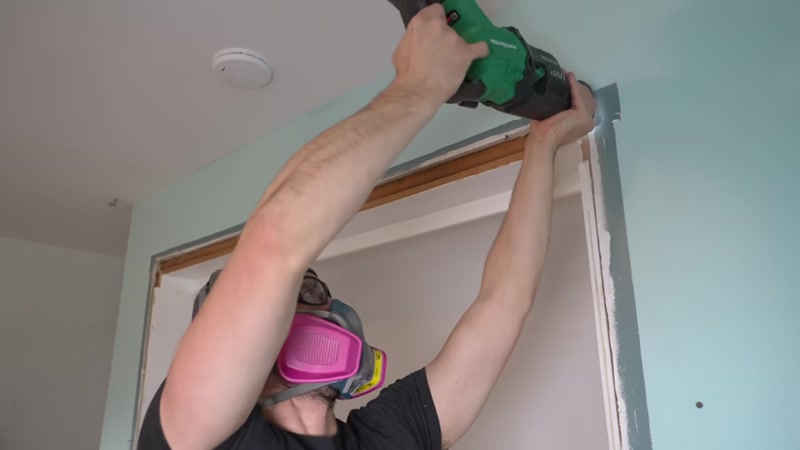
Begin by clearing out the closet completely. Remove all shelves, rods, and existing trim using a hammer and reciprocating saw. Old closets often waste space with awkward shelving placement, so don't be afraid to remove everything.
Safety warning: Wear safety glasses and gloves during demolition. Check for electrical wires or plumbing before cutting into walls.
2. Open Up the Space
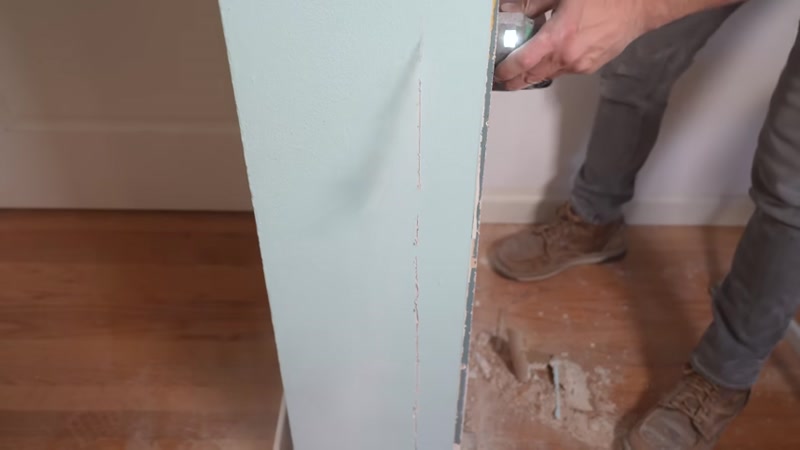
Measure your planned closet system width (approximately 69 inches for this project) and mark the area. Use your reciprocating saw to cut out wall framing on one side to create more usable space. Make sure your opening is at least 69.5 inches wide to allow for easy installation.
3. Patch the Attic Hole
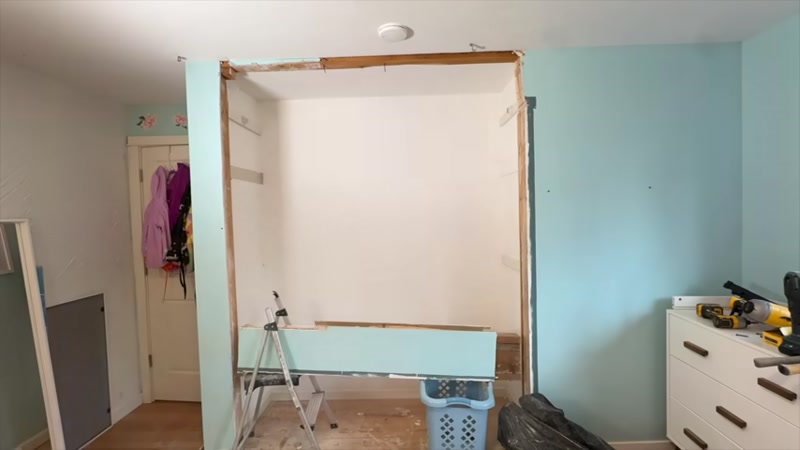
After removing framing, you'll likely have a hole leading to the attic. Instead of using drywall, cut a piece of OSB board to fit the opening. This provides a stronger surface for screwing cabinets into later. Secure the OSB in place with screws.
4. Apply Quick-Set Joint Compound
Mix up a batch of 20-minute joint compound and apply it over the OSB patch. This dries quickly, allowing you to sand it smooth the same day. Sand any excess compound once dry.
5. Assemble the IKEA Pax Cabinets
Follow the IKEA instructions to assemble your Pax cabinets. For this project, we used two 20-inch wide units and one 30-inch wide unit in the middle. Place black plastic leveling feet at every corner inside each cabinet.
Pro tip: Install the rails that connect each cabinet together on both the front and back sides. Use the provided clips to secure the rails in place.
6. Install the Top and Bottom Panels
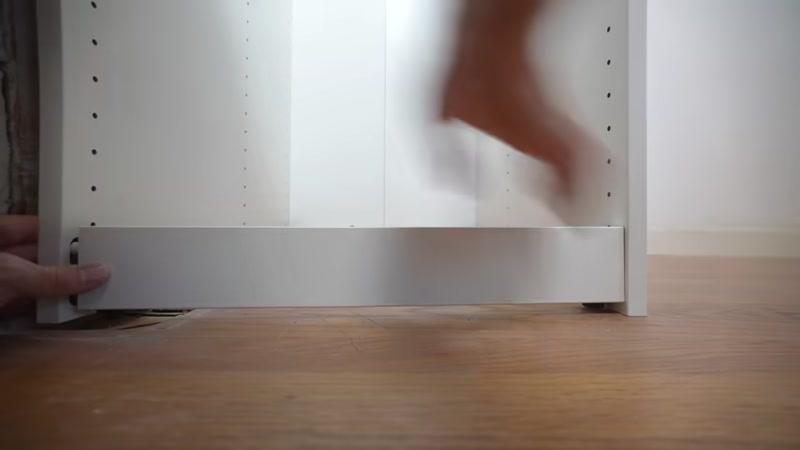
Each cabinet has four protruding fasteners at the top that fit into corresponding holes. Apply pressure on the front lip to snap the top panel into place. Repeat for the bottom panel.
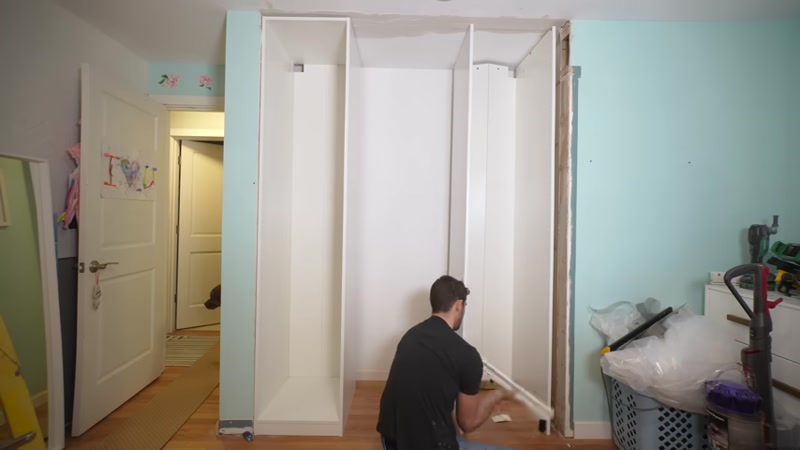
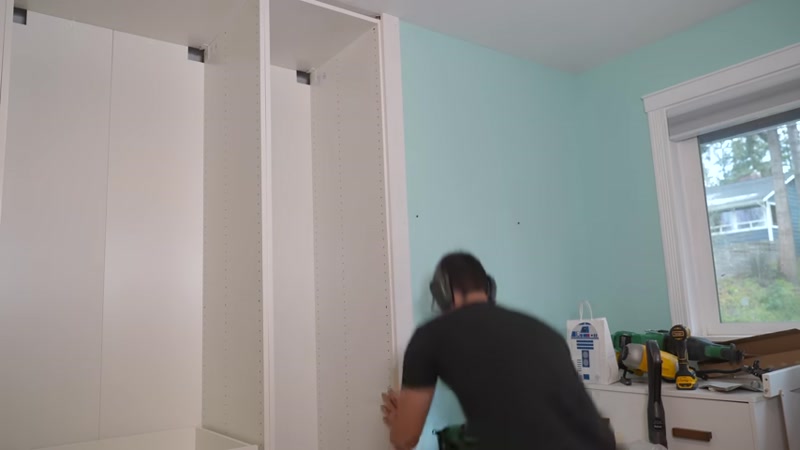
7. Level and Connect All Cabinets
Position all three cabinets in the closet space. Use the leveling feet to adjust for floor variances. Check that the front of the cabinets is flush with the drywall. Clamp the cabinets together at the bottom and top, then fasten them together using cabinet screws at the bottom, middle, and top of each unit.
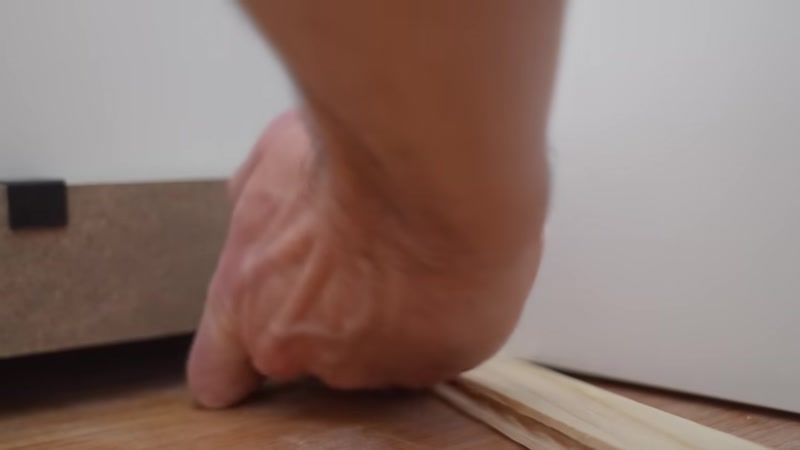
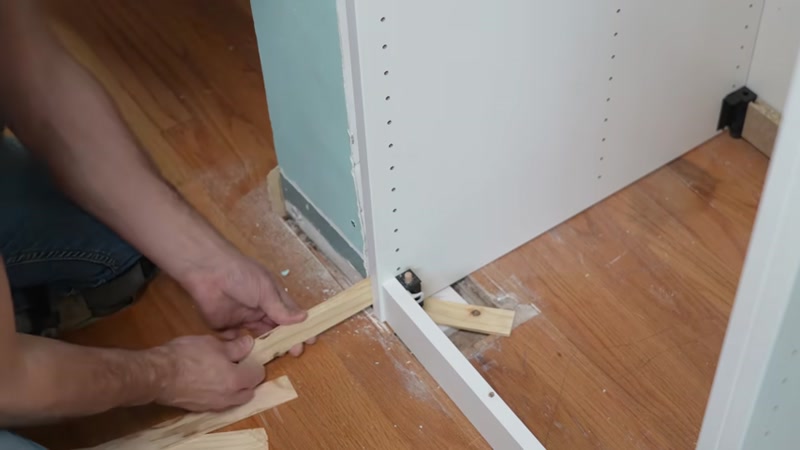
8. Shim the Cabinets
Place shims at the bottom, middle, and top sections on both sides of the cabinetry. Focus on making the cabinets line up as evenly as possible with the adjacent drywall. Cut off excess shims using your multi-tool.
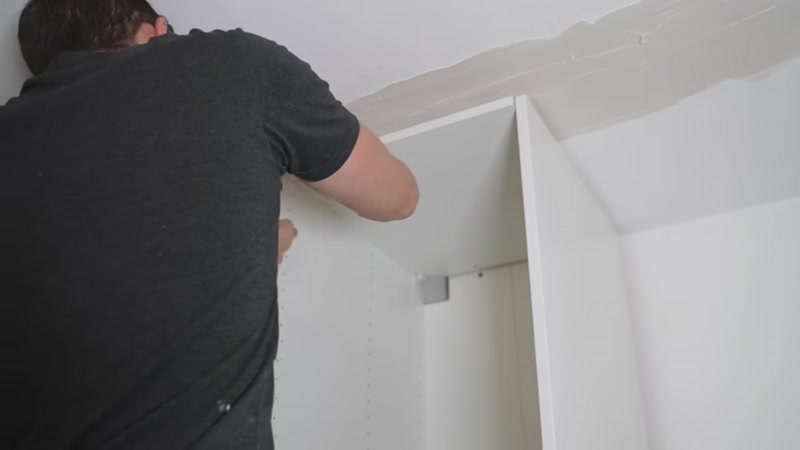
9. Install the Trim
Cut paint-grade MDF trim to fit around the sides and top of your cabinets. Use a 16-gauge finishing nailer to attach the trim. For the top section, install shims at every roof framing joist first, then nail the trim in place.
For uneven spaces: If the gap between the cabinet and ceiling varies from one side to the other, mark the difference on your trim and cut it on a table saw to create a custom fit.
10. Caulk and Paint
Apply DAP Alex Plus caulk along all trim seams. This caulk is paintable within 30 minutes, saving you waiting time. Once dry, paint the trim to match the existing room trim.
11. Assemble and Install Drawers
Assemble the IKEA drawer boxes according to instructions. Install drawer slides inside the cabinets, spacing them evenly. Each drawer hooks onto the back panel and clips into place at the front.
12. Install Shelves and Closet Rods
Place shelf support pegs into the pre-drilled holes inside the cabinets. Install glass or wooden shelves as desired. For closet rods, attach brackets on each side of each cabinet and snap the rod into place.
Note: Some rods may fit very snugly. Be gentle when inserting and removing to avoid breaking the bracket clips.
Tips for Success
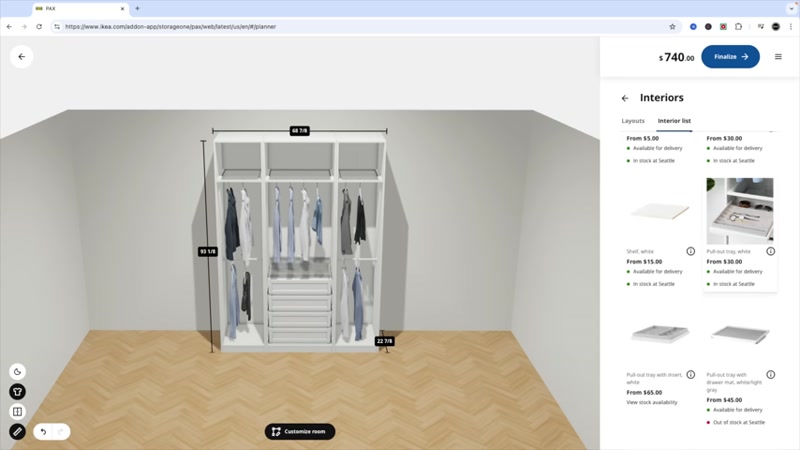
- Measure twice, cut once. Before demolition, measure your space carefully and plan your IKEA system layout using their online planning tool. This saves time and prevents costly mistakes.
- Use OSB instead of drywall for patching. If you create an attic hole during demolition, OSB provides a stronger surface for screwing cabinets into later. Drywall is too weak for this purpose.
- Level everything perfectly. Uneven floors are common in older homes. Take your time adjusting leveling feet and using shims. A level installation makes the final trim work much easier.
- Paint within 30 minutes. Use quick-dry caulk like DAP Alex Plus so you can paint the same day without waiting overnight. This keeps your project on schedule.
- Have a helper for cabinet assembly. The tall Pax cabinets are awkward to handle alone. An extra set of hands makes assembly and positioning much easier.
