
What You'll Need
Celebrate Independence Day, Memorial Day, or Veterans Day with this beautiful patriotic wreath that combines fabric, florals, and ribbon on a grapevine base. This project is beginner-friendly and allows plenty of room for creativity.
Materials:
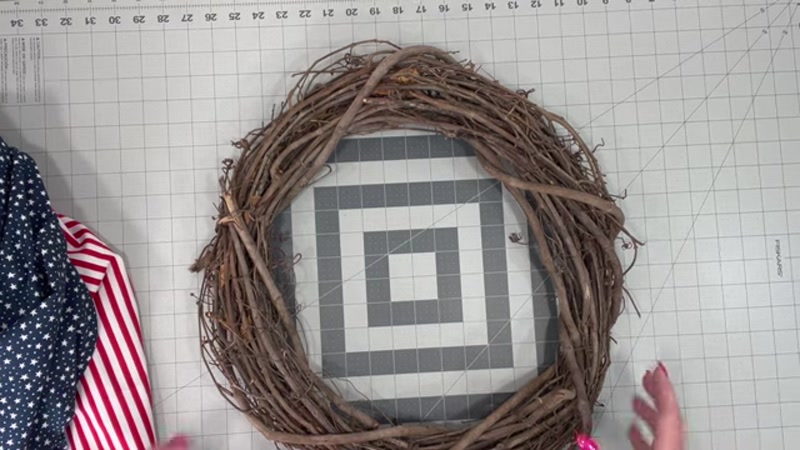
- 1 grapevine wreath (any size, but 14-18 inches works well)
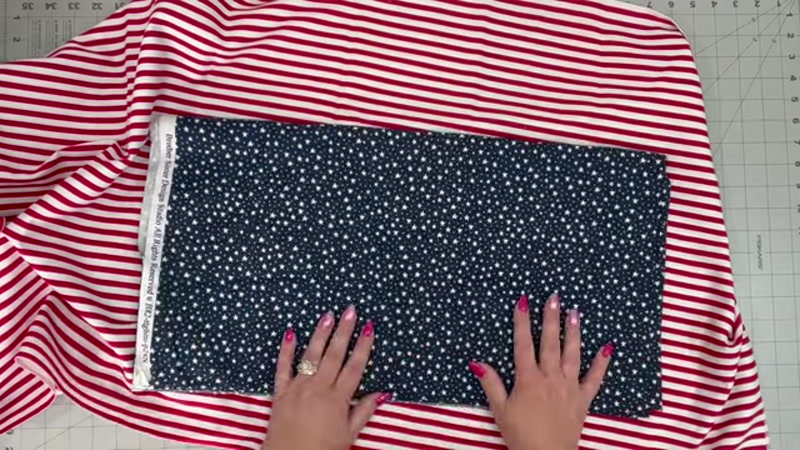
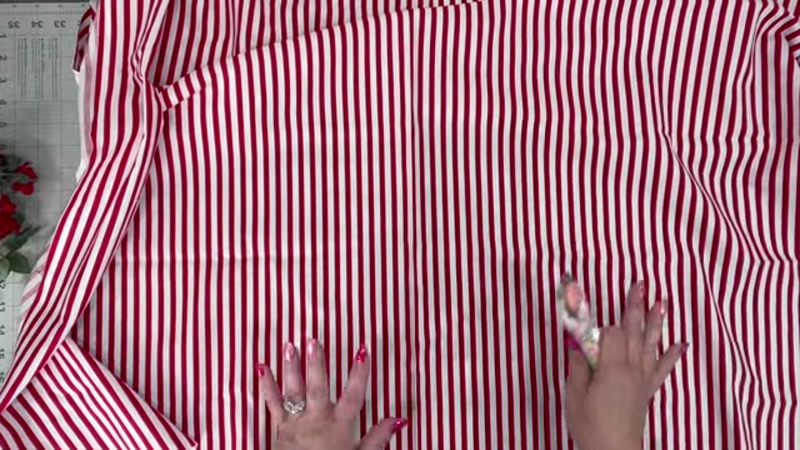
- 2–2.5 yards of red and white striped fabric (Americana or patriotic print)
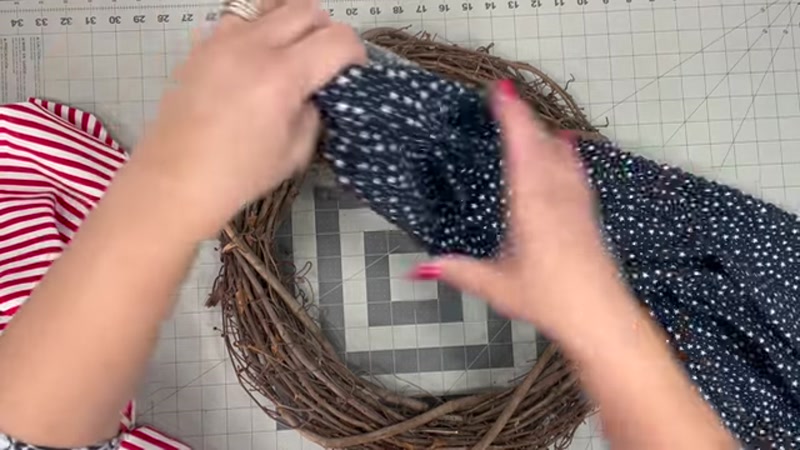
- 1 yard of navy blue fabric with white stars
- 1 stem of red roses (artificial)
- 1 stem of small blue and white flowers (forget-me-nots or similar)
- 3 stems of greenery (artificial leaves)
- White/cream faux burlap ribbon (about 2 yards)
- Patriotic star ribbon (about 1.5 yards)
- Small rustic Americana wooden ornaments or stars (optional, 6 pieces)
- Decorative wire (white, from the floral department)
- Zip ties or pipe cleaners
- Fray check (optional)
Tools:
- Wire cutters
- Scissors
- Hot glue gun and glue sticks (or a glue pot)
- Pruning shears or strong scissors (for trimming grapevine)
Step-by-Step Guide
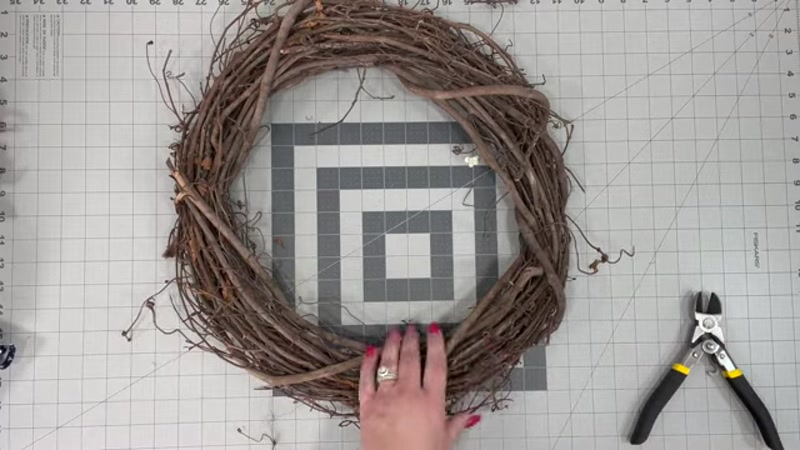
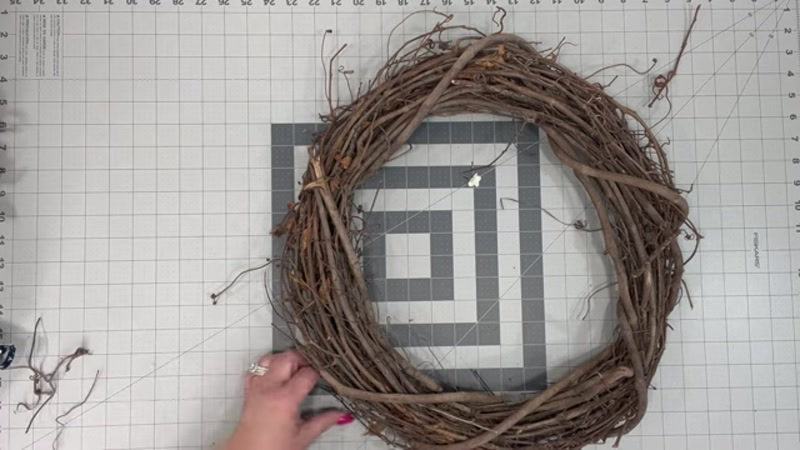
1. Prepare the Grapevine Wreath
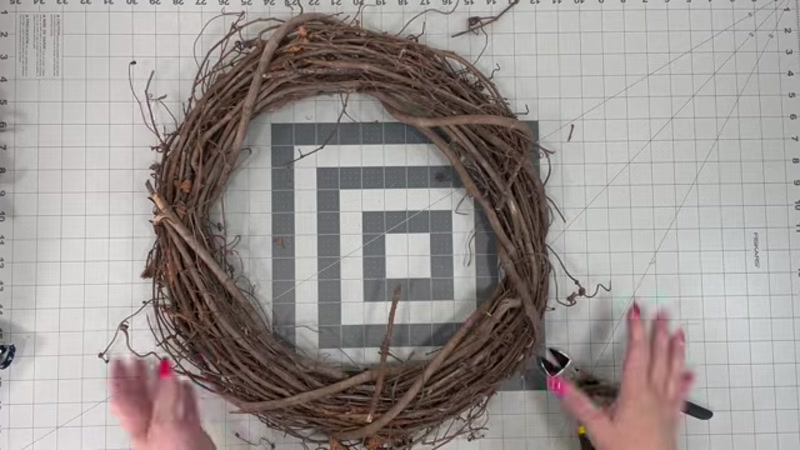
Start by giving your grapevine wreath a "haircut." Use pruning shears or strong scissors to trim away any loose, stray twigs or vine pieces sticking out from the wreath. You don't have to remove everything—just clean up the shape so it looks neat. If you like the rustic look with all the curly pieces, you can skip this step.
2. Cut Your Fabric
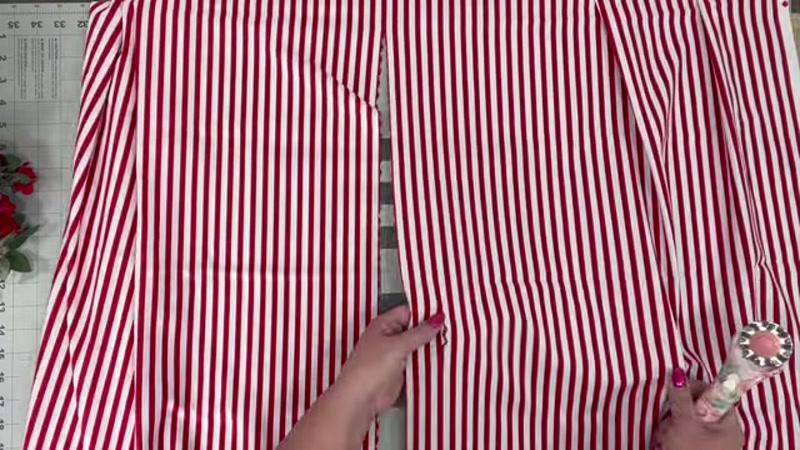
Take your red and white striped fabric and your navy blue star fabric. Cut each piece lengthwise down the middle so you have two long strips from each fabric. You'll only need one strip of each color for this project. If you have a wave blade, use it to create a decorative edge—otherwise, straight scissors work fine.
Apply fray check to the cut edges if desired to prevent fraying.
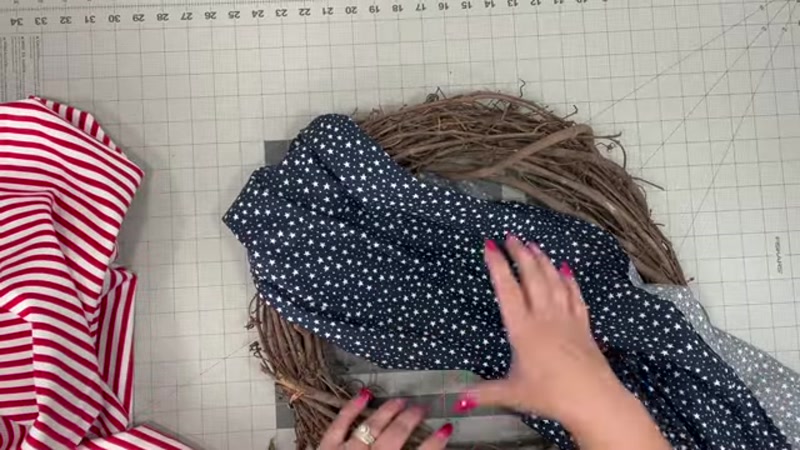
3. Attach the Navy Blue Fabric
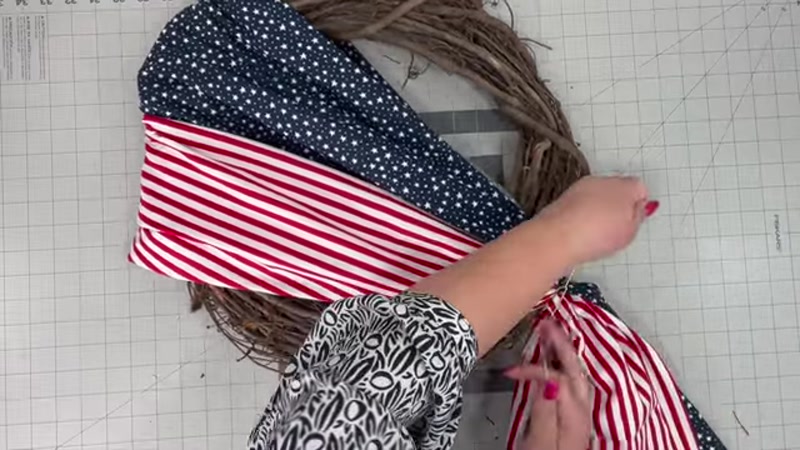
Find the spot on your wreath where the join or seam is visible—this is where you'll place your blue fabric. Lay the navy blue star fabric under the wreath at this spot. Fold and gather the fabric so it drapes naturally. You can tuck the ends into the grapevine to hide them. Use white floral wire to wrap around the fabric and wreath, twisting tightly to secure it in place. Wrap the wire two or three times for extra hold.
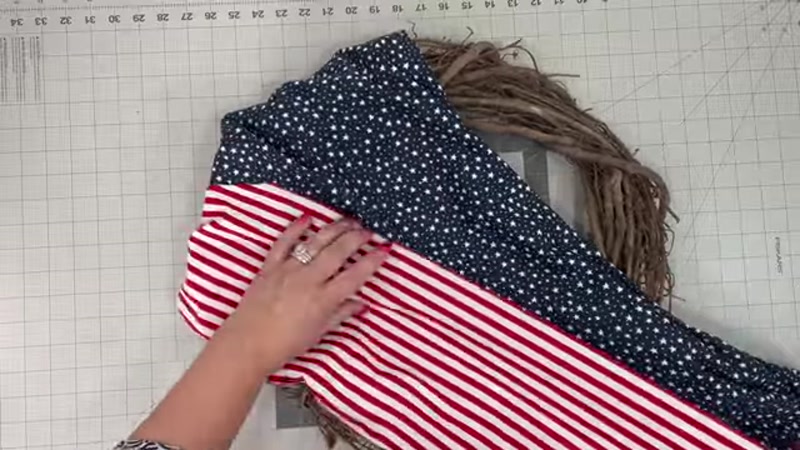
4. Attach the Red and White Striped Fabric
Take your red and white striped fabric and position it below the blue section, mimicking the stripes of the American flag. Drape it across the wreath, gathering or pleating as needed. Tuck the ends under the grapevine and secure with floral wire. Wrap the wire around the fabric and wreath, twisting tightly. You can trim the ends later if they're uneven, or leave them for a rustic look. Add a dab of hot glue behind the fabric if needed to keep it in place.
5. Cut and Prepare the Florals

Separate all your artificial flowers and greenery into individual stems. Use wire cutters to trim the stems to about 3–4 inches long. Remove any leaves that point in the wrong direction or look out of place. You can also trim leaves shorter if you prefer less greenery.
6. Attach the Greenery First
Using your hot glue gun or glue pot, apply glue to the end of each greenery stem and insert it directly into the grapevine wreath. Do not glue onto the fabric—only into the bare grapevine. Place greenery around the center area where the blue and red fabrics meet. Use 2–3 stems of greenery total, spacing them evenly.
7. Add the Blue and White Flowers
Take the small blue and white flower stems. Dip each stem in hot glue and insert into the grapevine near the greenery. Distribute them evenly around the center area. Push the stems deep into the wreath so the glue doesn't show. Use about one full stem's worth of flowers.
8. Add the Red Roses
Cut the red rose stems to 3–4 inches. Apply hot glue and insert them into the grapevine, spacing them among the blue flowers and greenery. You want a balanced look—not too crowded, but enough to make a statement. Use one full stem of roses. Adjust the leaves so they face outward.
9. Add Rustic Ornaments (Optional)
If you purchased small wooden Americana ornaments or stars, separate them into individual pieces. Apply hot glue to the back and press them into the grapevine in scattered spots around the floral arrangement. Place about three on each side of the wreath for balance. Let the glue dry completely.
10. Make the Bows
White faux burlap bow:
- Cut a tail about 14 inches long
- Measure 10 inches, gather the ribbon, and bring it back to the center
- Twist the wire to hold
- Repeat this step 3–4 times to create multiple loops
- Cut another tail at the end
Patriotic star ribbon bow:
- Cut a tail about 8 inches long
- Measure 8 inches, gather the ribbon, and bring it back to the center
- Twist to hold
- Repeat 3–4 times for loops
- Cut a final tail
Combine the bows:
Place the star ribbon bow on top of the white bow. Use a zip tie or pipe cleaner to secure both bows together tightly at the center. Trim the zip tie ends.
11. Attach the Bow to the Wreath
Position the bow at the center of your wreath, right where the blue and red fabrics meet. Use a white floral wire to wrap around the gathered center of the bow and twist tightly behind the wreath. Do not try to thread the wire through the wreath—just wrap it around the bow's center and twist.
12. Arrange and Finish
Fluff the bow loops and tails so they look full and even. Dovetail (cut at an angle) the ribbon tails for a finished look. Adjust any flowers or greenery that got moved during the bow attachment. Step back and check the overall balance. Make any final adjustments to the fabric draping.
Tips for Success
- Don't use a real American flag. Always use patriotic fabric instead. Cutting or altering an actual flag is against flag etiquette.
- Work in good lighting. Grapevine wreaths have lots of nooks and crannies—good light helps you see where to insert stems and hide glue.
- Buy extra fabric. It's better to have too much than too little. You can always use leftovers for other projects.
- Let glue cool slightly before inserting. Hot glue straight from the gun can drip. Let it cool for 2–3 seconds before pushing stems into the grapevine.
- Balance your colors. Step back every few minutes to check that red, white, and blue are evenly distributed. A balanced wreath looks more professional.


