What You'll Need
These mini balloon garlands are all over Instagram right now. They're cheaper and easier than the big organic ones, and they look great for birthday parties, baby showers, and gender reveals. If you're a decorator, these are a good low-cost option to offer clients. If you're a DIYer, you can make one and hang it yourself in about an hour.
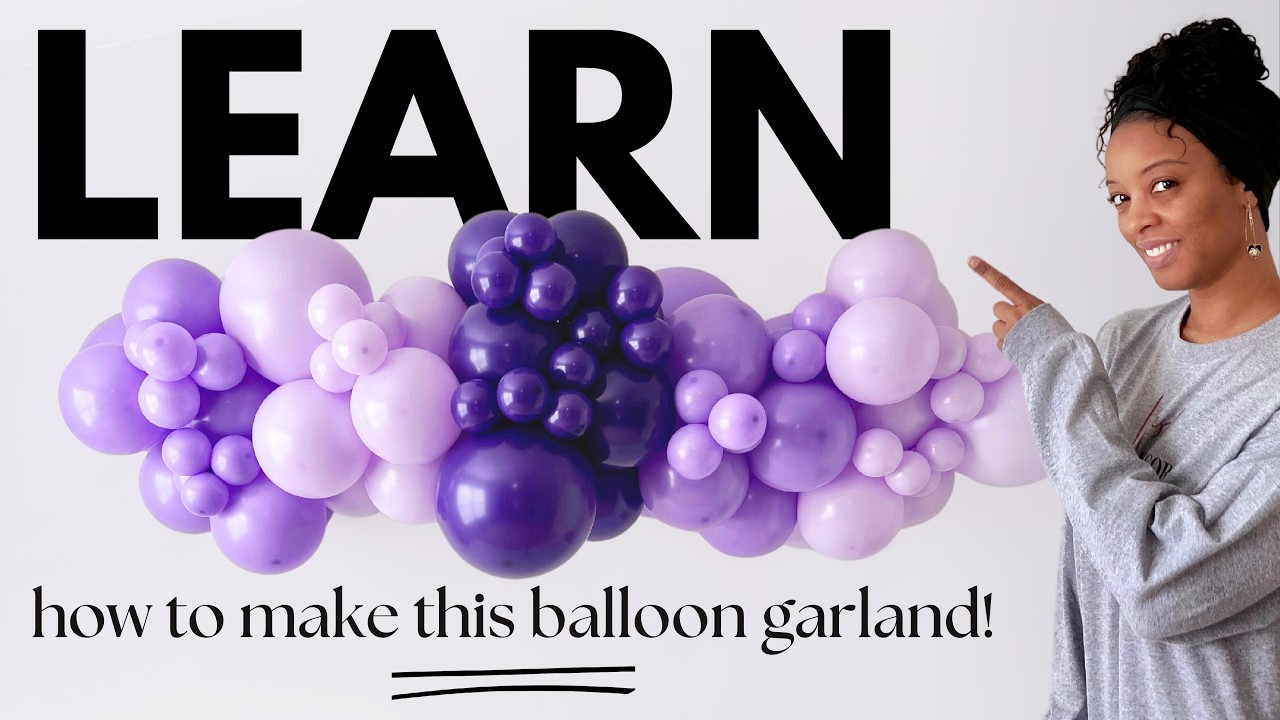
I'm using three shades of purple for mine — matte purple, lilac, and violet. You can use whatever colors you want, but stick to 2-3 colors max. More than that and you're buying extra colors, which defeats the purpose of keeping costs down.
- 18-inch balloons (one per color)
- 11-inch balloons (four per color)
- 5-inch balloons (for filling gaps)
- 260Q balloons (the long skinny ones — these are your "string")
- A balloon pump
- Command hooks or wall hooks for hanging
For my three-color garland, I used one 18-inch and four 11-inch balloons per color, plus a handful of 5-inch balloons to fill in the gaps.
Step-by-Step
1. Blow Up Your Balloons
Keep the sizes limited. You're doing:
- One 18-inch balloon per color
- Four 11-inch balloons per color
- A bunch of 5-inch balloons for the final fill
Blow them all up before you start assembling. Make quads (groups of four balloons tied together) for the 11-inch and 18-inch balloons. For the 18-inch balloons, each quad has one 18-inch and three 11-inch balloons. For the 11-inch balloons, each quad has four 11-inch balloons.
2. String the Base Garland
Take a 260Q balloon and tie a knot around the neck of your first quad. I started with the quad that has the 18-inch balloon in it.
Now add your next quad. Wrap the 260Q around the new quad and the one below it. Keep going in this pattern:
- Quad with 18-inch balloon
- Quad with 11-inch balloons
- Next color: quad with 18-inch balloon
- Next color: quad with 11-inch balloons
When you add an 18-inch balloon quad, make sure the big balloon faces a different direction than the last one. You want them pointing out in different directions so the garland looks balanced.
If you run out of 260Q, just tie another one on with a knot.
3. Finish the Ends
When you get to your last two quads, do it in reverse order:
- Add the quad with four 11-inch balloons
- Add the quad with the 18-inch balloon last
Tie the 260Q to the neck of one of the balloons in the garland to secure it.
4. Fill In the Gaps
Now grab your 5-inch balloons. Lay your garland out and look for empty spots. Take a 260Q, wrap it around a 5-inch balloon, and tie it into the garland wherever it looks thin. Work from left to right and use the same colors you already picked.
5. Hang It Up
I use 260Qs to hang the garland. Tie a 260Q in a knot around a balloon on the back of the garland, then hang the loop over a hook on the wall. Use command hooks if you don't want to damage the paint.
Space the hooks about 12-18 inches apart depending on how long your garland is. The garland should sit flush against the wall.
Tips
- Keep your 18-inch balloons facing different directions — it makes the garland look fuller
- Don't overthink the pattern. The 5-inch balloons at the end will cover up any mistakes
- If you're selling these, offer them as "grab and go" — the client picks 2-3 colors and you deliver it ready to hang
- For hanging, make sure the hook is on a stud or use command strips rated for the weight
This whole thing took me about 30 minutes to assemble after blowing up the balloons. Way faster than the big organic garlands, and it looks just as good for photos.


