What You'll Need
Here is a step-by-step DIY tutorial based on the provided transcript, formatted for MakeDIYHub.com.
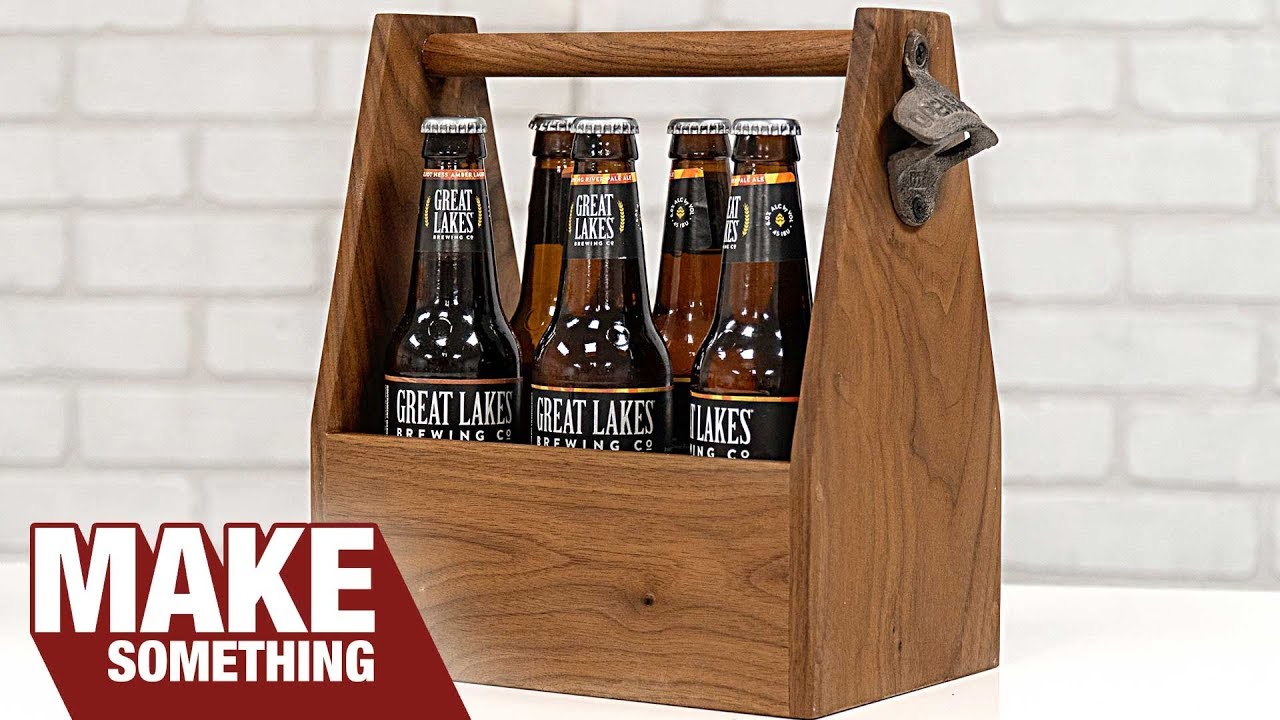
# How to Build and Sell Beer Caddies (Batch Production)
This tutorial will show you how to build a classic beer caddy—perfect for gifting or selling at craft shows. We'll cover how to make one from solid walnut and then how to batch out several using walnut plywood for faster, more affordable production.
Materials:
- Solid walnut (scraps or 3/4" board) for one high-end caddy
- 1/2" walnut plywood (for batch production)
- 1/4" walnut plywood (for the bottom panel)
- 1/4" walnut dowel (for the handle)
- 1/4" dowels (for reinforcing joints)
- Wood glue
- Masking tape
- Spray lacquer (or your preferred finish)
- Bottle openers (optional, for resale value)
Tools:
- Table saw (with dado stack or standard blade)
- Bandsaw
- Drill press or hand drill
- 1/4" drill bit
- Clamps
- Sandpaper (various grits)
- Handsaw (safe alternative for cutting dowels)
- Divider tool or ruler
- Pencil and square
Step-by-Step Guide
1. Prepare Your Wood Stock
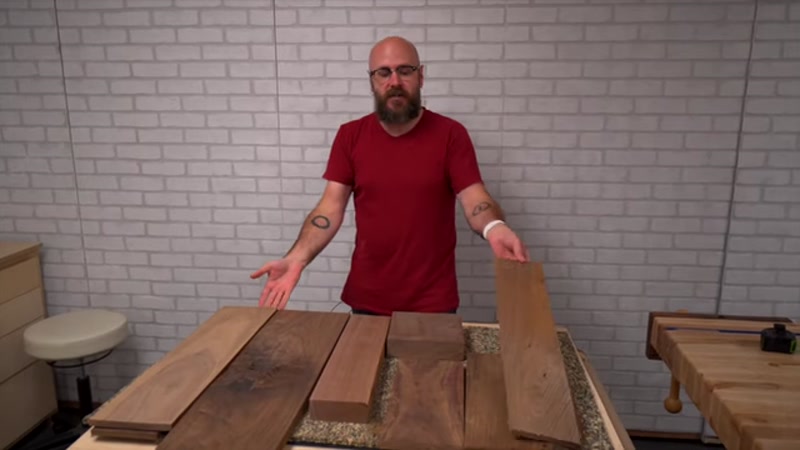
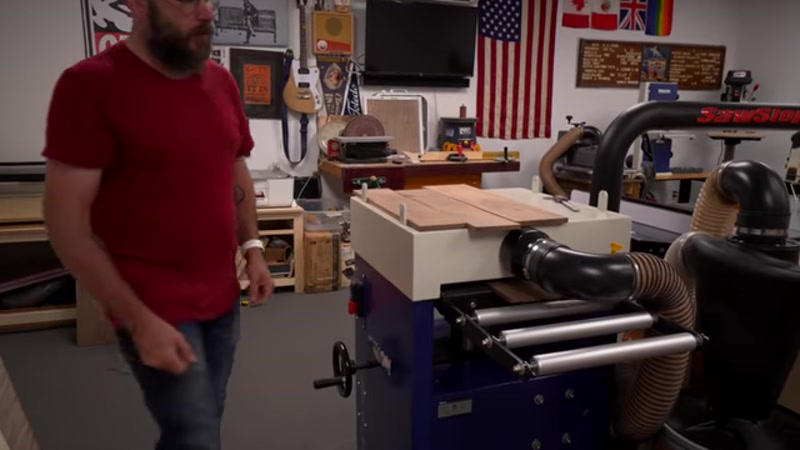
Start by selecting your materials. For a premium version, use solid walnut scraps. For batch production, use 1/2" walnut plywood. If using solid wood, resaw it down to a manageable thickness (e.g., 3/8" or 1/2").
2. Cut the End Pieces
Cut two identical end pieces for the sides of the caddy. You can get two from a solid piece of walnut or several from a sheet of plywood. Use a template for consistency when batching.
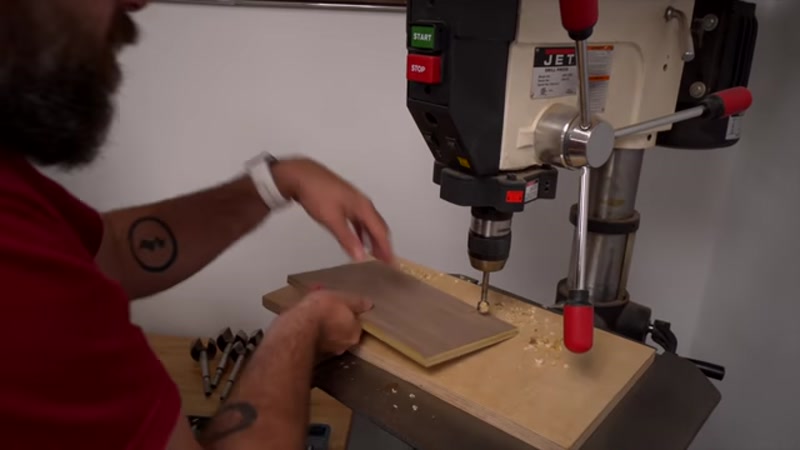
3. Drill Handle Holes
Mark the location for the handle holes on each end piece. Use a drill press or hand drill. Safety Tip: Always place a scrap backer board behind the piece you are drilling. This prevents "blowout" (splintering) on the backside, especially with plywood.
4. Cut the Angle on the Ends
Draw a line from the top corner of each end piece down to the center near the handle hole. Cut this angle on a bandsaw. Pro Tip: Apply masking tape to the back of plywood before cutting to prevent splintering.
5. Cut the Front and Back Panels
Cut the long front and back panels for your caddy. Again, you can use solid wood for one and plywood for the rest.
6. Cut the Groove for the Bottom
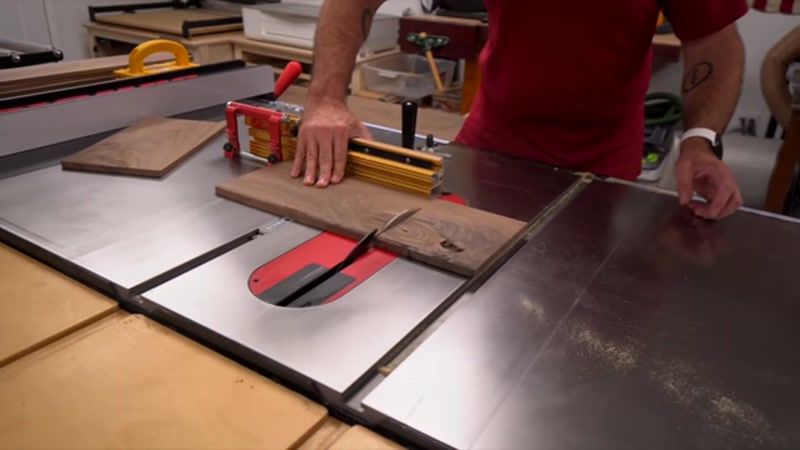
Set your table saw blade to half the thickness of your side pieces. Run the two side pieces through the saw to cut a groove about 1/4" deep. This groove will hold the bottom panel.
7. Cut the Bottom Panel
Cut the 1/4" plywood bottom to size. The bottom should be the exact length of your side pieces and will fit into the grooves, butting up against the front and back panels.
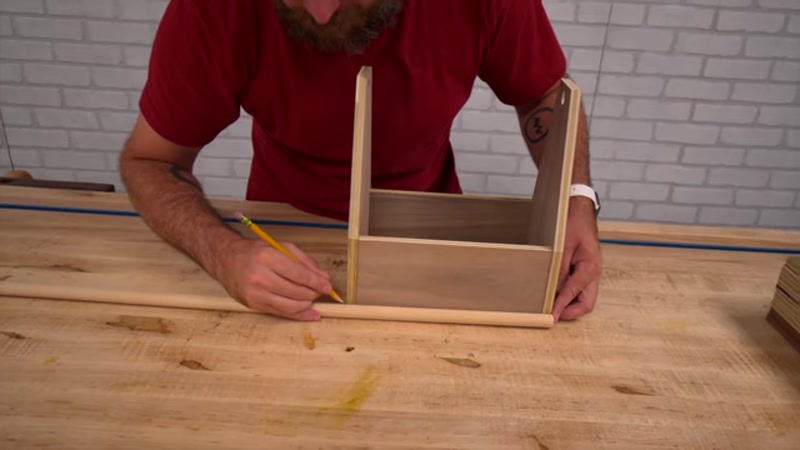
8. Mark and Cut the Handle Dowel

Do not cut the handle to a fixed length yet. First, do a dry fit (assemble the caddy without glue). Place the dowel in the handle holes. Mark the dowel where it sticks out past the outside of the end pieces. Remove and cut the dowel at your mark. This ensures a perfect fit every time. Safety Warning: Cutting round dowels on a bandsaw is dangerous as the wood can roll. A handsaw is the safest method for this step.
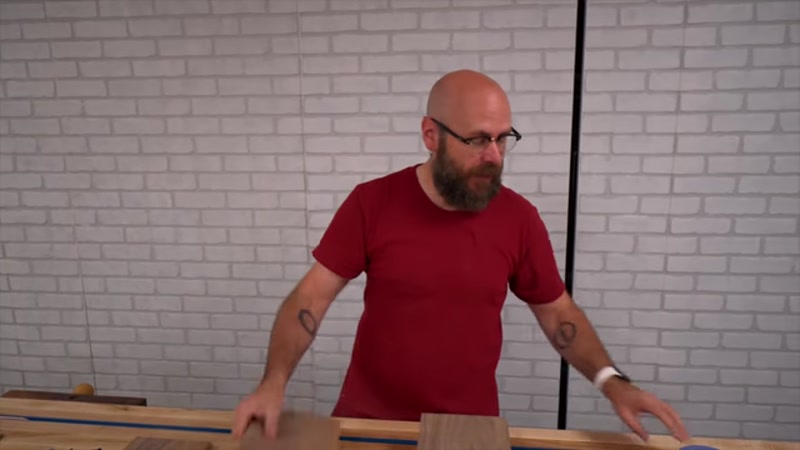
9. Sand Before Assembly
Sand the inside faces of all pieces before gluing. This is much easier than sanding inside the assembled box. Lightly sand all edges and surfaces.
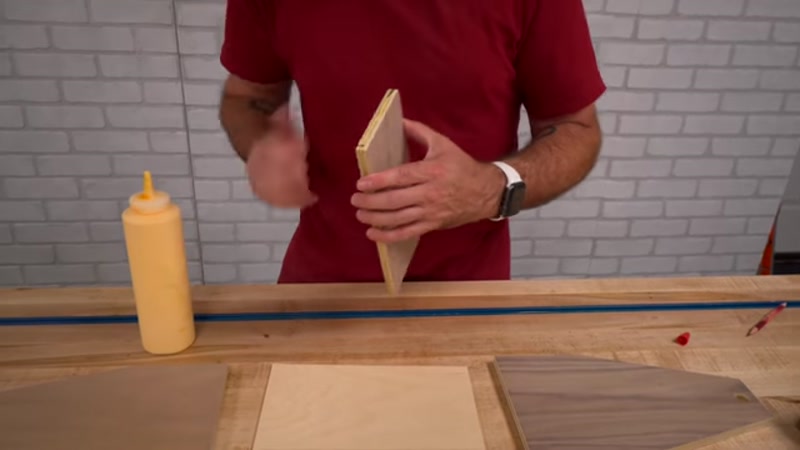
10. Assemble the Caddy
Apply wood glue to the joints of the end pieces and the front/back pieces. Insert the bottom panel (do not glue it—let it float to allow for wood movement). Insert the handle dowel and glue it into place. Clamp the assembly and let it dry.
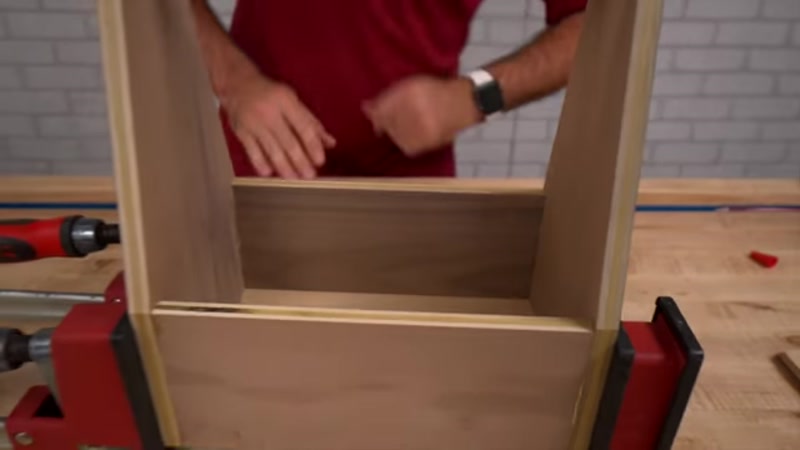
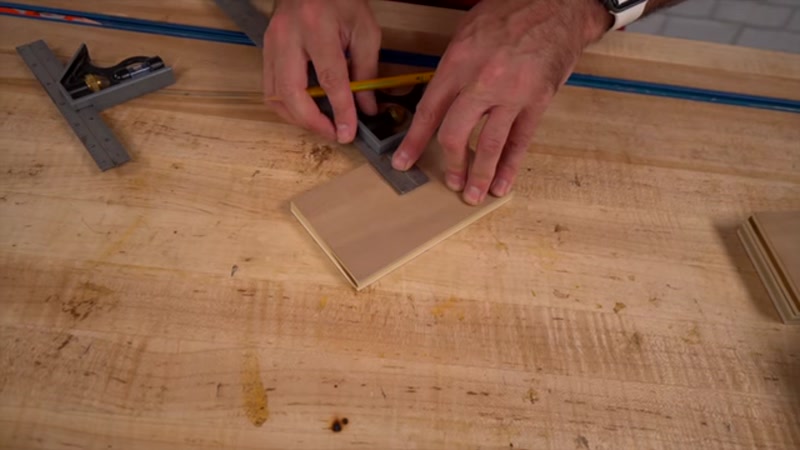
11. Cut the Dividers (Center Inserts)
These are the internal dividers that separate the bottles. Cut them to fit snugly inside the caddy. Use a table saw or bandsaw to cut notches in the dividers so they interlock in the center.
12. Reinforce the Joints
Once the glue is dry, drill a 1/4" hole through the end pieces into the front/back panels. Apply glue to a 1/4" dowel and tap it into the hole. This creates a "dowel pin" that adds significant strength. Use masking tape to prevent tearout when drilling into plywood.
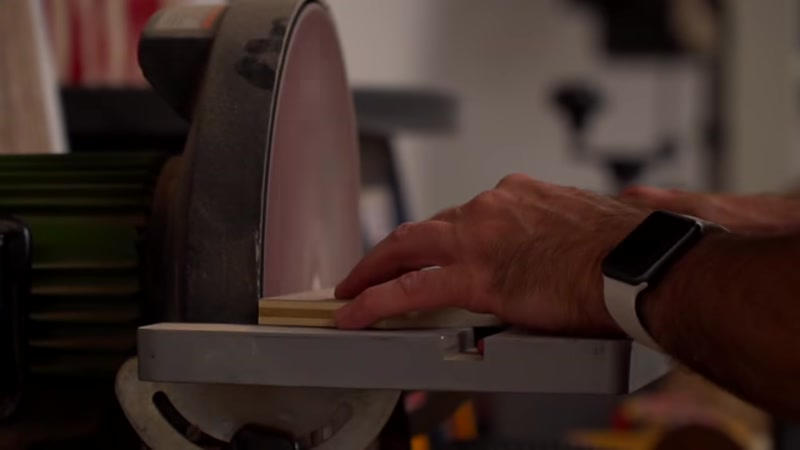
13. Final Sanding and Finish
Sand everything smooth. Apply a finish. Spray lacquer is recommended for its quick drying time and ease of use. Add bottle openers to the ends for extra value.
Tips for Success
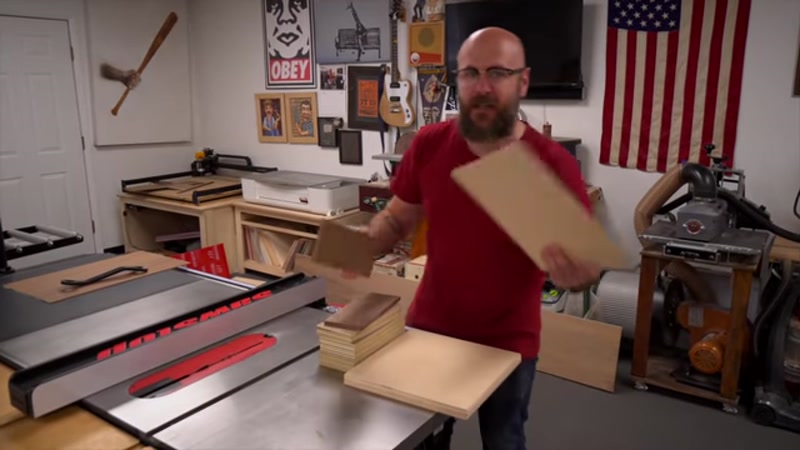
- Batch for Profit: The key to making money at craft shows is efficiency. Use plywood to speed up production and keep your prices competitive.
- Use a Template: Once you have one perfect end piece, use it as a template to trace the shape onto all other pieces. This saves time and ensures consistency.
- Don't Forget the Bottom: It’s easy to assemble the caddy and realize you forgot the bottom panel. Always do a dry fit first.
- Price Yourself Fairly: Calculate your price by determining a "day rate" (what you want to earn per day). Divide that by how many caddies you can make in a day, then add your material costs. Don't undervalue your skill.
- Market for Gifts: These caddies sell best as gifts. Market them as the perfect, handmade gift for the beer lover in someone's life, especially around the holidays.


