What You'll Need
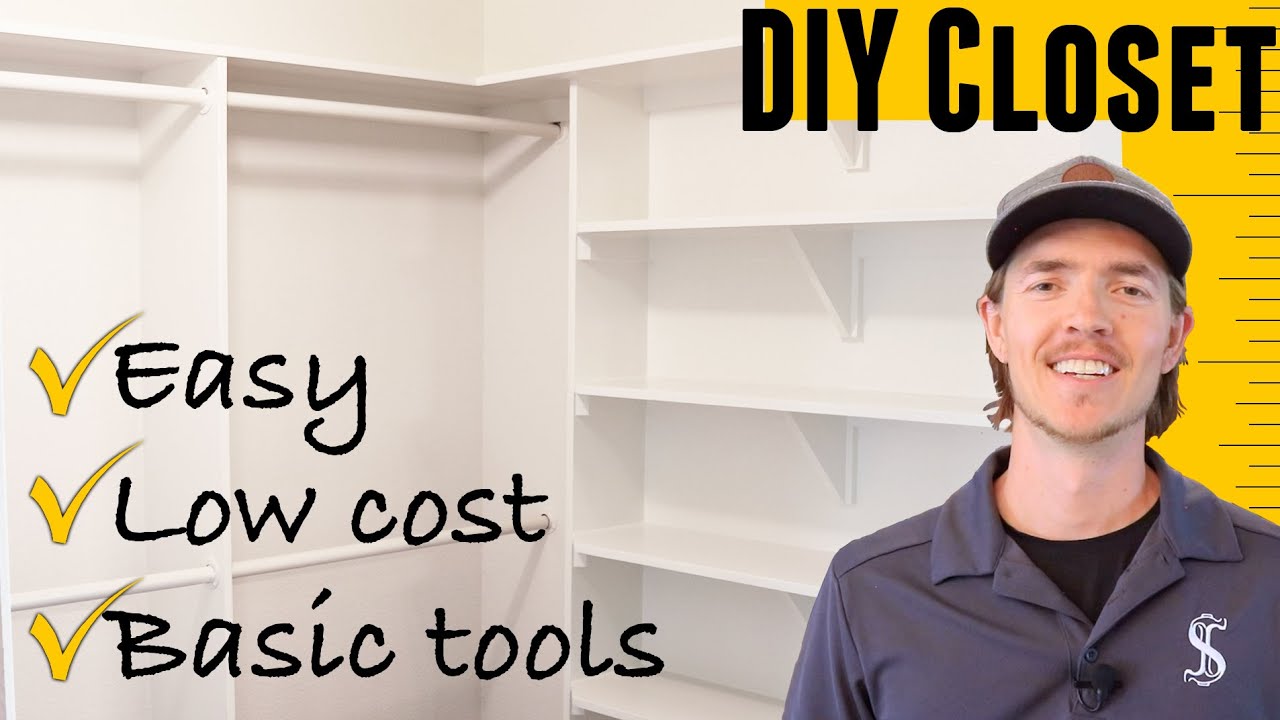
Transform your messy closet into a beautifully organized space using affordable MDF shelves and basic tools. This beginner-friendly project costs around $30–$40 per sheet of MDF and can be completed over a weekend.
Materials
- 3/4-inch MDF sheets (4' x 8') — 1–3 sheets depending on closet size
- Oil-based primer (or water-based primer if you don't mind sanding)
- Latex paint (same color for shelves and walls, optional)
- Wood glue
- 2-inch brad nails (or 2-inch screws)
- Caulk (for a finished look)
- Clothes rods (available at any home improvement store)
Tools
- Table saw or circular saw
- Miter saw (optional, for cutting shelf supports to length)
- Straight piece of wood (to use as a cutting guide)
- Clamps
- Level
- Stud finder
- Brad nailer (or drill/screwdriver)
- Paint roller and tray
- Sandpaper (180 or 220 grit)
- Tape measure
- Pencil
- Safety glasses and dust mask
Step-by-Step Guide
Step 1: Measure and Plan Your Closet

Before cutting anything, carefully measure the width and height of each wall in your closet. Write down these measurements and note any irregular features like outlets, light switches, or sloped ceilings.
Pro tip: Sit in your closet for a few minutes and think about what you need to store. Draw a simple diagram on paper and sketch out different layout options. Decide where you want hanging rods versus shelves.
Key considerations:
- How much hanging space do you need? Measure the total length of clothes you'll hang.
- Do you need space for larger items like laundry baskets or shoe racks?
- Use remaining space for shelving — 12 inches deep with 12 inches vertical spacing works well for most closets.
Step 2: Create a Cut List

Once your design is finalized, create a detailed cut list specifying the exact dimensions of every piece. This will save you significant time and prevent mistakes.
For this project:
- Shelves: 12 inches wide (cut to your desired length)
- Shelf supports: At least 2 inches wide strips of MDF (cut to the height of your closet wall)
Important: Double-check all measurements before cutting. Measure twice, cut once!
Step 3: Cut the MDF
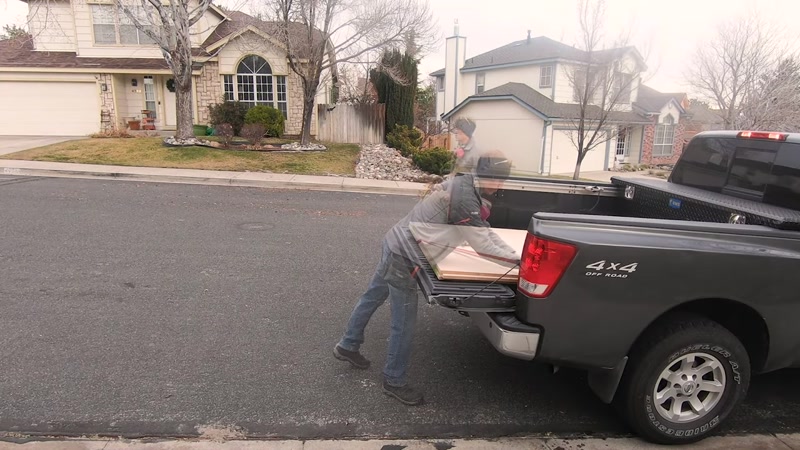
MDF is one of the easiest materials to cut. If you have a table saw, use it for clean, straight cuts. If using a circular saw, clamp a straight piece of wood to your work surface as a guide.
Safety warning: Always wear safety glasses and a dust mask when cutting MDF. The fine dust can be harmful if inhaled.
Cut your shelves to the desired width (12 inches for this project). Then cut strips of MDF for shelf supports. These supports replace traditional shelf brackets, which are more expensive and often get in the way.
Use a miter saw to cut shelf supports to the exact length needed for your closet walls.
Tip: If your shelves are longer than 3 feet, consider cutting triangular MDF pieces for additional support, or purchase metal shelf brackets.
Step 4: Sand the Edges

Once all pieces are cut, sand any sharp corners or rough edges you want softened. Use 180 or 220 grit sandpaper. This step is especially important for edges that will be visible and touched frequently.
After sanding, dust off all pieces thoroughly before painting.
Step 5: Paint the Shelves

Painting before installation creates fewer fumes inside your home and is easier to do with basic tools.
Important: Use an oil-based primer for the smoothest finish. Water-based primer will cause MDF fibers to raise, requiring sanding before painting. If you use water-based primer, plan to sand the tops of shelves before painting.
Painting process:
- Apply one coat of oil-based primer to all surfaces
- Let dry completely
- Apply first coat of paint
- Let dry
- Apply second coat of paint (optional but recommended for durability)
For a closet, one coat of paint is often sufficient, but two coats provide better durability and appearance.
Step 6: Prepare the Closet Walls

While paint is drying, prepare your closet for installation:
- Remove old shelves and hardware
- Patch any holes in the walls
- Apply a fresh coat of paint to the walls (optional, but gives a clean look)
If you want the fastest approach, install shelves first and then use a paint sprayer to paint everything at once. However, using a roller and painting before installation works well with basic tools.
Step 7: Mark Shelf Locations on the Wall

Use a level to draw horizontal lines on the wall where you want each shelf to sit. For this project, shelves are spaced 12 inches apart vertically.
Next, use a stud finder to locate and mark all wall studs. Draw a vertical line through each stud location using a level. This tells you exactly where to nail your shelf supports.
Step 8: Install Shelf Supports

Using a brad nailer with 2-inch nails, nail the shelf supports to the wall along the vertical stud lines you marked. Nail through the supports into each stud location.
Alternative: If you don't have a brad nailer, use 2-inch screws and a drill. This takes longer but works just as well.
Nail or screw 3 times per stud location for secure attachment.
Step 9: Install the Shelves

Starting from one side of the closet, place your painted shelves on top of the supports. Work your way across the closet, installing one shelf at a time.
Troubleshooting: Even with careful planning, you may need to make small adjustments during installation. Expect to trim a few pieces to fit perfectly.
If you have carpet, you'll need to cut the carpet and baseboards to allow vertical support boards to sit flush against the subfloor. Use a utility knife to cut carpet, then remove the padding underneath.
Step 10: Secure the Shelves

Once all shelves are positioned correctly, tack them in place with a few brad nails or screws. This prevents them from shifting.
Step 11: Caulk and Finish (Optional but Recommended)

For a truly professional look:
- Apply caulk along all edges where shelves meet the wall
- Fill any visible nail holes with wood filler
- Touch up paint over caulked areas and filled holes
This step is optional but makes a huge difference in the finished appearance.
Step 12: Install Clothes Rods

Purchase clothes rods from any home improvement store. Cut them to the appropriate length using a hacksaw or pipe cutter. Install the rod brackets according to the manufacturer's instructions, then hang the rods.
Standard rod heights:
- Lower rod: 44 inches from the floor
- Upper rod: 36 inches above the lower rod (or 80 inches from the floor)
Tips for Success
- Plan more than you think you need to. The planning stage is the most time-consuming part, especially for walk-in closets. Take your time and think through every detail before cutting.
- Create your cut list before buying materials. This prevents waste and ensures you buy the right number of MDF sheets.
- Don't rush the process. This project can be completed in 2 full days of focused work, but spreading it over 5 days (a few hours each day) makes it more enjoyable and reduces mistakes.
- Use shelf supports instead of brackets. Cutting strips of MDF is cheaper, easier, and creates a cleaner look than metal shelf brackets that can interfere with storage.
- Consider a paint sprayer for faster results. If you have access to one, install shelves first and spray everything at once. This saves significant time compared to painting each piece individually.
