What You'll Need
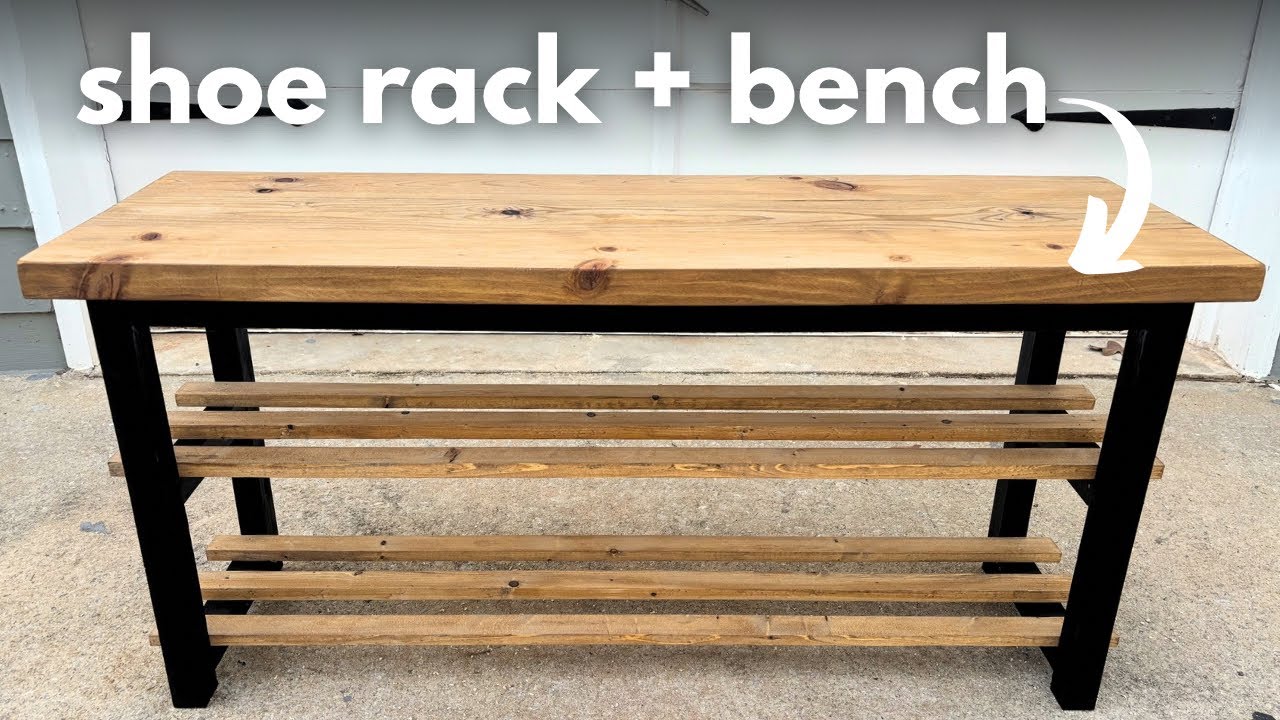
Transform your cluttered mudroom into an organized space with this stylish and modern DIY shoe rack. Inspired by Woodshop Diaries, this project features a beautiful wooden bench seat with a sleek black frame—perfect for keeping your shoes neat and tidy. Follow these steps to build your own.
Materials:
- 2x4 lumber (enough for the frame and slats)
- 2x6 lumber (for the bench seat)
- Wood glue
- Pocket hole screws (or similar screws)
- Fender washers
- Danish oil (e.g., Watco Danish Oil)
- Black paint (regular indoor paint)
- Finish nails (for nail gun)
- Sandpaper (various grits, from coarse to fine)
Tools:
- Table saw
- Miter saw (with a stop block for repeated cuts)
- Pocket hole jig (homemade or store-bought)
- Clamps
- Level (or straight edge)
- Tape
- Ryobi finish nailer (or similar)
- Nail punch
- Impact driver or drill
- Sander (orbital sander recommended)
Step-by-Step Guide
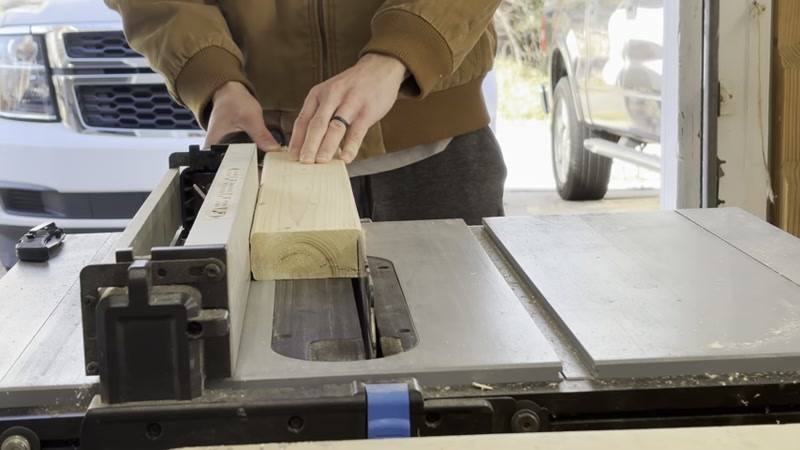
Step 1: Measure and Cut the 2x4s

Start by measuring and cutting your 2x4 lumber to the desired lengths for the shoe rack frame. Since you'll be using 2x4s, cut off any curved edges on your table saw to ensure straight, clean cuts. Then, cut each 2x4 in half lengthwise to create 2x2 pieces—this will give your frame a more refined look.
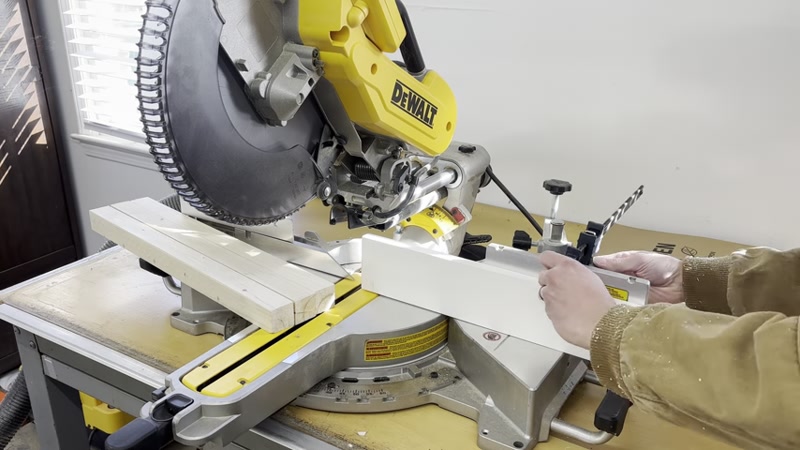
Step 2: Set Up a Stop Block for Repeated Cuts

Move to your miter saw and create a temporary stop block. This simple setup allows you to make quick, repeatable cuts for all the small frame pieces. With the stop block in place, you can cut through all your pieces in under a minute, saving time and ensuring consistency.
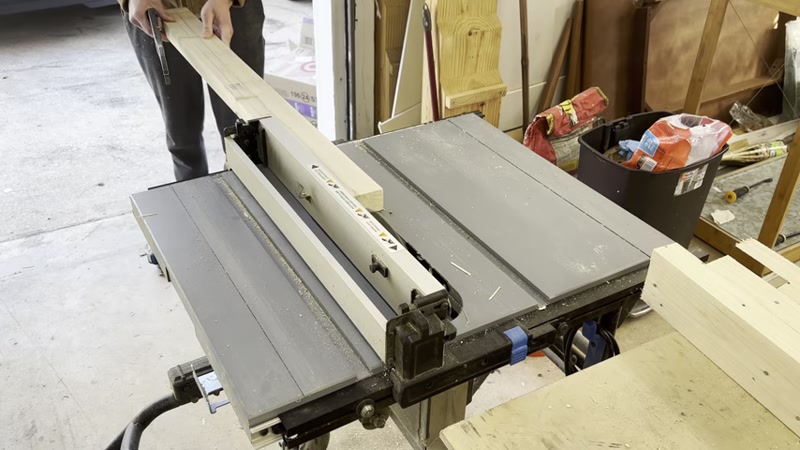
Step 3: Prepare the Bench Seat Top
Take your leftover 2x6 lumber and cut off the curved sides on your table saw to straighten them. You'll need to glue these pieces together to form the bench seat. If you notice gaps, use a table saw jointer hack: tape a level or straight edge to the board, then run it against the table saw fence to get a perfect 90-degree edge. This will close any gaps before gluing.
Step 4: Glue Up the Bench Seat
Line up your 2x6 pieces inside clamps, apply wood glue, and press them together tightly. Important: Avoid smearing glue on the seams when cleaning up—this can cause staining issues later. If you do make a mess, sand the area thoroughly before applying finish.
Step 5: Cut and Sand All Pieces
Use a straight edge as a track to cut a perfect straight end on the bench seat. Then, sand every piece thoroughly—this is the most time-consuming step but crucial for a smooth finish. Pay extra attention to the seams on the bench seat to avoid glue residue problems.
Step 6: Assemble the Frame with Pocket Holes

Using your pocket hole jig, drill pocket holes into the frame pieces. Assemble two identical frames for the ends, then connect them with longer pieces to form the main structure. Here's how it should look once assembled.
Step 7: Apply Finish to the Bench Seat and Slats

Start by applying Danish oil to the bench seat top and the slats (the horizontal pieces for the shoe rack). If you encounter glue residue issues, you may need to sand the top down completely and reapply the oil—a lesson learned from experience. For the frame, have a helper (like your wife or son) paint it black using regular indoor paint. The contrast between the oiled wood and black frame looks fantastic.
Step 8: Attach the Slats

Measure and space the slats evenly across the frame. Use your finish nailer to nail each slat into place. If nails don't drive deep enough, use a nail punch to counter-sink them for a clean finish.
Step 9: Secure the Bench Seat

Drill slightly larger holes into the bench seat (using fender washers and pocket hole screws) to allow for wood movement. This prevents warping over time. Use your impact driver to drive the screws in, but keep them slightly loose so the wood can shift naturally.
Step 10: Final Assembly and Enjoy

Once everything is secured, admire your new shoe rack! It should transform your mudroom into an organized space. The black frame and oiled wood create a stylish, modern look that's both functional and beautiful.
Tips for Success
- Avoid glue smears: When cleaning glue from seams, use a damp cloth to wipe away excess without smearing. Sand any residue thoroughly before staining.
- Use a stop block: Setting up a temporary stop block on your miter saw saves time and ensures all cuts are identical.
- Sand thoroughly: Don't skip sanding—it's essential for a smooth finish. Use a sander for efficiency but hand-sand tricky areas.
- Allow for wood movement: Drilling slightly oversized holes for screws lets the wood expand and contract without cracking.
- Test finish on scrap: Before applying Danish oil or paint to the final piece, test on a scrap piece to ensure you like the color and finish.
