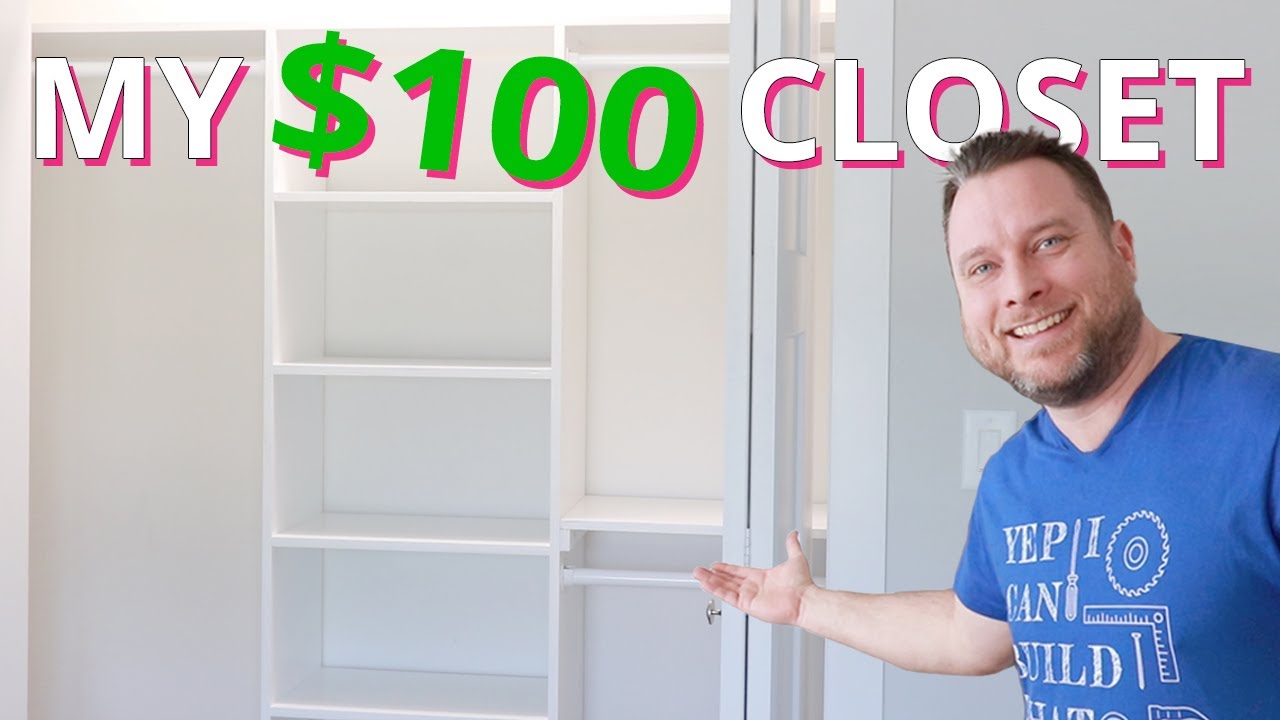
How to Build a Custom 3-Section Closet with a Removable Shelf
Okay, here is the DIY tutorial article based on the provided transcript.
Ready to upgrade your closet? This guide will walk you through building a custom closet organizer with short hanging on one side, tall hanging on the other, and adjustable shelves in the middle. The best part? It includes a removable shelf that gives you flexibility as your wardrobe changes. Let's get building.
What You'll Need
Materials:
- One 4x8 sheet of 3/4-inch plywood (cut to your preferred width)
- Wood screws (for pocket holes)
- Liquid Nails construction adhesive
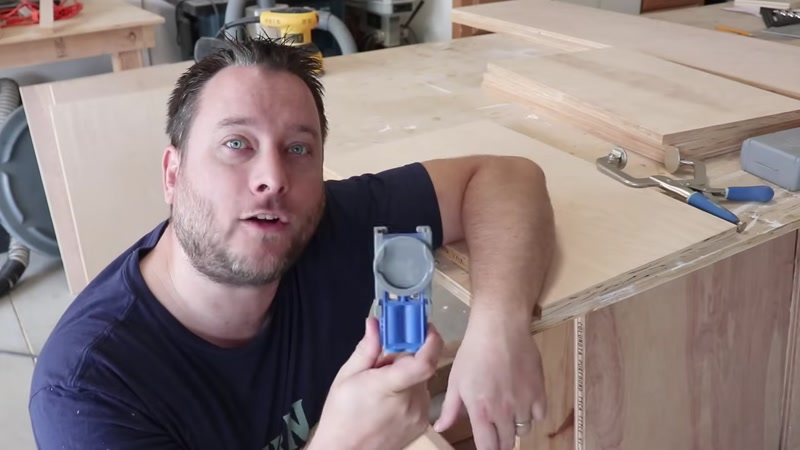
- Heavy-duty metal hanging sockets (for the closet rods)
- Closet rods
- Paint (your choice of color)
- Edge banding (optional, for a super clean look)
Tools:
- Table saw (to cut plywood to width)
- Miter saw (to cut plywood to length)
- Kreg Jig R3 (or similar pocket hole jig)
- Clamps
- Drill / Screwdriver
- Paint roller and tray
- Paintbrush (for touch-ups)
- Sandpaper or sanding block
- Tape measure
- Level
- Stud finder (optional, but recommended)
Step-by-Step Guide
Step 1: Cut Your Plywood to Size
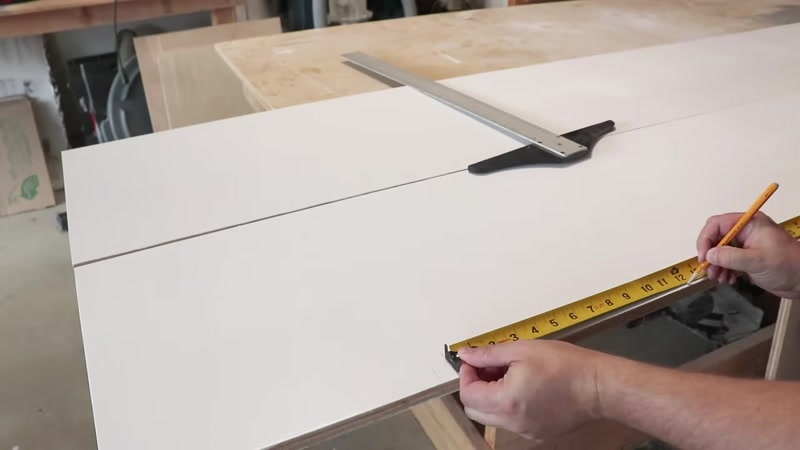
Start by cutting your 4x8 sheet of 3/4-inch plywood. Use a table saw to cut the sheet into boards of your desired width. Then, use a miter saw to cut those boards down to the specific lengths you need for the top, bottom, sides, and shelves of your closet unit.
> Pro Tip: For exact dimensions, it's best to measure your closet space and design your shelves to fit perfectly.
Step 2: Paint the Boards
Before assembling, paint all your boards. This is much easier than trying to paint a finished unit. Using a paint roller, apply a coat of paint to one side of each board. Let it dry completely, then flip it over and paint the other side. Let the paint cure fully before moving on.
Step 3: Mark Shelf Locations
Decide how far apart you want your shelves. The video uses a 12-inch spacing. Mark these lines on your two side panels. Important: Account for the thickness of the shelf itself (3/4 inch). For your second and subsequent shelves, measure 12 inches from the bottom of the shelf above, not from the top line. This prevents a 3/4-inch error from compounding.
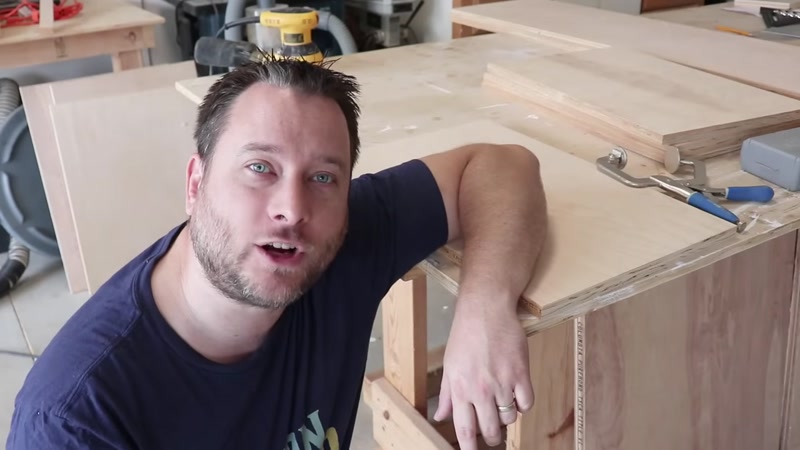
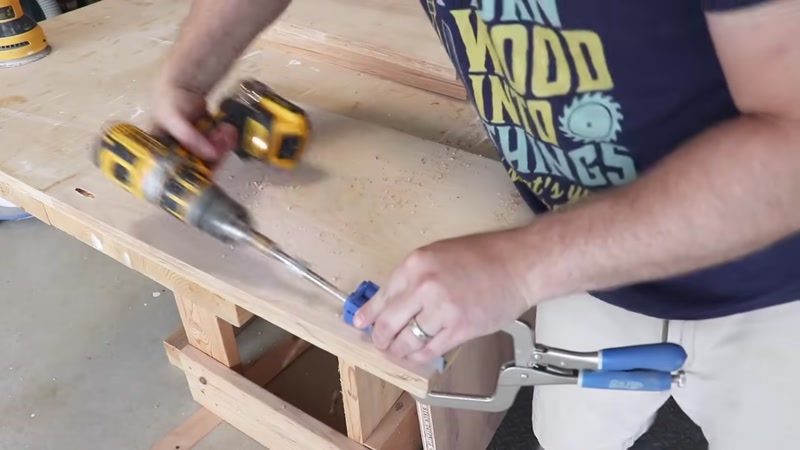
Step 4: Create Pocket Holes
Use your Kreg Jig to drill pocket holes into the sides of your shelf boards. These holes will allow you to screw the shelves securely into the side panels. Set your drill to the correct depth (the stop collar on the drill bit) so you don't drill all the way through the shelf.
Step 5: Assemble the Shelf Unit
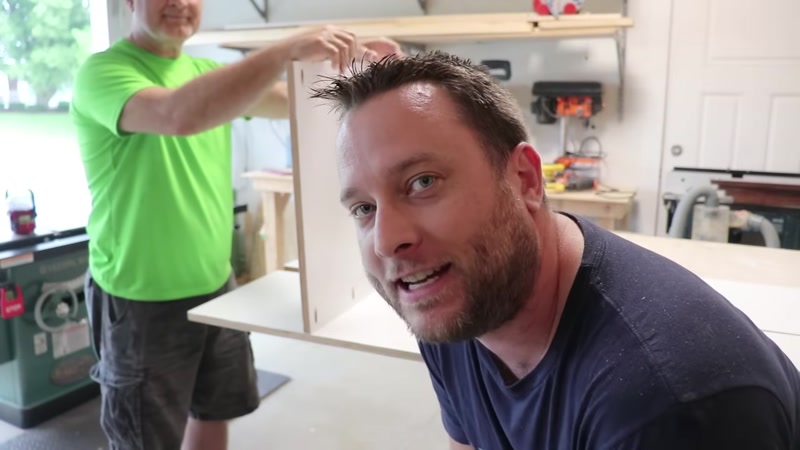
This is a two-person job. Start by attaching a shelf to one side panel.
- Have your helper hold the shelf in place on the marked line.
- Use a clamp to hold the shelf and side panel together tightly.
- Drive screws into the pocket holes to secure the shelf.
- Repeat this for all shelves on the first side panel.
- Once all shelves are attached to one side, flip the unit over and attach the second side panel in the same way.
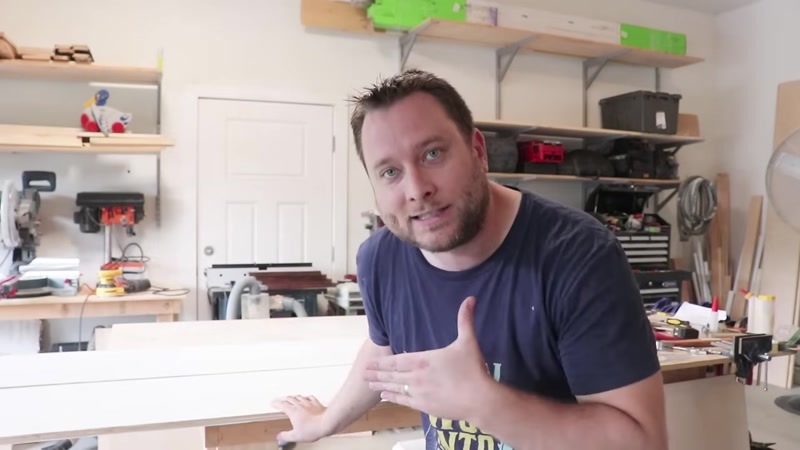
Step 6: Sand and Touch Up Paint

Once the main unit is assembled, sand the front edges to smooth them out. Use a small paintbrush to touch up any areas where the paint was scratched or missed during assembly. For a truly professional finish, you can apply edge banding with an iron to the front edges of the plywood.
Step 7: Install Wall Supports

Before you can install the assembled shelf unit, you need to attach support brackets to the wall. These will hold the top shelf in place. Apply a generous bead of Liquid Nails to the back of a support bracket and screw it into the wall. Use a temporary screw to hold it in place while the adhesive cures. Do this for both sides of the closet.
Step 8: Install the Top Shelf
Spread Liquid Nails on the top edge of the wall supports you just installed. Carefully lift the top shelf and place it on top of the supports. Secure it by driving screws down through the top shelf into the supports. This will create a very strong bond.
Step 9: Install the Main Shelf Unit

Lift your assembled shelf unit and place it under the top shelf. Secure the top of the unit to the top shelf by driving screws down from above. This will lock the entire structure in place.
Step 10: Install the Bottom and Removable Shelves
Install the bottom shelf that will go across the short-hanging section. Then, install the removable shelf. This shelf is designed to be taken out later, giving you the option to convert a short-hanging section into a tall-hanging one as your wardrobe grows.
Step 11: Install the Closet Rods
Mark the locations for your hanging rod sockets. Use a level to ensure they are even. Screw the heavy-duty metal sockets into the side panels. Your installation is complete once you place the closet rods into the sockets.
Tips for Success
- Measure Twice, Cut Once: This is the golden rule of woodworking. Double-check all your measurements before making any cuts, especially when marking shelf locations.
- Use a Helper for Assembly: The shelf unit is large and awkward to handle alone. An extra pair of hands makes the process much safer and easier.
- Don't Skip the Liquid Nails: The construction adhesive provides crucial support for the top shelf, especially if you can't screw directly into a wall stud. It will prevent sagging over time.
- Paint Before Assembly: Painting your boards individually saves a lot of time and gives you a much cleaner, more professional finish.
- Invest in a Good Pocket Hole Jig: A tool like the Kreg Jig makes joining wood incredibly simple and strong, even for beginners.
