I Built My Own NAS So I Could Finally Edit 4K Video Without Losing My Mind
A year ago, I didn't know what a NAS was. Now I have one sitting under a shelf in my apartment, running 24/7, and it handles my 4K video editing, stores my movie collection, holds all my photos, and acts as my personal cloud. And I only paid for it once.
If you're not familiar, a NAS (Network Attached Storage) is basically an external hard drive you can access over your local network — or over the internet if you set it up that way. But under the hood, it's just a small PC running a special operating system. It's your home server.
I was running out of disk space. I saw other YouTubers collecting piles of external hard drives and SSDs, and I didn't want to fall into that trap. Storing data on a single SSD isn't safe anyway. And building your own NAS is way cheaper than buying a pre-built one from Synology or QNAP.
But the topic isn't that simple. The hard part is planning — matching your use case and budget so the thing lasts. And finding good information was a nightmare. Every video I watched was either super basic or used language like I build servers for a living. Some were just outdated. After each one, I still had questions.
So here's what I built, what I learned, and what I'd do differently.
What You'll Need
- Motherboard — I got one from AliExpress with an Intel N100 CPU (4 cores), built-in 10GbE port, 2x 2.5GbE ports, 6 SATA ports, and 2 M.2 slots. Under €200.
- RAM — Start with 32GB. I got 16GB and regretted it.
- Hard drives — 3x Western Digital Red Plus 12TB. They're noisy. I'd pick quieter ones next time.
- SSDs — 2x M.2 NVMe. One for cache, one for applications and high-speed storage. I used OWC IG740 Pro drives (TLC, ECC, power loss protection).
- Case — Something with room for 6+ hard drives. I got mine from AliExpress.
- Ethernet cable — Cat 6 or better for 10GbE.
- Bootable USB — For installing TrueNAS Scale.
- Optional: UPS, extra fan, vibration dampening pad.
Step-by-Step Build
1. Plan Your RAID
I chose RAID 5 with three 12TB drives. That gives me 24TB usable space (one drive's worth is parity). If a drive fails, data stays intact. Read speed doubles compared to a single drive. Write speed stays the same.
More drives = higher read speed, but also more noise. I went with three because it's easier to add more later.
Important: Use NAS-rated hard drives. They're designed for 24/7 operation. I picked Western Digital Red Plus. They work, but they're loud.
2. Pick the Motherboard
Look for a board with at least a 2.5GbE port, ideally 10GbE if your PC supports it. My PC's motherboard has a 10GbE port, so I wanted to use it.
I found this mini-ITX board on AliExpress. It has a mobile Intel CPU (low power, 4 cores), 10GbE + 2x 2.5GbE, six SATA ports, and two M.2 slots. Under €200 with the CPU and fan included.
The 4-core N100 handles file serving fine. The built-in GPU handles video transcoding for streaming too.
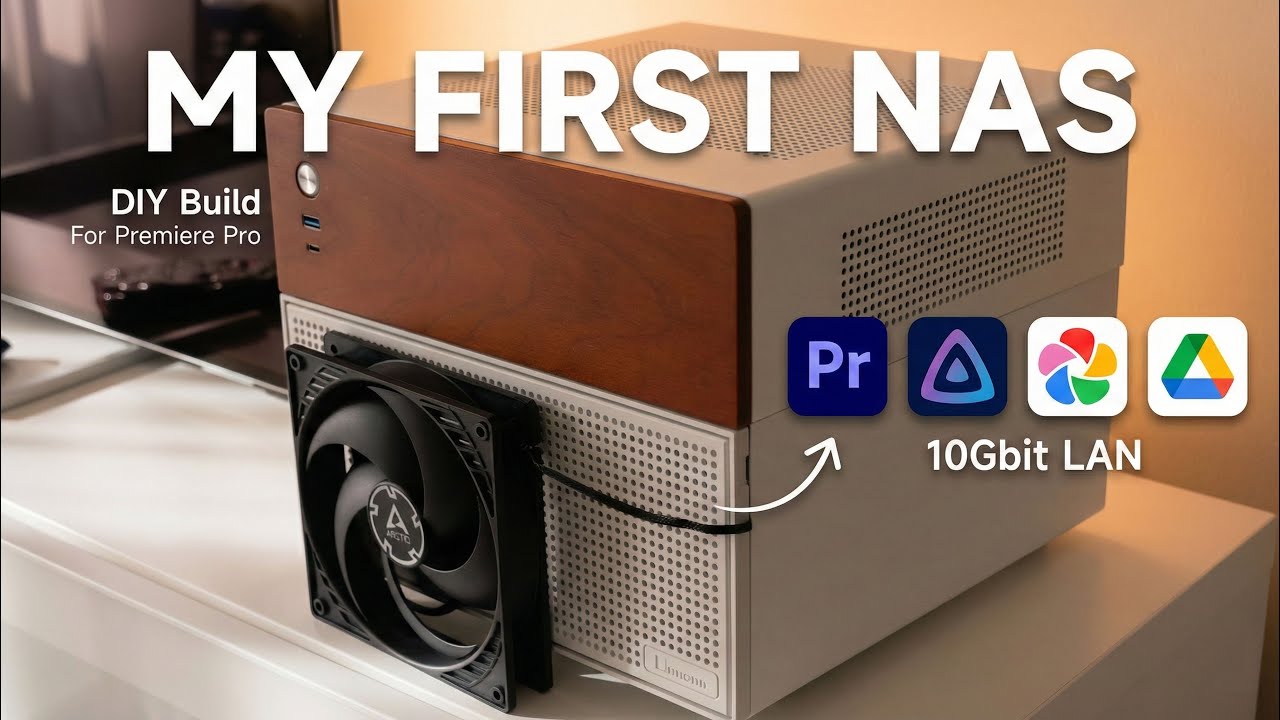
3. Choose the Case
I wanted something that could scale. This case holds six 3.5" hard drives plus two SATA SSDs. It's compact, easy to assemble, and looks good.
4. Install the OS
TrueNAS Scale is the way to go. Use their app to create a bootable USB drive — don't waste time with other tools. Install the OS on a separate SSD (preferably SATA, not M.2, to save M.2 slots for more important things).
I followed Hardware Haven's guide for the full setup. It's perfect.
5. Connect Everything
Plug the NAS into your router via Ethernet. If your PC has only one Ethernet port, you'll need a switch or Wi-Fi. I have two ports — one for internet, one for the 10GbE direct connection to the NAS.
Use a Cat 6 cable for the 10GbE link.
After configuring the router (follow the guide), the NAS is ready. I transferred all my data at about 125 MB/s write, 400-500 MB/s read for large files.
6. Edit Video from the NAS
I created network drives on my PC. Premiere Pro opened projects from the NAS without issues. Editing 4K video worked fine.
But working with lots of small files — like installing apps — was painfully slow. That's where the SSDs come in.
The SSD Upgrade
I added two M.2 NVMe SSDs:
- One for L2ARC cache. When you access a file, it gets cached to the SSD. Next time you access it, you get SSD speeds. The cache index is stored in RAM.
- One for applications and high-speed storage. Install apps here so they don't spin up the hard drives.
RAM tip: You need about 1GB of free RAM per TB of storage for cache. With 24TB, I needed more than 16GB. I upgraded to 32GB. Now over 17GB goes to cache.
After the cache setup, copying a file the first time is at hard drive speed. The second time? Full 10GbE speed. The difference is immediate.
Making It Quieter
The hard drives run 24/7 and they're noisy. Here's what helped:
- Move applications to SSD. This prevents the hard drives from being accessed for system logs and app data.
- Reconfigure SMB to use SSD. Same reason.
- Set hard drives to standby after 30 minutes of inactivity. When idle, they spin down. Much quieter, less power.
- Add a fan. My NAS is in a poorly ventilated shelf. Drives were hitting 55°C (max is 60°C). I opened the case and added a fan. Now they run at 44°C.
- Use vibration dampening pads. I put the NAS on rubber pads to reduce noise transfer.
Power consumption: about 50W at idle.
Access from Anywhere
I didn't want to expose my NAS directly to the internet. Instead, I use Tailscale — a simple VPN. Install it on the NAS and your devices, connect, and you get a private IP for the NAS. Access the admin panel, apps, or photo gallery from anywhere without opening ports.
Backup Strategy
RAID protects against drive failure, not fire, theft, or physical destruction.
- Local backup: A UPS prevents power surge damage (I haven't bought one yet).
- Offsite backup: Cloud storage (cheaper than Google Drive for limited use) or a second simple NAS at a friend's house. Encrypt the data if you're worried about privacy.
What I'd Do Differently
- Get quieter hard drives. The Western Digital Red Plus are loud. I'd research quieter options.
- Start with 32GB RAM.
- Install the OS on a SATA SSD, not M.2. I ran out of M.2 slots and had to migrate the OS to a SATA drive later. It's possible but annoying.
- Buy a UPS from the start.
Final Thoughts
Building your own NAS isn't hard once you know what you're doing. The hardest part is gathering the right information. Hopefully this helps you skip some of the frustration I went through.
If you're an expert and see something wrong, drop a comment. I'll pin it so everyone can learn.