What You'll Need
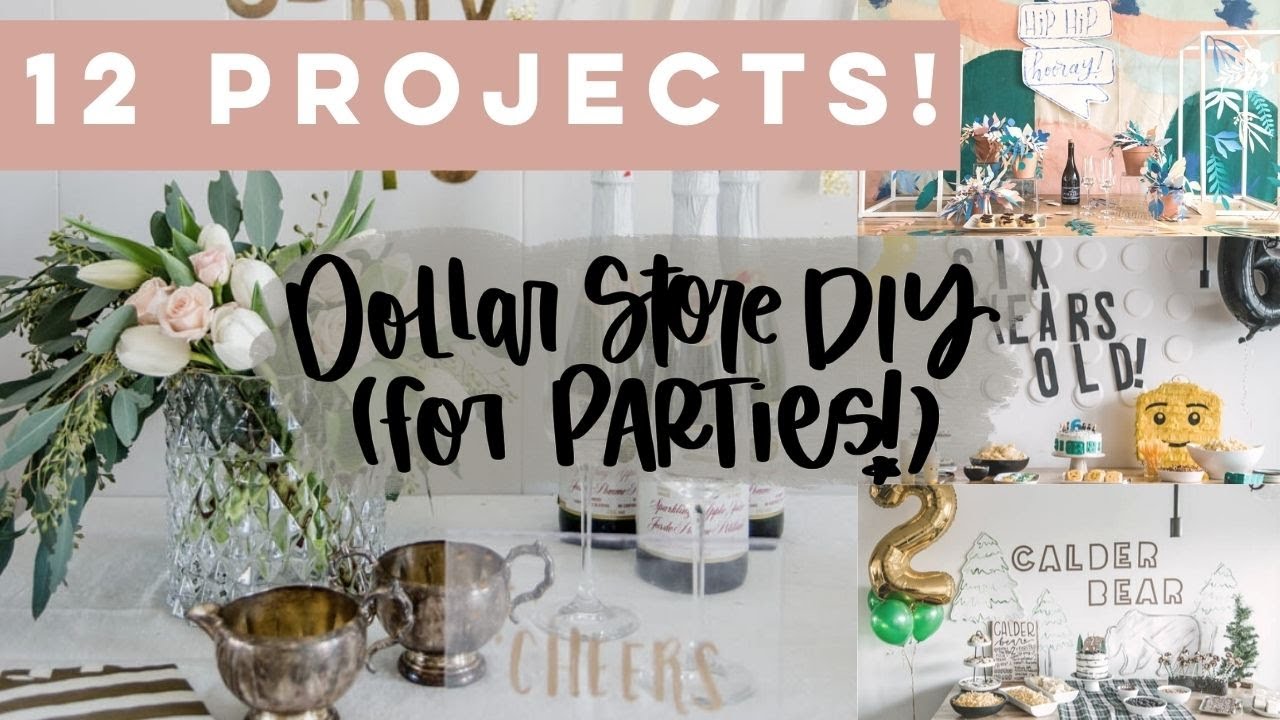
Planning a party on a budget doesn't mean you have to sacrifice style. With a trip to the dollar store and a little creativity, you can create stunning decorations that look anything but cheap. In this tutorial, we'll transform basic dollar store supplies into beautiful party decor that will impress your guests.
Materials:
- Clear acrylic picture frames (dollar store)
- Felt sheets in assorted colors (dollar store)
- Poster boards, white and black (dollar store)
- Tissue paper in various colors (dollar store)
- Cardboard boxes (recycled or dollar store)
- Plastic or glass cups (dollar store)
- Paper fans and honeycombs (dollar store)
- Feather boa (dollar store)
- Embroidery floss (dollar store)
- Double-sided tape (dollar store)
- Spray adhesive (dollar store)
- Painter's tape (dollar store)
- Duct tape (dollar store)
- Zap straps (dollar store)
Tools:
- Gold paint pen (or dollar store paint pen)
- Fabric scissors
- Needle
- Brush markers (dollar store pack)
- Glass markers (dollar store)
- Quilter's pencil or marker
- Ruler
- Scissors
Step-by-Step Guide
Step 1: Create a Custom Acrylic Sign
Take a clear acrylic picture frame and remove the photo and all stickers. You're left with a blank, clear surface perfect for lettering.
Write your message directly on the acrylic using a gold paint pen or dollar store paint pen. For beginners, print a template on paper and slide it inside the frame to trace over it. Write "Cheers," "Happy Birthday," or any party phrase, then add decorative stars or dots around the letters.
Note: This design is permanent—it won't wash off—so plan your design carefully.
Step 2: Make a Felt Letter Garland
Draw your desired letters on felt sheets using a quilter's pencil or marker. Cut out each letter using fabric scissors for clean edges without fraying.
Thread embroidery floss through a needle and poke it through each letter in two spots to string them together. Alternatively, hot glue the letters directly onto the embroidery floss for a cleaner look.
This garland works for any occasion—just change the message and colors. One pack of rainbow felt can make garlands for multiple parties throughout the year.
Step 3: Design Poster Board Balloons
On a white poster board, draw balloon shapes using a black brush marker. Write messages inside each balloon like "See you later, alligator," "Bon voyage," or "Goodbye."
Cut around each balloon, leaving about half an inch of border outside your drawn line. This uneven cut gives a playful, handcrafted look. Use double-sided tape to attach them to your wall in a cluster.
Step 4: Make a Faux Ribbon Banner
Draw stacked rectangles on a poster board to represent ribbon folds. Connect them with diagonal lines and add tails on the appropriate sides to mimic a ribbon folding over itself.
Write your message (like "Happy Birthday") inside the rectangles using a brush marker. Cut around the entire banner, again leaving that half-inch border. Use double-sided tape to attach it to the wall.
Step 5: Create Custom Glassware Signs
Use dollar store glass markers to write directly on plastic or glass cups. Write each guest's name on their cup, or add decorative stars and designs. The writing stays on throughout the party but washes off easily with water afterward.
For a reusable bar sign, remove the glass from a dollar store picture frame. Write your drink menu on the glass using the same glass markers. You can trace designs or lettering by placing printed templates behind the glass. This sign can be wiped clean and reused for different parties.
Step 6: Build a Tissue Paper Garland
Cut tissue paper into strips about 2-3 inches wide. Thread a needle with strong thread and push it through the center of each strip, alternating sides to create a ruffled effect. Continue adding strips until your garland reaches the desired length.
One pack of tissue paper can make several garlands, making this an incredibly cost-effective decoration.
Step 7: Construct a DIY Piñata
Cut your desired shape (heart, circle, or custom design) from a cardboard box—cut two identical pieces. Cut a strip of cardboard about 3 inches wide for the sides.
Bend the side strip and tape it around the edge of one shape using painter's tape (not duct tape—it makes the piñata too hard to break). Leave a small gap for filling with treats later. Attach a zap strap to the top for hanging, reinforcing it with duct tape.
Tape the second shape on top to close the piñata. Cover the entire surface with a layer of tissue paper using spray adhesive to hide the cardboard.
Cut tissue paper into strips, then cut fringe along one edge (don't cut all the way through). Apply double-sided tape to the piñata and attach the fringe strips, starting at the bottom and working upward so top layers overlap bottom layers.
Step 8: Assemble a Chunky Balloon Garland
Tie a long piece of string between two anchor points. Inflate balloons and tie them directly onto the string. Alternate with paper fans, honeycombs, and even sections of feather boa. Keep adding items until the garland is full and chunky.
Tips for Success
- Always cut outside your lines when making poster board decorations. The half-inch border gives a playful, professional look and hides any wobbly cutting.
- Test your markers first on a scrap piece of material. Dollar store markers vary in quality, and some may bleed or appear different than expected.
- Use painter's tape for piñatas instead of duct tape. Duct tape makes the structure too strong for kids to break open easily.
- Work from bottom to top when adding fringe to piñatas or layering decorations. This ensures clean, overlapping coverage with no gaps.
- Keep a template library of letters and shapes. Print fonts you like from your computer and save them for future projects—you can trace them onto any surface.